Autometric
A downloadable tool
V4 Extrude: Two Ways to Build a Solid
Front source: Draw the visible shape in FRONT and set the desired depth. Autometric pushes the shape backwards to create a solid object.
Top source: Draw the object's footprint in TOP. Transparency controls the height of each part: opaque pixels reach the full depth, while more transparent pixels create shorter sections.
This makes it possible to create anything from simple blocks to more complex shapes with steps, holes, arches, cut-outs, and different heights, while keeping the original pixel art style.
V4 Rendering Improvements
The projection has also been improved to make sure every part of your drawing gets its proper place. Previous versions could sometimes lose very small details when surfaces met or when using certain ratios. V4 handles these areas more carefully, keeping fine pixel details visible and avoiding unnecessary extra pixels.
The result is a cleaner isometric image with better silhouettes, sharper details, and more reliable results across all four projection ratios and all eight directions.
V4 at a Glance
• Real solid volumes when using Extrude.
• Extrude from FRONT or TOP.
• Automatic Extrude detection.
• Better preservation of small pixel details.
• More accurate holes, openings, and inner surfaces.
• More consistent eight-direction turntables.
• Improved front, back, left, and right views.
• Works with every available projection ratio.
Autometric V3: Flat-to-Isometric Assembler
Heos Autometric is a Lua script for Aseprite that automatically converts flat layer drawings into isometric projections. Draw each face freely (position does not matter), mark the ground with a red line, place markers to anchor faces, and the script assembles the result in real time.
Perfect for building isometric pixel art: houses, buildings, vehicles, tile sets, or anything that needs to be viewed from multiple angles without manual shearing.
Examples
Original flat art in the three working layers. Position does not matter.
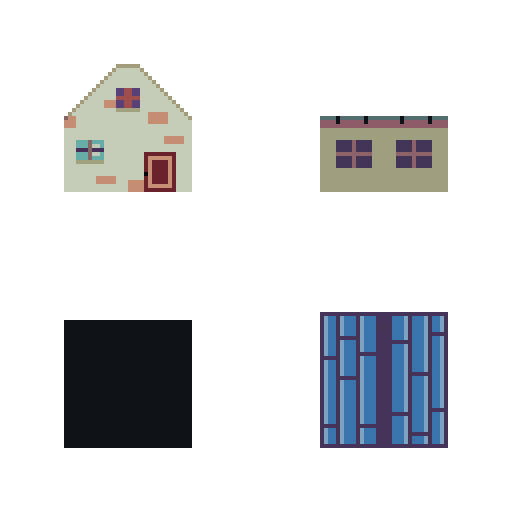
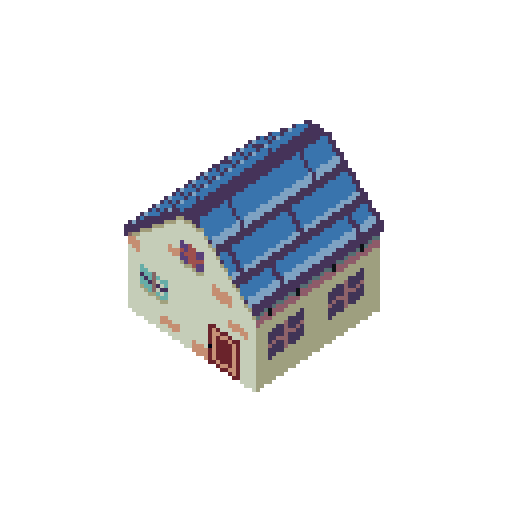
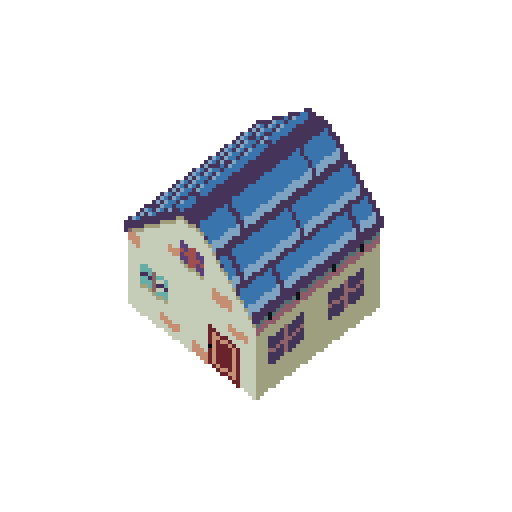
Top view results with Adaptive ON. Ratios 2:1, 1:1, 3:2, 4:3.
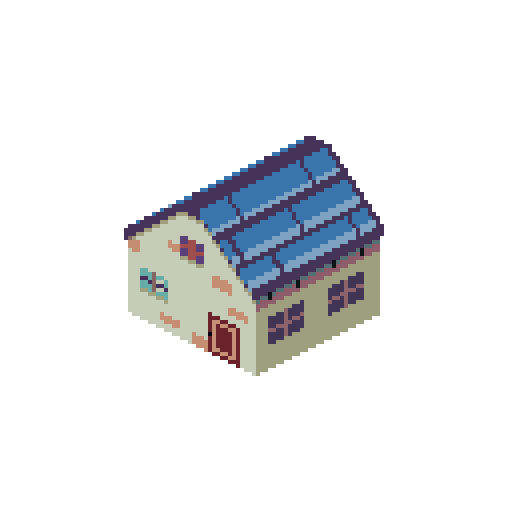
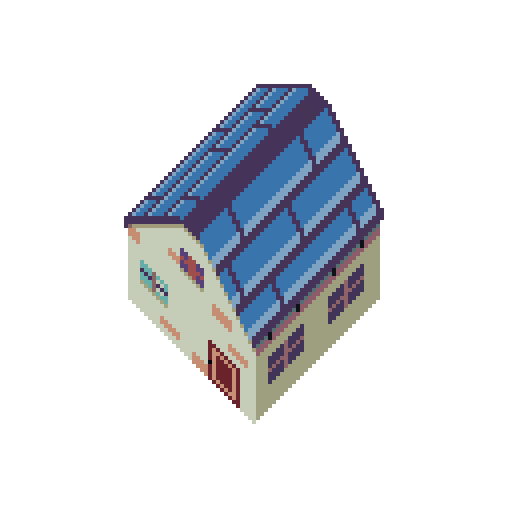
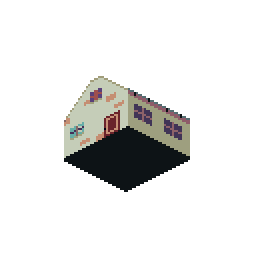
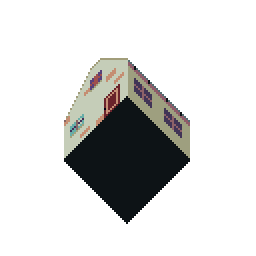
Bottom view (V3): worm's eye perspective, vertical mirror of Top view.
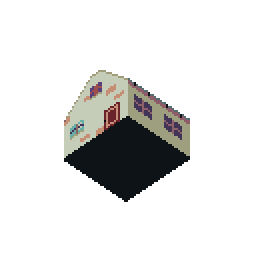
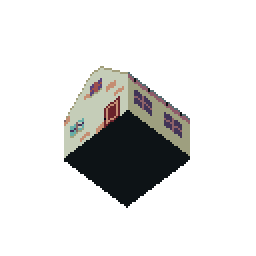
Not only for houses. Works for any isometric subject.
V3: Turneable (8 direction)
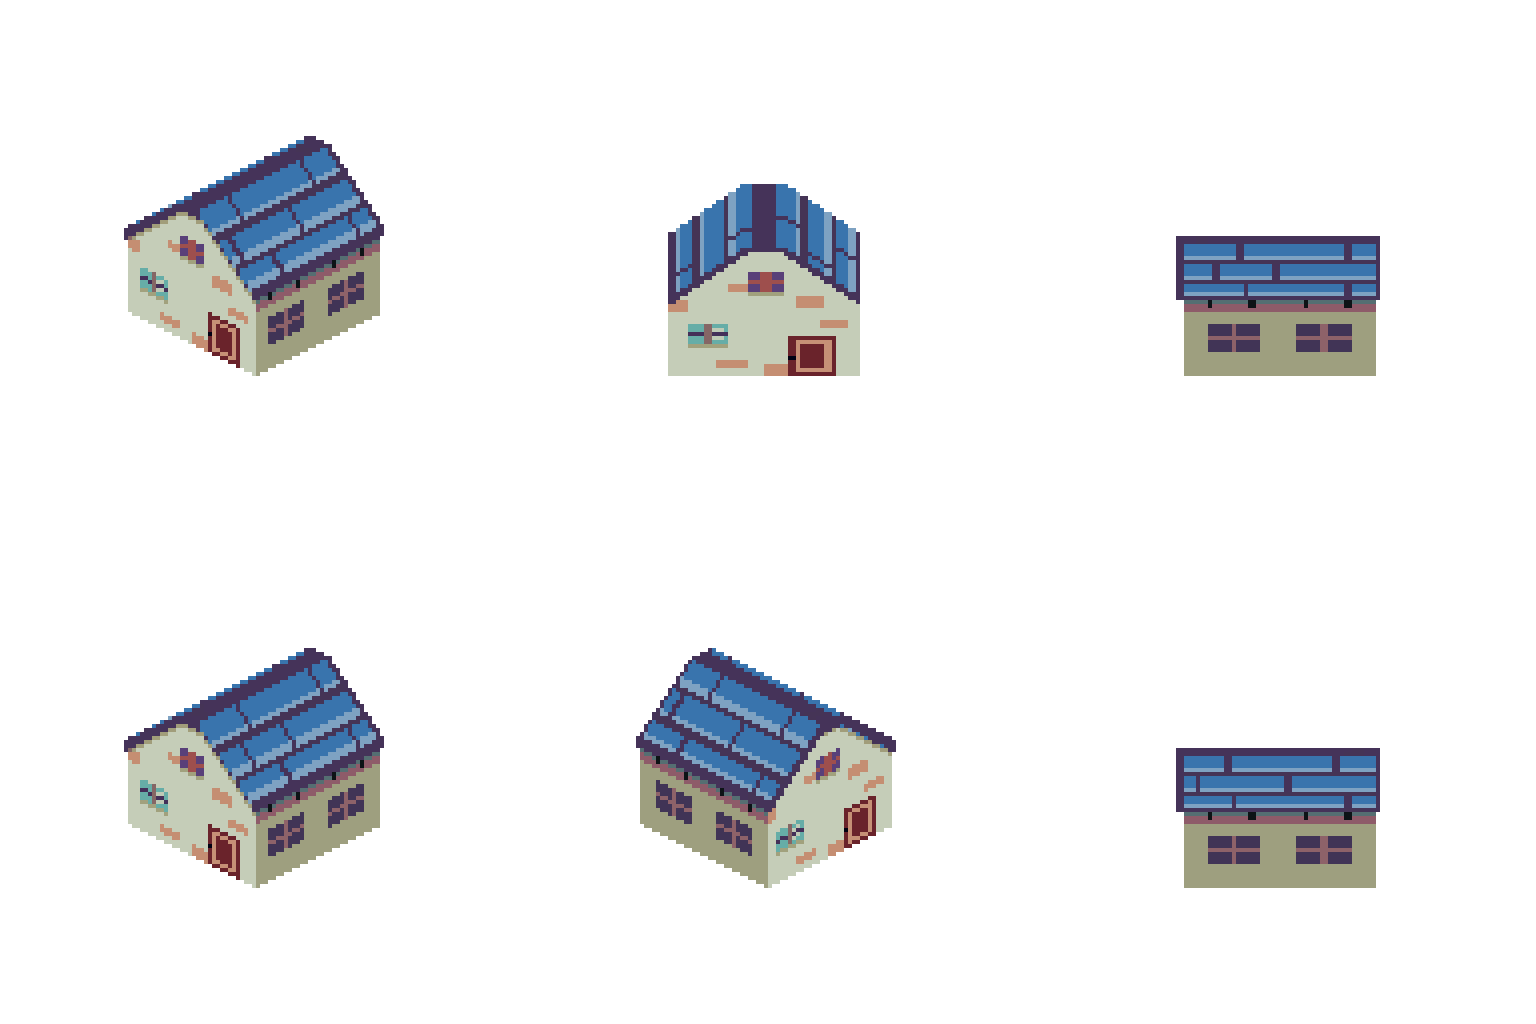
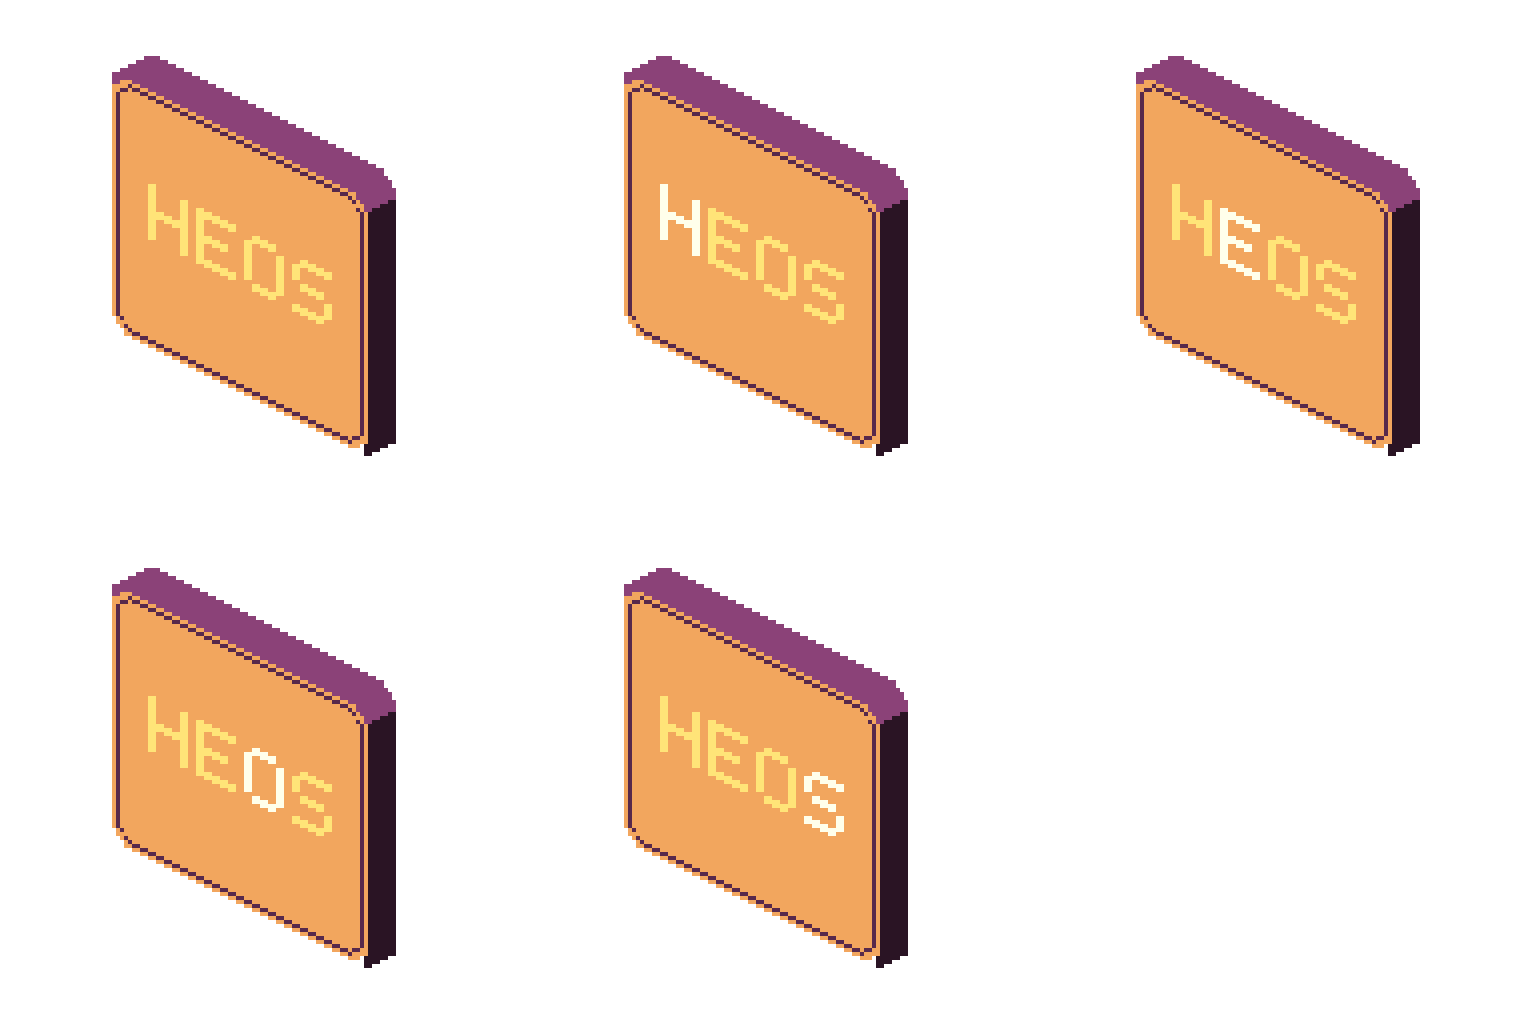
Support animation:
Workflow
1. Run the script: Four working layers are created automatically: [ISO] FRONT (left wall), [ISO] SIDE (right wall), [ISO] TOP (roof), [ISO] BOTTOM (floor).
2. Draw each face: Paint freely in each layer. Position inside the layer is irrelevant; the script measures from the ground marker or bottom opaque edge.
3. Mark the ground: Paint a horizontal line of pure red (R=255 G=0 B=0) in FRONT or SIDE to set Y=0. Pixels above the line become the object; below are ignored.
4. Anchor faces: Place a single isolated red pixel in TOP or BOTTOM to anchor the roof or floor corner (optional; auto-centers if omitted).
5. Configure and preview: Select ratio, view mode, direction, and other options. Click Refresh to see the result in the dialog.
6. Generate: Click Allons-y! for the current frame, Animation for all frames, or Turntable for an 8-frame rotating view.
How Isometric Projection Works
Each face sits at a ground level marked by a red line (or the bottom opaque pixel). The FRONT and SIDE walls meet along a vertical iso edge at ground level. The TOP/BOTTOM face sits perpendicular to both walls, aligned at the fold edge, and can overhang both sides (eaves or droop). All faces are sheared mathematically, never rotated or interpolated, keeping pixels crisp.
Red ground line: A horizontal line of pure red marks Y=0 (the base) for that layer. Pixels above are the object; at or below are ignored. The line itself is not rendered.
Red anchor pixel: A single isolated red pixel marks the front-left corner of the roof (TOP) or floor (BOTTOM). Auto-centers if omitted.
Adaptive mode: TOP/BOTTOM folds to match wall silhouettes when walls have different heights. Walls align at ground; height differences appear at the top.
No rotation or interpolation: Pure shearing math means your pixel art stays perfectly sharp. Output size is based on canvas dimensions; enlarge and regenerate if needed.
View Modes and Directions
Top view: Bird's eye perspective. FRONT + SIDE walls + TOP roof. Default mode.
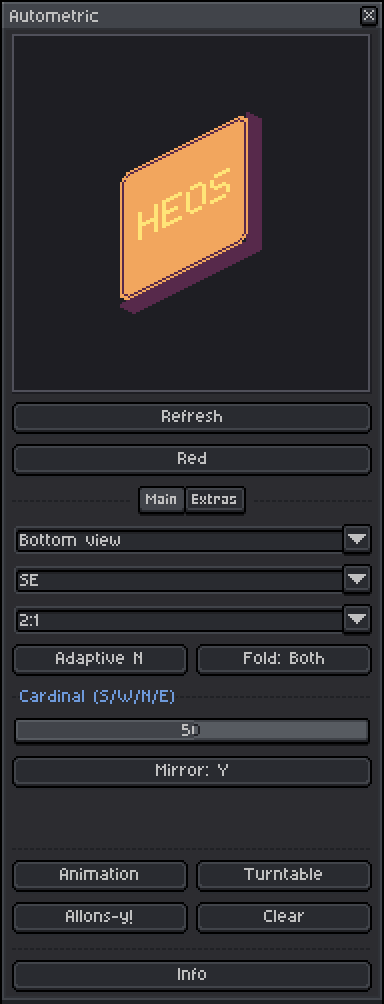
Bottom view: Worm's eye perspective. Vertical mirror of Top view: walls flip shear direction, floor hangs below instead of roof sitting above. Identical ground semantics.
The Direction dropdown offers 8 camera angles: 4 diagonal views (SE, SW, NW, NE rotate faces in 90° steps; BACK and LEFT are synthesized as mirrored or unflipped FRONT/SIDE) and 4 cardinal face-on views (S, W, N, E show one wall head-on with the near half of the roof folded or as a silhouette line). The Cardinal slider adjusts how much cardinal views stretch toward diagonal proportions (0 = native width, 100 = full diagonal footprint width).
Main Tab: Core Parameters
Ratio: Isometric proportion. Choose 2:1 (classic), 1:1 (dimetric), 3:2, or 4:3. All are pixel-perfect with no interpolation.
Adaptive: Toggle ON to fold TOP/BOTTOM to match wall silhouettes when heights differ. In cardinal views (S, W, N, E), also opens the roof depth (OFF shows it as a line).
Direction: Choose from 8 camera angles (SE, S, SW, W, NW, N, NE, E) to rotate the view around the object. Diagonals show two walls plus the roof/floor. Cardinals show one wall plus a cross-section of the roof/floor.
Fold Tab: Fold Reference and Cardinal Adjustment
Fold ref: Choose which axis carries the silhouette when walls have different heights. Front-Back (F-B) folds in the depth axis; Left-Right (L-R) folds in the width axis; Both folds on both. Controls which wall "wins" when heights differ.
Cardinal: Slider (0–100). Stretches cardinal views (S, W, N, E) toward the diagonal footprint width. 0 = native width (good for thin faces); 100 = full stretch to match 8-view turntable.
Mirror: Toggle Y to mirror BACK/LEFT faces (for symmetric objects like houses). Toggle N to copy unflipped (keeps text and logos readable).
Shade Tab: Differential Lighting
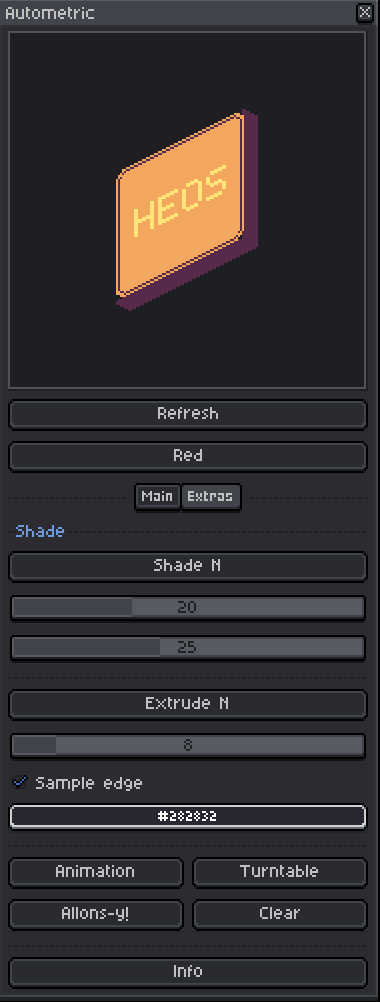
Shade: Toggle ON to apply subtle lighting: TOP face lightened, SIDE face darkened, FRONT neutral. OFF keeps all faces at full brightness.
Top Light: Percentage lighter for the TOP/roof face (0–60, default 20).
Side Dark: Percentage darker for the SIDE face (0–60, default 25).
Extrude Tab: Auto-Synthesize Depth
Extrude: Toggle ON to build SIDE and TOP faces automatically from FRONT's silhouette. SIDE and TOP layers are ignored; only FRONT is drawn. Useful for quick box-like objects from a single layer.
Depth: How many pixels deep to extrude (1–64, default 8).
Sample edge: Toggle ON to sample edge colors from FRONT automatically. OFF uses the solid color picker below.
Color picker: Solid color for SIDE/TOP if Sample edge is OFF.
Red Markers: Ground and Anchors
Paint a horizontal line of pure red (R=255 G=0 B=0 A=255) in FRONT or SIDE to mark ground level (Y=0). Pixels above the line are part of the object; at or below the line are ignored. The line itself is never rendered. If no line exists, ground defaults to the lowest opaque pixel in that layer.
Place a single isolated red pixel in TOP or BOTTOM to anchor the roof or floor corner (front-left in Top view, same in Bottom view). Connected red pixels are treated as noise and ignored. If no anchor exists, the roof/floor auto-centers over the wall join.
The Red button in the dialog sets foreground color to exact pure red for easy marker painting.
Generate Options
Allons-y!: Generates the isometric result for the current frame. Output is placed on a new set of result layers, working layers are hidden, and the canvas is centered.
Animation: Processes every frame in your sprite. Each frame's result is placed in the corresponding output frame.
Turntable: Renders all 8 directions (SE, S, SW, W, NW, N, NE, E) as frames 1–8 at 250 ms each. Extends the timeline if needed.
Clear: Removes output layers, unhides working layers, and clears any extra frames added by Turntable.
Tips
Use multiple separate ground lines (one per layer) if your faces have different base heights. The script finds the highest red line across all layers and uses that as the common ground.
If the assembled result is larger than your canvas, enlarge the canvas (Image > Canvas Size) and regenerate. The script centers the output each time.
For animations, the script computes a stable ground anchor across all frames. Frames without a cel inherit from the previous frame, maintaining smooth movement in the isometric space.
Adaptive mode works best when walls have different heights. Use Fold ref to control which axis gets the irregular silhouette. For uniform heights, Adaptive still works but has less visual impact.
In Extrude mode, you only draw the FRONT layer. SIDE and TOP layers are ignored, but still hidden when you generate. Use Extrude for quick box-like shapes; use full three-layer mode for complex asymmetric art.
Compatibility
Requires Aseprite 1.3.x or later. Works with RGBA color mode only
Feedback & Support
I love seeing how you use Autometric in your projects. If you have questions, ideas, or just want to share what you have made, feel free to leave a comment or reach out directly. It is always great to see your work in action.

If you found this tool useful, taking a moment to leave a rating really helps. Thanks for the support. ❤️
Purchase
In order to download this tool you must purchase it at or above the minimum price of $3.99 USD. You will get access to the following files:
Development log
- Autometric V43 days ago
Leave a comment
Log in with itch.io to leave a comment.