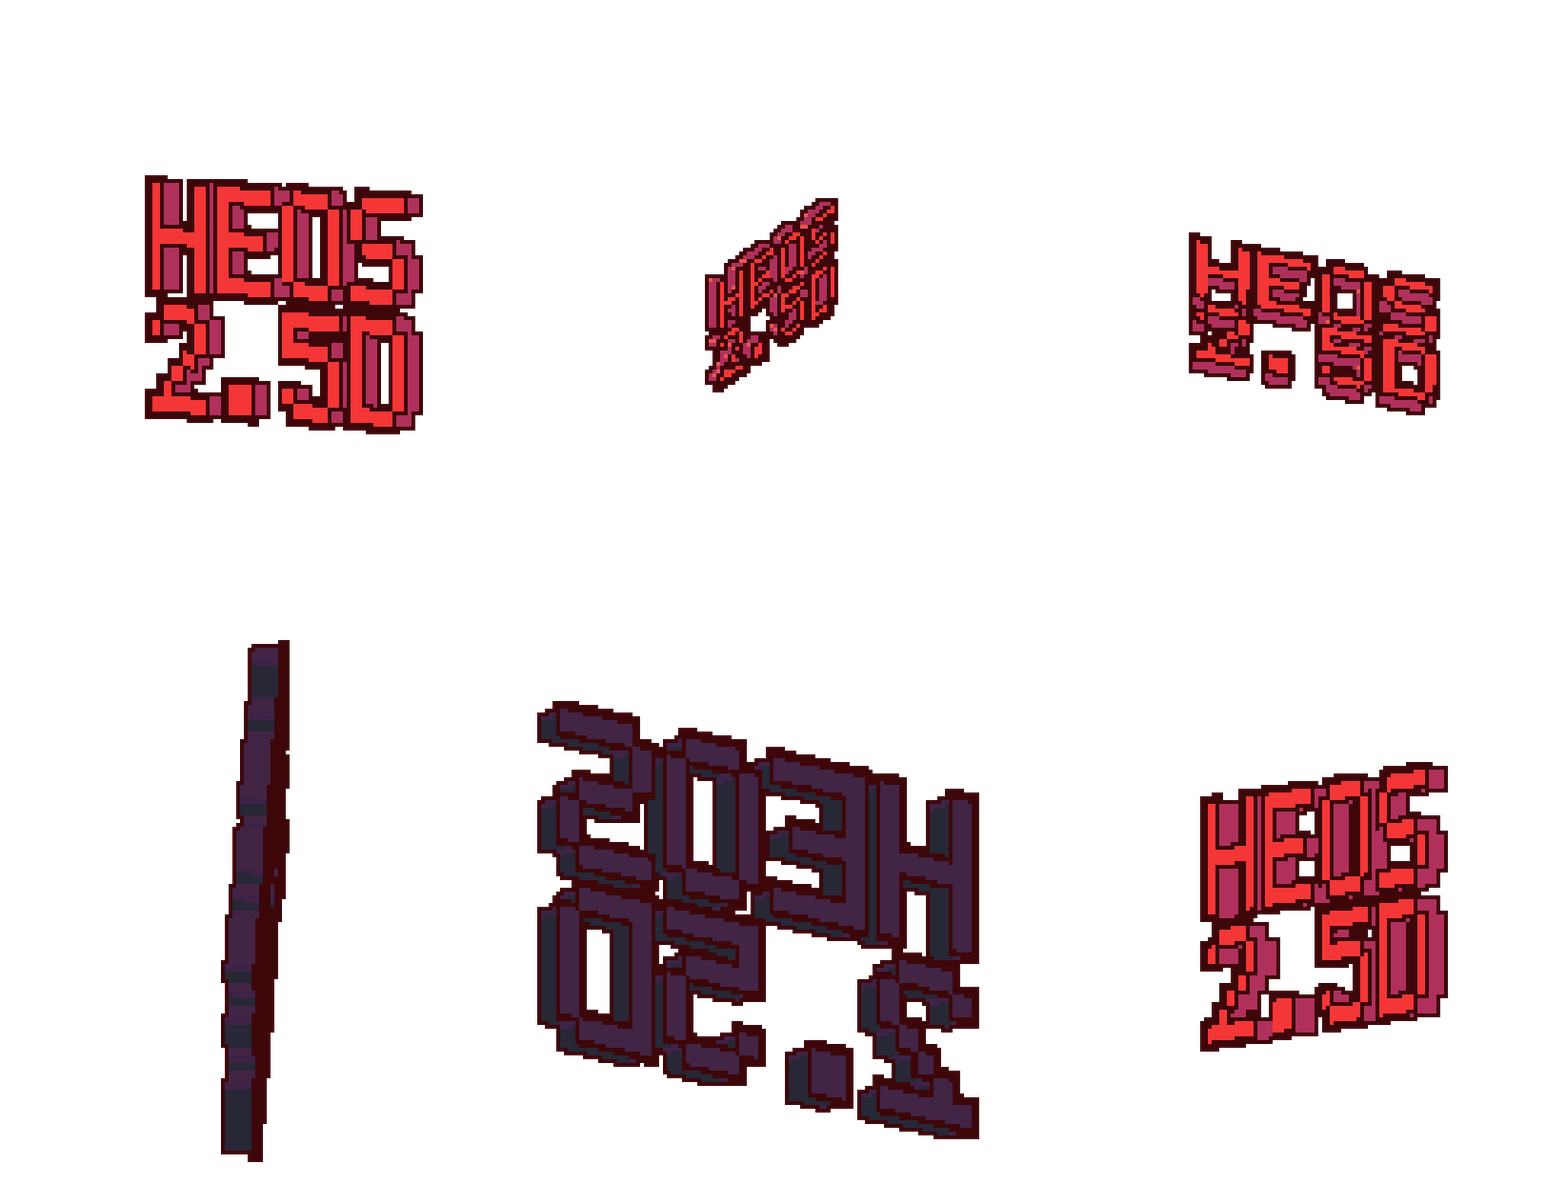
Heos 2.5D
Heos 2.5D is a Lua script for Aseprite that turns flat drawings into solid 3D‑looking objects with real depth and edge profiles. A live preview window lets you orbit, pan, zoom, and resize the view in real time before rendering. Perfect for giving pixel art a volumetric feel, building mockups, animating rotating gears, stacking layers into terrain, or adding a third dimension to any sprite without leaving the pixel grid.
Examples
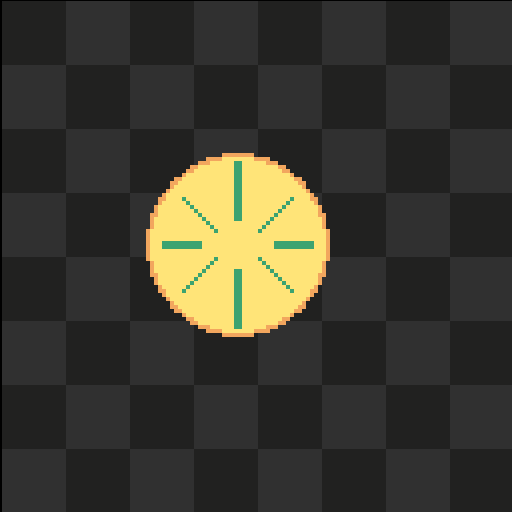
Original drawing: (1 layer)
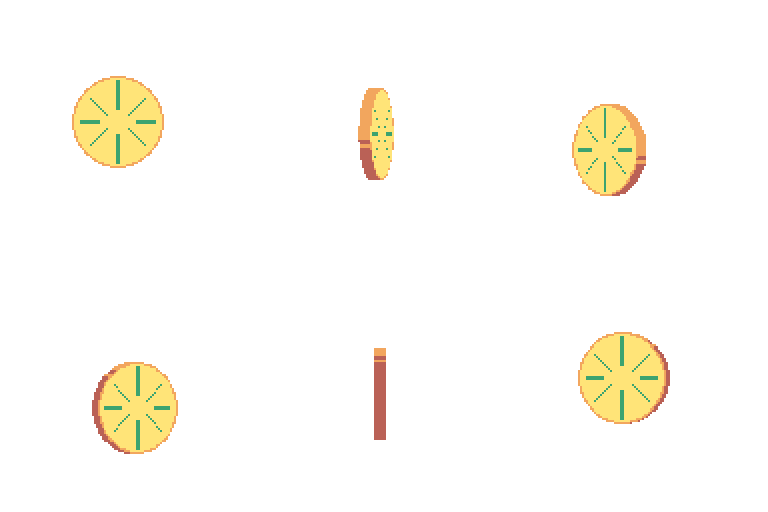
Moves:
RELIEF:
Colour Palette:
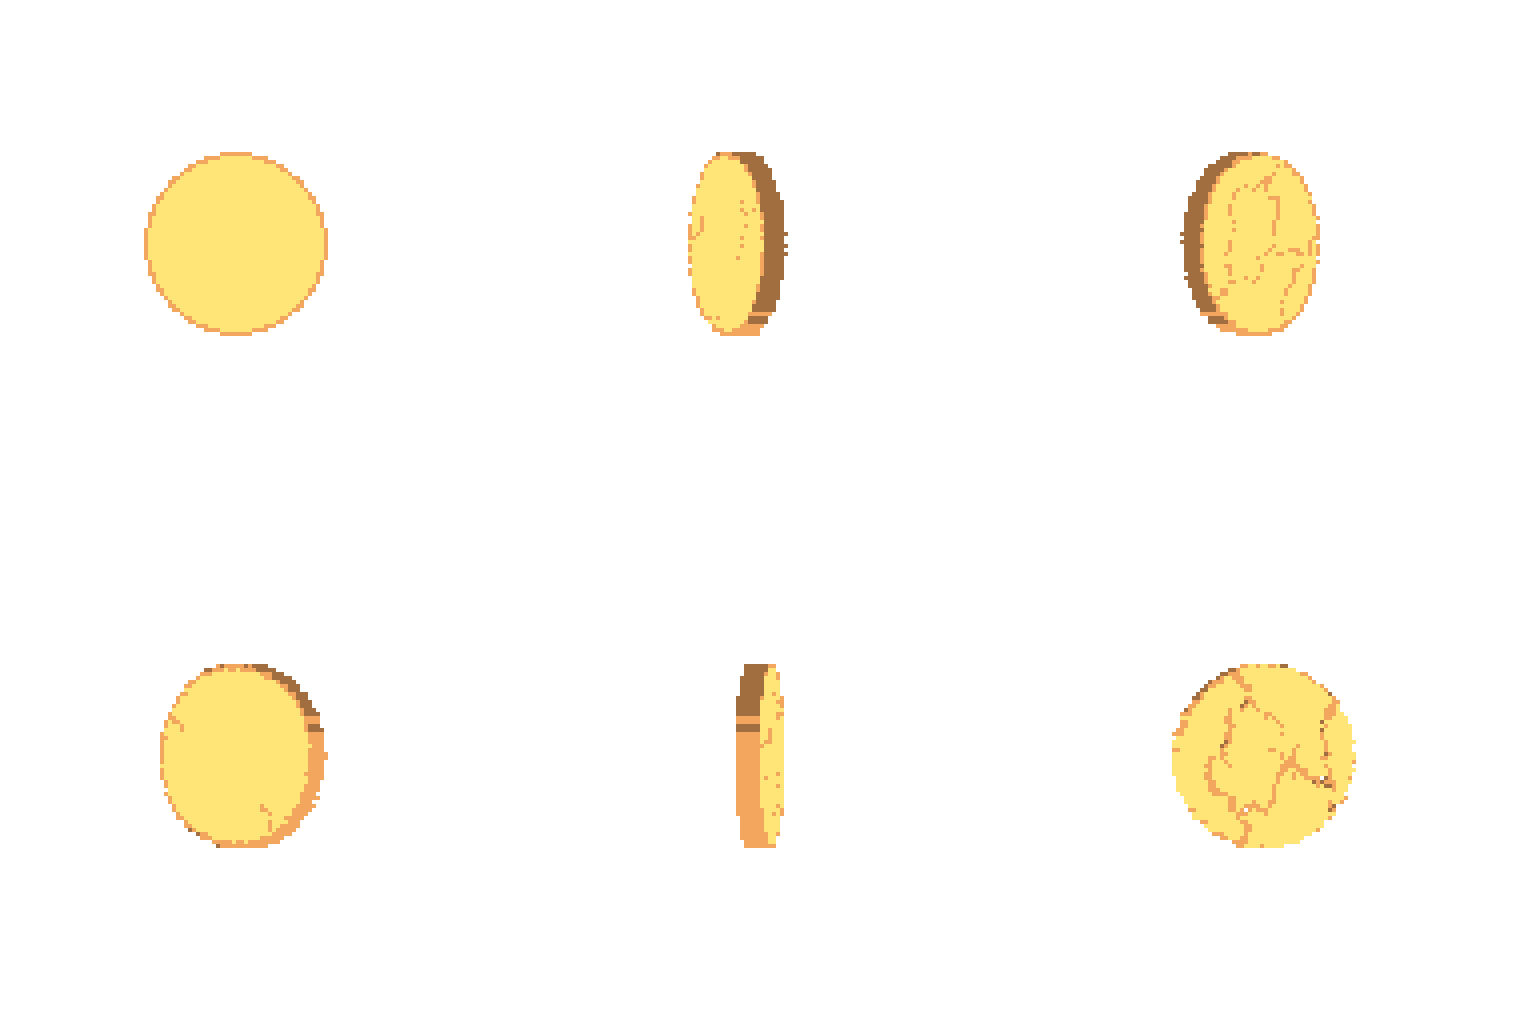
Move circle, Anim Azimuth. // Move Push. Anim Elevation
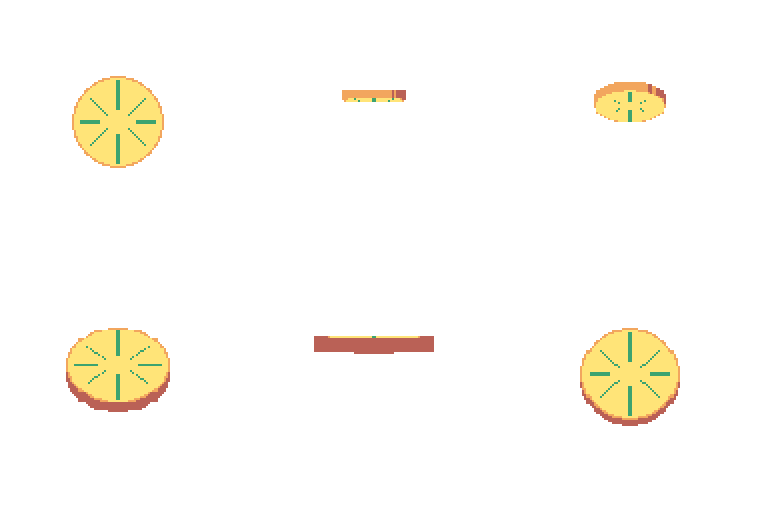
Spin. Pendulum // Flip. Rock.
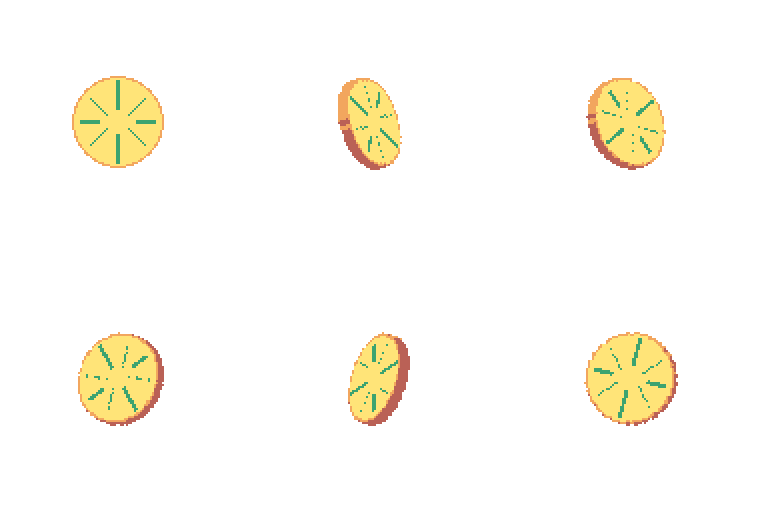
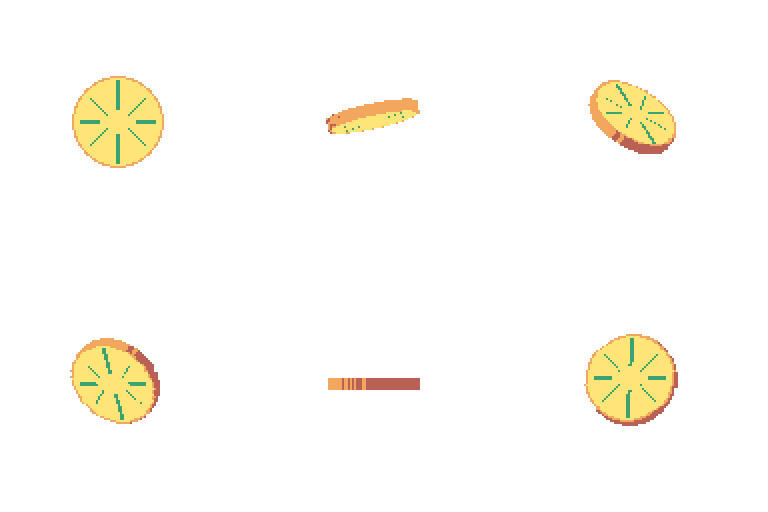
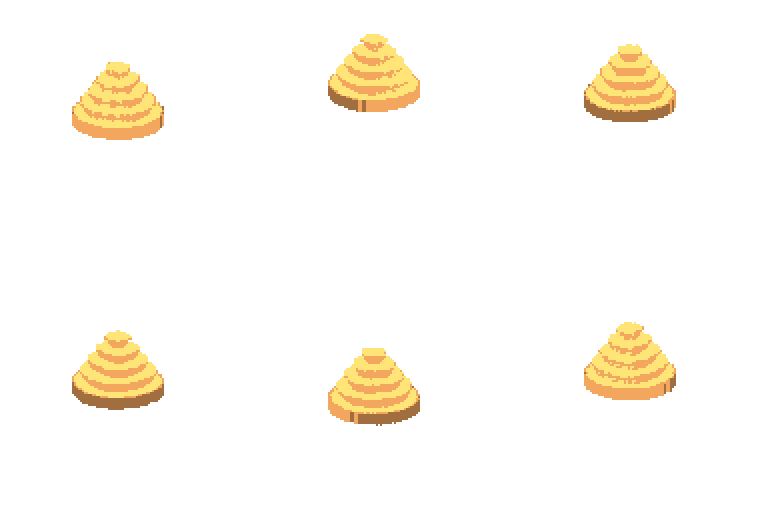
STACK:
Same drawing, but now the green marks are on layer 2.
Bob. Azimuth //
Changing elements in Layer 2 under “Layers...” Orbit and Wobble
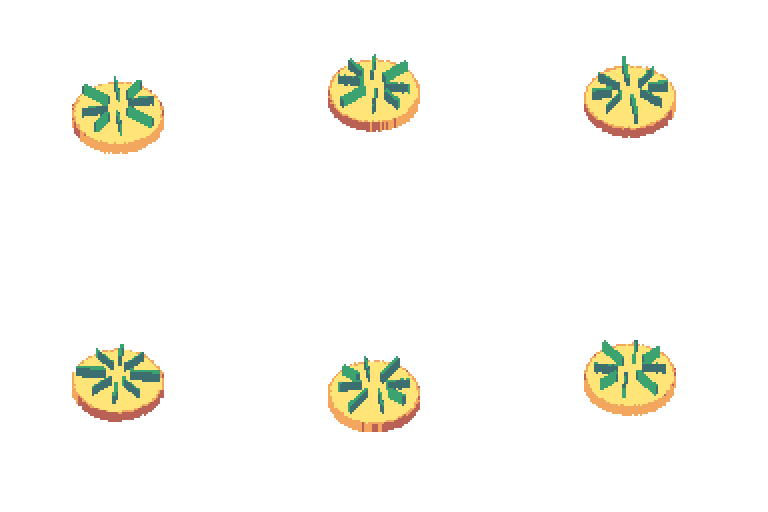
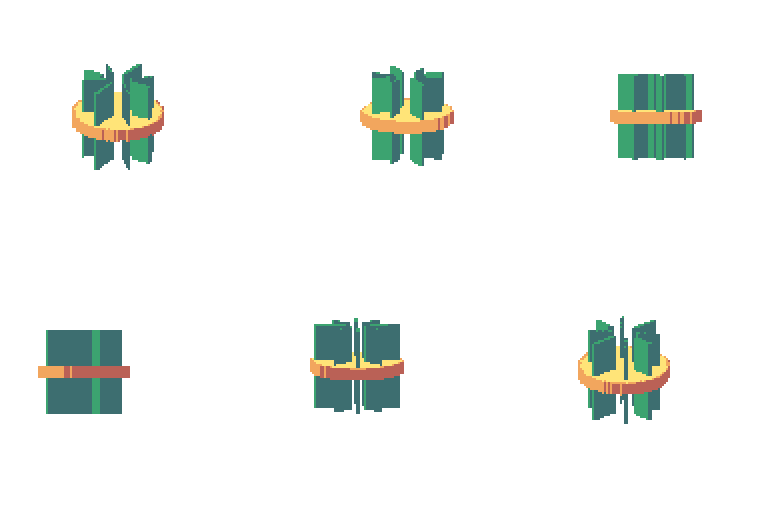
It supports animations:
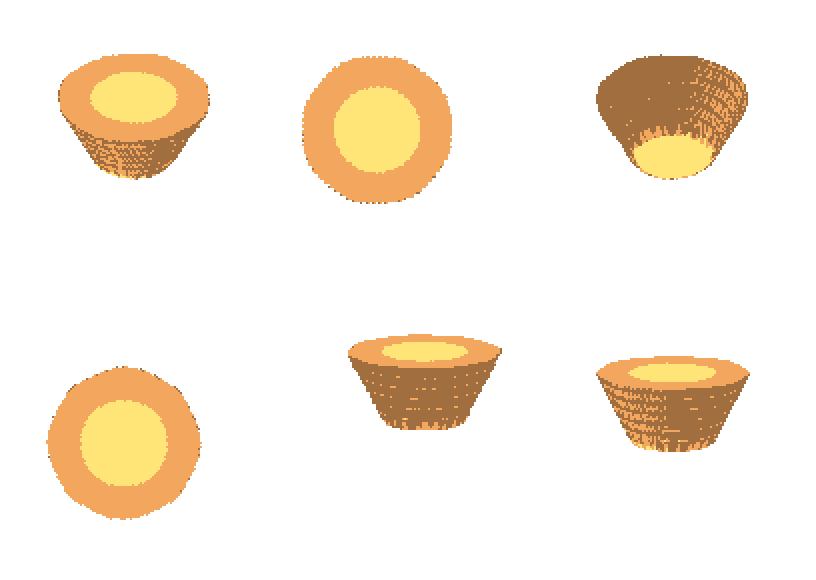
You can clone a layer, stack it, and change the border type for each layer. All of this can be managed from “Layers...:”
Workflow
1. Draw your art: Paint on any visible layers. In Relief they merge into one solid; in Stack they pile up.
2. Choose Build: Pick Relief (everything becomes one extruded shape) or Stack (each layer is a separate level).
3. Tweak Shape & Style: Set thickness, rise, edge profile, colour ramp, and lighting.
4. Open Preview: Orbit the camera, pan, and zoom to frame the shot.
5. (optional) Animate: Use the Anim tab to sweep the camera or move the object, then Render frames.
6. Allons-y!: Write the current view to the Heos_2.5D layer. The script creates separate layers for normal and height maps if requested.
How It Works
The engine uses an orthographic camera and projects your drawing onto a flat plane, then extrudes that plane into the third dimension to create volume. The two build modes simply change the orientation of that plane and the direction of the extrusion:
Relief: the drawing stands upright, facing the camera, and gains depth by pushing backward.
Stack: the drawing lies flat, and each layer becomes a level that piles upward, one on top of another.
Edge profiles (Straight, Round, Ridge, Groove, Step, Bevel, Half round) carve into the side faces rather than adding extra bulk outward, so the original outline of your artwork stays exactly as you painted it.
Shading uses a fixed light that stays in place while the object rotates, and the colours can be snapped to your drawing's own palette, to a custom gradient, or to a pure duotone ramp.
Preview Controls
The preview window opens when you click the Preview button in the main dialog. It shows a real‑time orthographic view of your extruded object. All camera interaction happens inside this floating window:
Orbit: Drag with the left mouse button to rotate the view around the object. This changes the camera's azimuth and elevation angles.
Pan: Drag with the right or middle mouse button to shift the view horizontally or vertically.
Zoom: Scroll the mouse wheel to zoom in and out. This affects the preview only: the render is never rescaled.
Reset view: Double‑click anywhere in the preview window to reset the camera orientation to its default (azimuth 0°, elevation 0°, roll 0°). Pan and zoom are kept as they are, so you can start a new framing from the current view.
Sliders: Below the canvas, the Azimuth, Elevation and Roll sliders mirror the camera angles and follow any drag in the view.
Fit canvas: Scales the piece to fill the canvas over the whole animation. Off by default: the face is your drawing and a non‑integer scale spreads its pixels unevenly.
Resize canvas: Sets the canvas to the piece at scale 1, evenly around the centre. Never crops what you painted.
Play: Runs the animation in the preview without touching the sprite.
Animation start: The camera position you set in the preview becomes the starting point for any camera sweep. The sweep moves relative to this initial view, so frame your shot carefully before enabling camera motion.
Shape Parameters
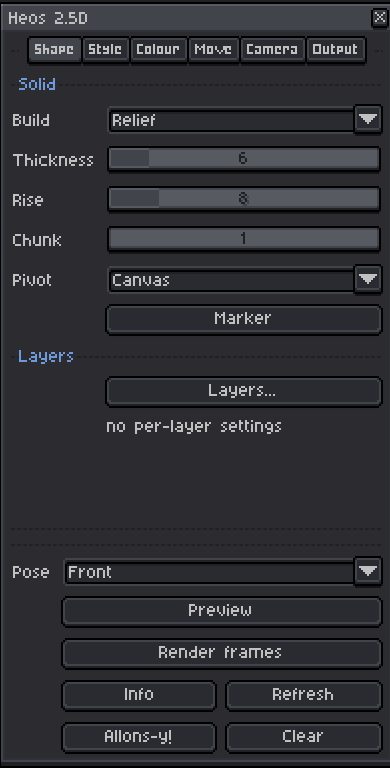
Build: Relief or Stack. Determines how layers are interpreted.
Thickness: Extrusion depth in pixels (0‑48).
Rise: Gap between levels in Stack mode (0‑48).
Chunk: Sampling grid size (1‑8). Larger chunks help geometry survive rotation.
Pivot: Art (centre of the drawing) or Canvas (centre of the sprite). A magenta pixel on Heos_Marker overrides both.
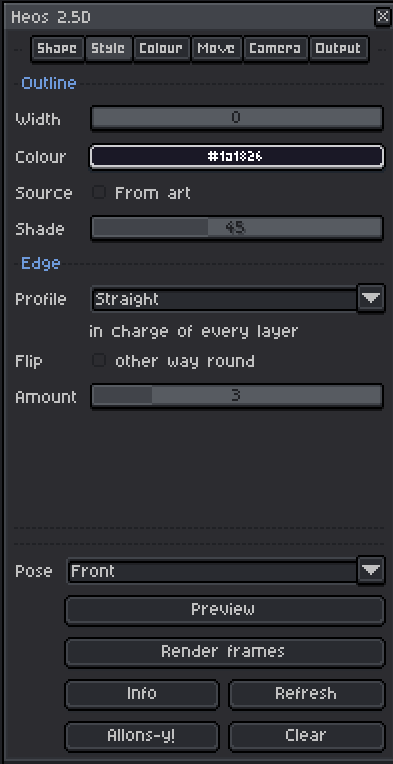
Style Parameters
Outline Width: Stroke width around the finished solid (0‑3).
Outline Colour: Fixed colour for the stroke (when Source is off).
Source: From art uses the colour of the pixel it borders; otherwise a fixed colour.
Shade: How much the outline colour is darkened (10‑100%).
Edge Profile: Straight, Round, Ridge, Groove, Step, Bevel, or Half round.
Amount: How much the profile carves into the face (0‑16).
Flip: Mirrors the profile along the extrusion axis (reverses Bevel/Half round).
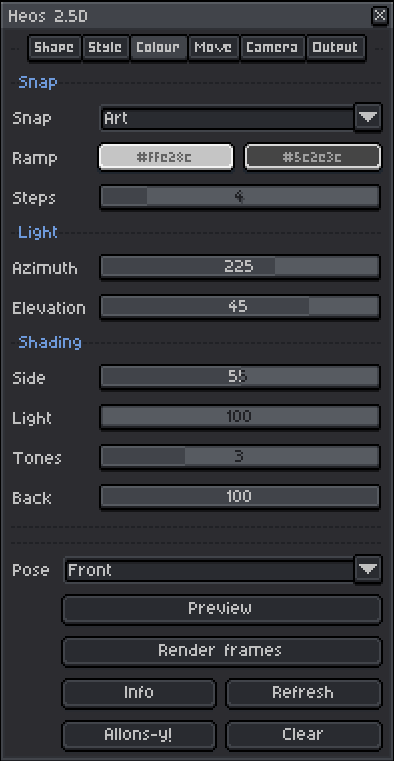
Side: Darkness of the unlit side face (10‑100%).
Light: Brightness boost for faces pointing toward the light (100‑200%).
Tones: Number of shading steps on the edge (1‑8). Fewer steps reads as pixel art.
Back: Dims the far face and the edge together (20‑100%), keeping the object cohesive when seen from behind.
Colour Parameters
Snap: Art (snaps to colours in your drawing), Ramp (custom gradient), Colour (pure duotone from the ramp), Palette (sprite palette), or Flat (no shading).
Light Colour: Bright end of the ramp (used in Ramp and Colour modes).
Dark Colour: Dark end of the ramp.
Steps: Number of bands in the ramp (2‑16).
Light Azimuth: Horizontal direction of the light (0‑360°).
Light Elevation: Vertical angle of the light (-89‑89°).
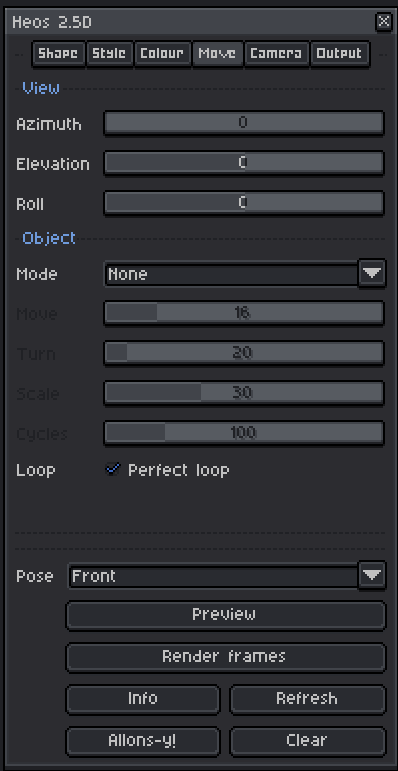
Move Parameters
Object Mode: None, Bob, Bounce, Circle, Corkscrew, Figure 8, Flip, Hop, Nod, Orbit, Pulse, Push, Rock, Roll over, Settle, Shake, Slide, Spin, Sway, Swing, Tumble, or Zigzag.
Move: Travel distance for modes that shift position (0‑96).
Turn: Swing angle for modes that rotate (0‑360°).
Scale: Size change for Push and Pulse (0‑90%).
Object Cycles: Number of full object cycles over the animation (25‑400% – 100% = one cycle).
Loop: Snaps cycles to whole numbers for a perfect loop.
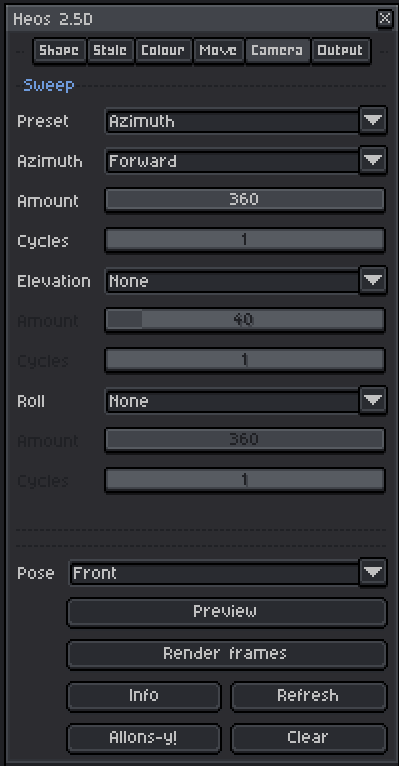
Anim Parameters
Sweep Preset: Custom, Azimuth, Barrel roll, Both, Elevation, Figure 8, Flip, Half turn, Pendulum, Rock, Still, Tilt, or Wobble. A preset fills the three axes below at once; touching any axis switches the preset back to Custom.
Direction: Per axis. None, Back and forth, Forward, Out and back, Reverse, or Reverse and back.
Amount: Swing amplitude of the sweep on that axis (0‑360°).
Cycles: Number of full sweep cycles over the animation (1‑4).
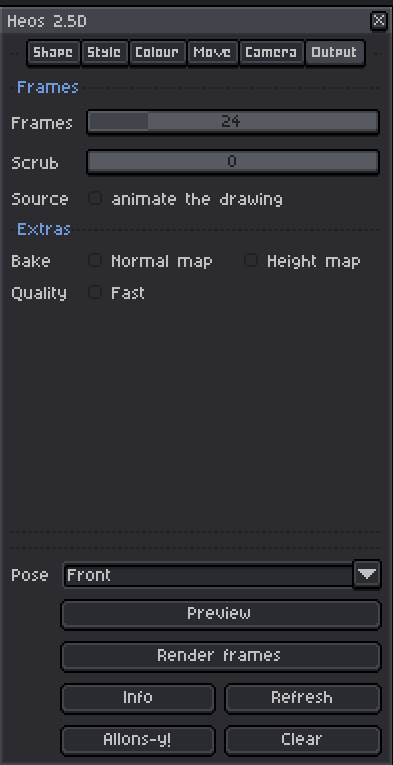
Source Frames: When enabled, each output frame reads its own frame from the source layers (looping over the original frames).
Extras: Check to bake Normal map and/or Height map to separate layers.
Frames: Number of frames to render (1‑120).
Scrub: Preview the current position in the animation sweep.
Layers (per‑layer settings)
The Layers dialog stores settings by layer name, so they survive reordering or re‑parsing. Each layer can have its own:
Offset: Moves only that level (‑64‑64).
Rise +: Changes the gap before that level, moving everything above it (Stack only).
Thick +: Added to the global Thickness (‑48‑48). Negative grows the layer toward the viewer.
Profile: Overrides the global edge profile per layer.
Flip: Mirrors the profile on that layer.
Copies: Number of cloned layers (2‑24) – each is a real layer stacked above.
Taper: How much each copy shrinks (‑16‑16). Negative values grow the copies.
Clone: Bakes the repeated copies into actual layers so you can edit them further.
Compatibility
Requires Aseprite 1.3.x or later. Works only in RGB colour mode (indexed sprites are not supported).
Tips
Use a single magenta pixel on a layer named Heos_Marker to set a custom pivot point – it beats both the Art and Canvas pivot modes.
In Stack, set Rise equal to Thickness for a solid block; use a larger Rise to create floating plates or gaps.
For pixel‑perfect isometric views, use the Iso 2:1 preset (azimuth 45°, elevation 26.565°). The foreshortening becomes exactly 1:2 and diagonals stay clean.
If the piece runs off the canvas, the script offers to resize once. Clear restores the original canvas size.
When using the Colour snap, Steps controls the number of duotone bands – lower values look more hand‑drawn.
FAQ
Q: What is the difference between Relief and Stack?
Relief merges all visible layers into one solid object that stands upright and extrudes backward. Stack treats each layer as a separate level, piling them upward – perfect for contour maps or stacked cardboard models.
Q: Why does my Stack result look like a single flat slab?
Make sure the upper layers have different silhouettes or use the Taper slider to shrink each copy. Identical silhouettes produce a plain prism.
Q: Can I animate both the drawing and the camera?
Yes. Enable Source Frames and the script will read a different frame of your source layers for each output frame, looping over the original frames. The camera sweep and object motion run on top of that.
Q: How do I get a normal map that matches my sprite?
Check the Normal map box in the Extras section. The map is baked in camera space and uses OpenGL convention (+Y up, +Z towards viewer). If your engine expects DirectX, flip the green channel.
Feedback & Support
I love seeing how you use Heos 2.5D in your projects. If you have questions, ideas, or just want to share what you've made, feel free to leave a comment or reach out directly. It's always great to see your work in action.

If you found this tool useful, taking a moment to leave a rating really helps. Thanks for the support.
Purchase
In order to download this tool you must purchase it at or above the minimum price of $3.99 USD. You will get access to the following files:
Leave a comment
Log in with itch.io to leave a comment.