Heos Beam
A downloadable tool
Heos Beam is a Lua script for Aseprite that builds a layered ball of energy and fires it as an animated beam toward points you paint. Perfect for laser shots, charged attacks, magic bolts, lightning strikes, plasma cannons, or glowing orbs in pixel art animations. It also builds a sprite sheet ready for game engines, with a beam piece that tiles to any length.
Examples
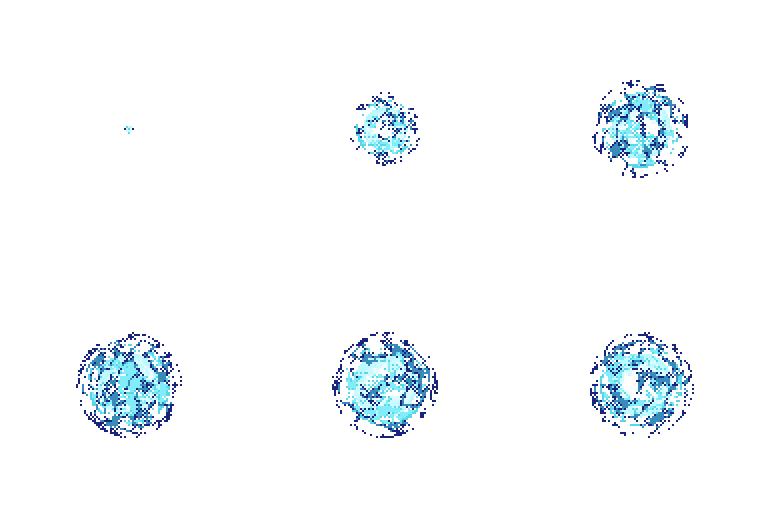
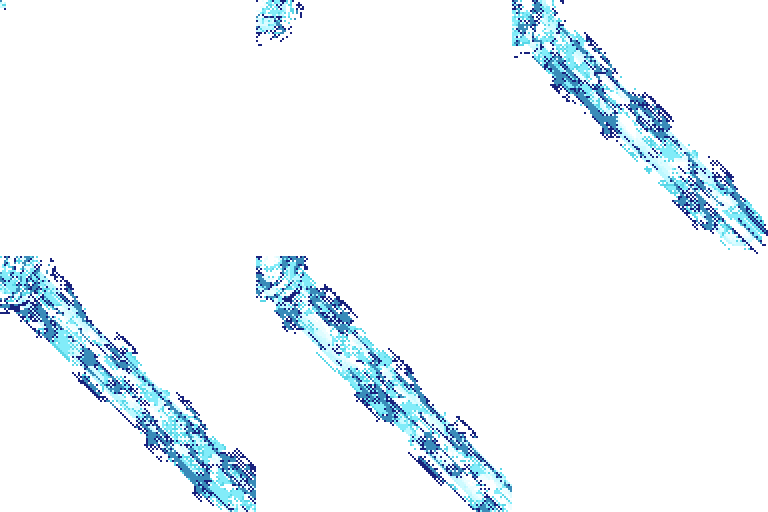
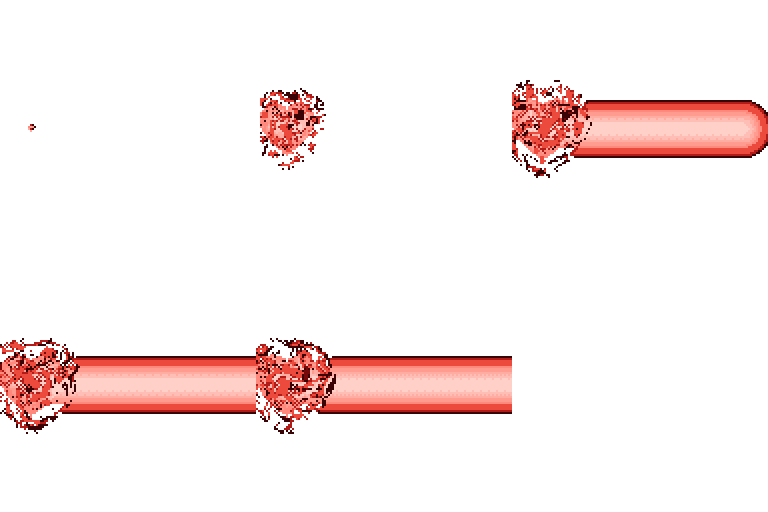
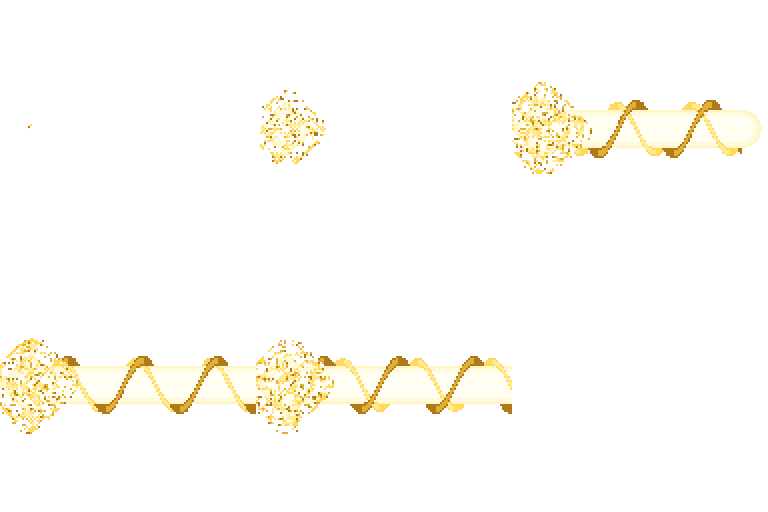
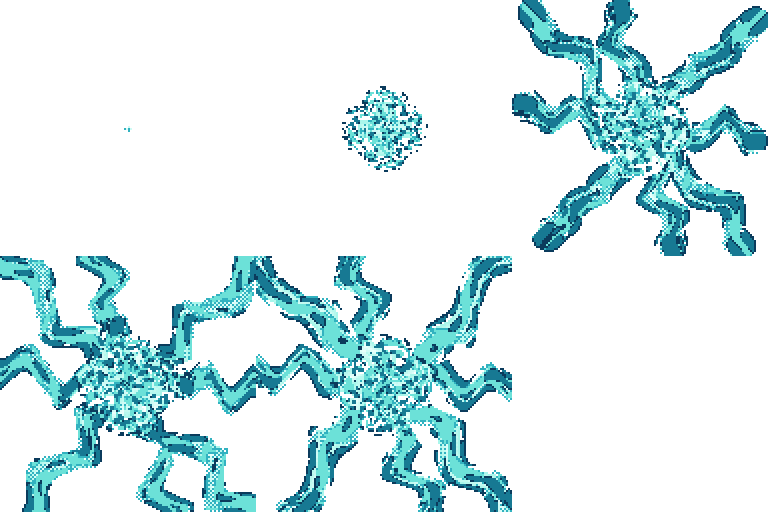
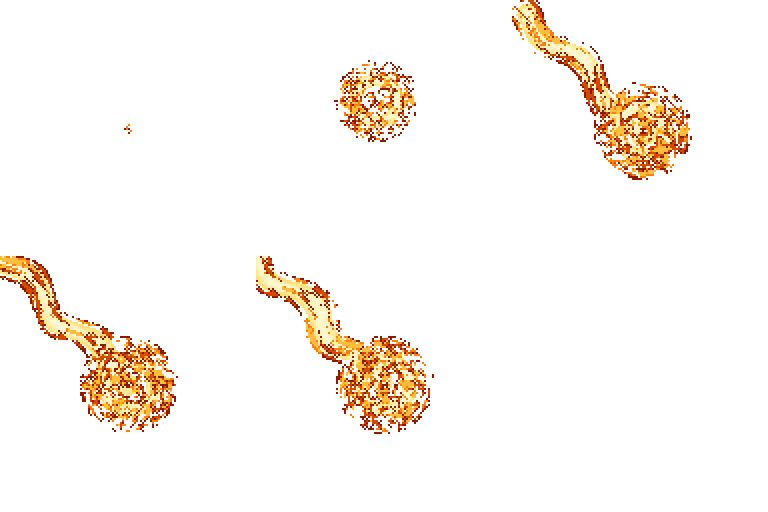
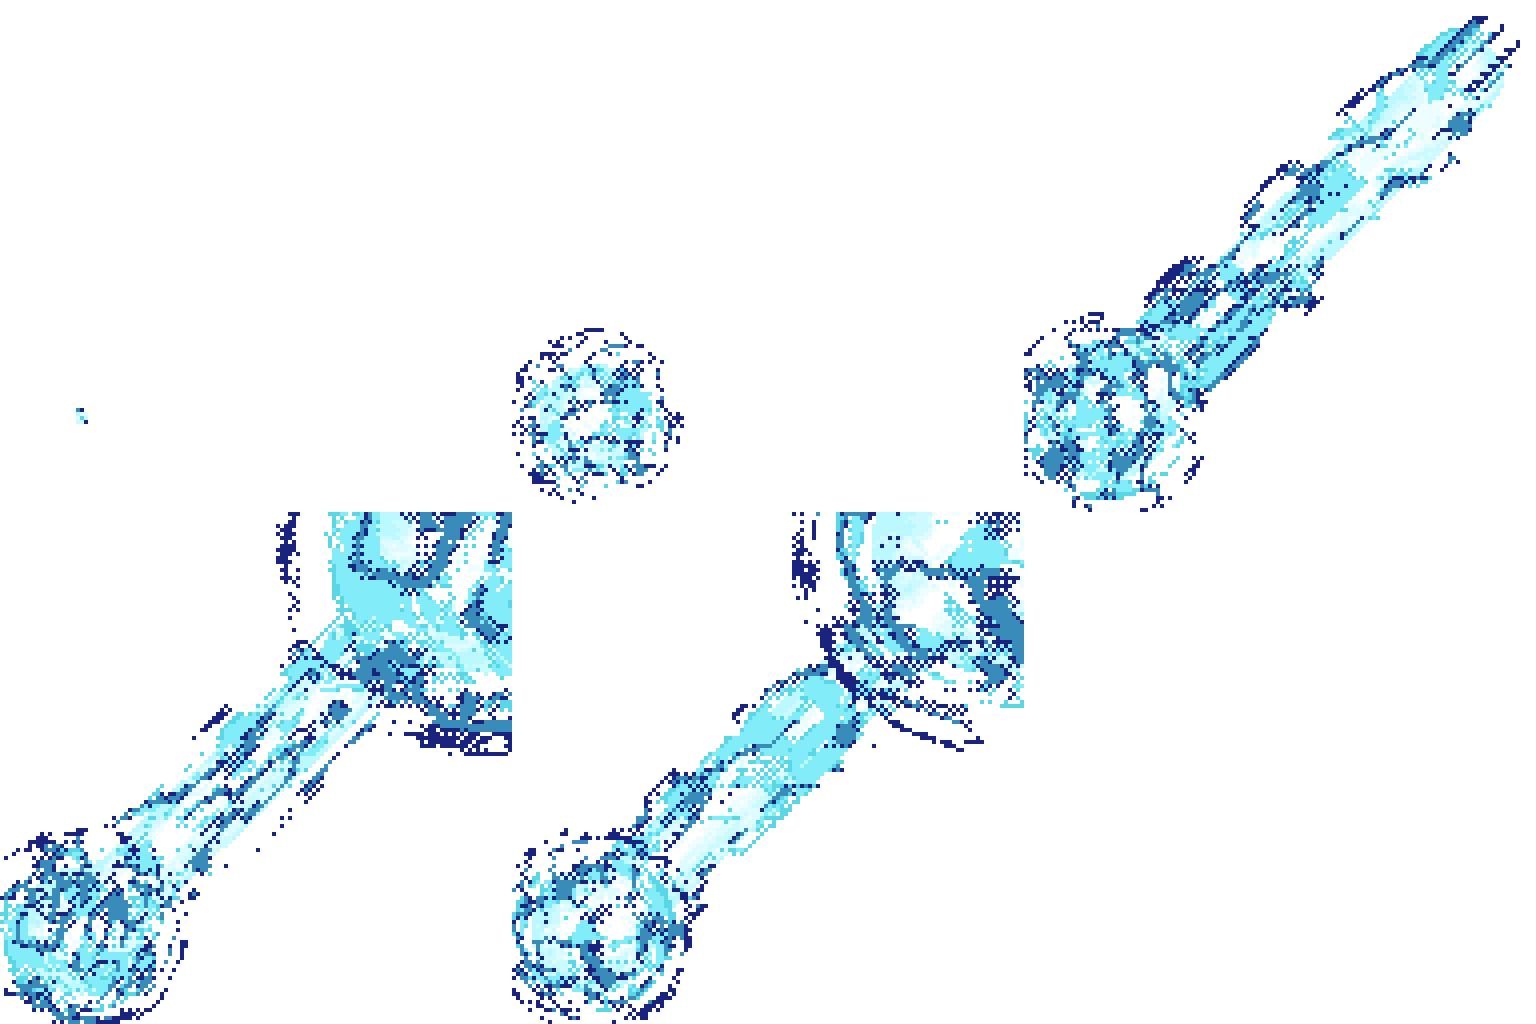
Impact and Sprite Sheet:

Workflow
1. Pick a preset: Choose a recipe from the Preset dropdown to set shapes and colors for every layer at once.
2. Place the ball: Press Origin and paint a dot of any color in the Heos_Origin layer.
3. Aim: Press a direction button, or press Point and paint dots in the Heos_Point layer. Every dot is one beam.
4. Tune: Adjust the ball, the beam style and the layers. Live preview renders the current frame as you go.
5. Animate: Press Render frames to build the full sequence: Charge, Fire, Hold and Fade.
6. Export for games: Press Build sheet in the Sheet tab to get a new sprite with the ball, a tileable beam piece and the impact, ready to export as PNG.
7. Clean up: Press Clear to remove the generated layers and frames, close the sheet and bring back the input layers.
How it works
The ball and the beam are the same thing measured two ways. Every pixel knows its distance to the ball and its distance to the beam, and each ring of energy fills whatever falls inside either one. The bright core runs down the middle of the beam, and the outer layers wrap around it exactly as they wrap around the ball.
Core: The bright center, shaded from the Center color to the Edge color.
Shells: Noisy layers of energy around the core. Add as many as you want.
One layer per ring: The core and every shell go to their own Aseprite layer, with their own opacity and blend mode.
Split ball / ray: An option next to Live preview that puts the beam, the ball and the impact on separate layers. The beam starts under the ball, so the result looks the same but each piece can be hidden or edited on its own.
Impact: A smaller ball made from the same layers, where each beam hits. It appears when the beam arrives, stays through Hold and shrinks with Fade.
Seamless loops: Everything that moves turns in whole cycles, so the Hold phase loops with any number of frames.
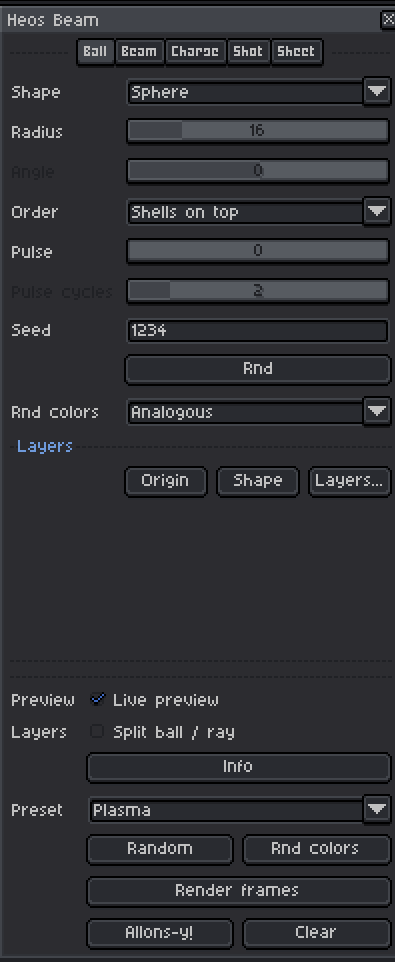
Ball tab parameters
Shape: Custom, Sphere, or a catalog shape: Crescent, Cross, Diamond, Heart, Ring, Star, Triangle.
Radius: Size of the ball in pixels, 1 to 80.
Angle: Rotation of catalog shapes, from -180 to 180 degrees.
Order: Core on top, or Shells on top.
Pulse: How much the ball breathes, 0 to 50%.
Pulse cycles: Breaths per Hold loop.
Seed: Changes every noise at once. Rnd picks a new one.
Rnd colors: Color harmony used by the random color buttons: Analogous, Complementary, Muted, Neon, Triadic.
Origin, Shape, Layers...: Create the origin layer, create the custom shape layer, or open the layer list.
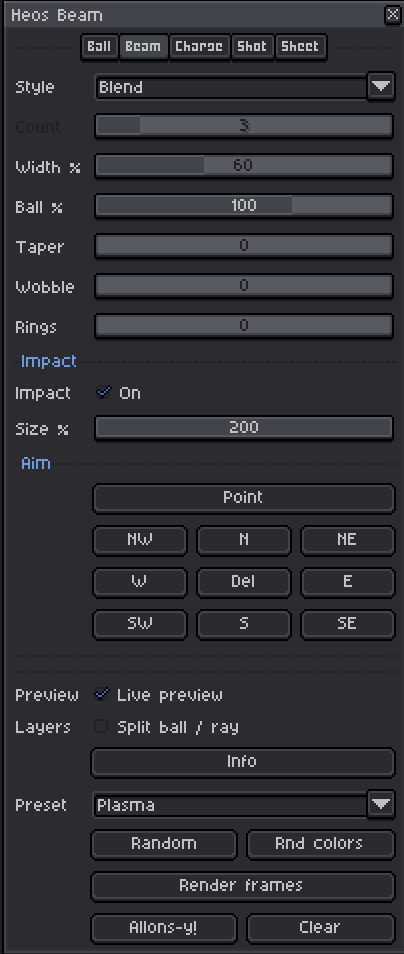
Beam tab parameters
Style: How the beam is built from the colors of the ball.
Count: Turns, beads, dashes or bends, depending on the style.
Width %: Beam width relative to the ball, 10 to 150%.
Ball %: Size of the ball while firing. At 0 only the beam remains.
Taper: Narrows the beam toward the tip.
Wobble: Waves the beam from side to side.
Rings: Bulges that travel toward the tip, 0 to 8.
Impact On: Adds the impact ball at the end of every beam.
Size %: Size of the impact relative to the ball, 10 to 200%.
Point: Creates and selects the Heos_Point layer.
NW, N, NE, W, E, SW, S, SE: Aim in one of eight directions, straight to the edge of the canvas. Del clears all points.
Beam styles
None: No beam, only the energy ball.
Blend: The shells follow the beam with their noise.
Beads: The beam travels in pulses joined by a thin core.
Braid: Shells coil around the core in opposite directions and cross each other.
Clean: Flat core with every shell as a clean band on the edges.
Dashed: Straight dashes moving forward, like tracer fire.
Helix: Shells coil around the core and pass behind it.
Lightning: A jagged path that changes every frame and still loops.
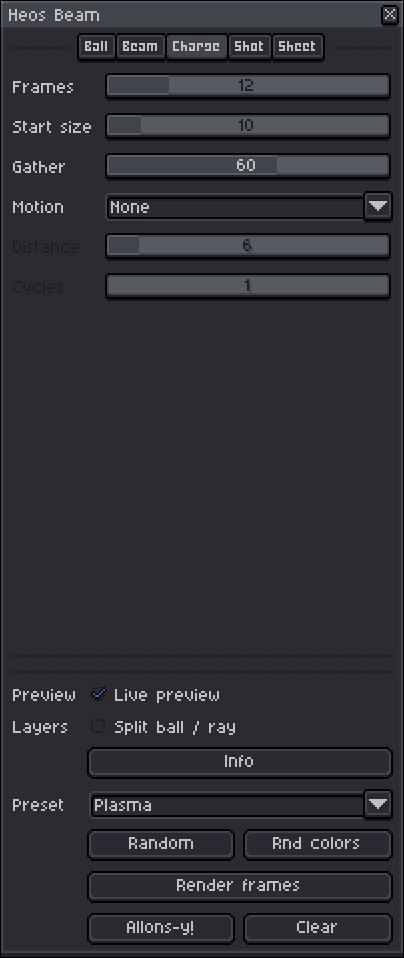
Charge tab parameters
Frames: Length of the charge, 0 to 60. At 0 the charge is skipped.
Start size: Size of the ball on the first frame, 0 to 100%.
Gather: How thin the shells start and how much they thicken while charging.
Motion: Bob, Circle, Drop, Figure 8, Orbit, Rise, Shake, Spiral, Sway, Zigzag. Every motion ends where the shot begins.
Distance: Size of the motion in pixels.
Cycles: Repetitions of the motion during the charge.
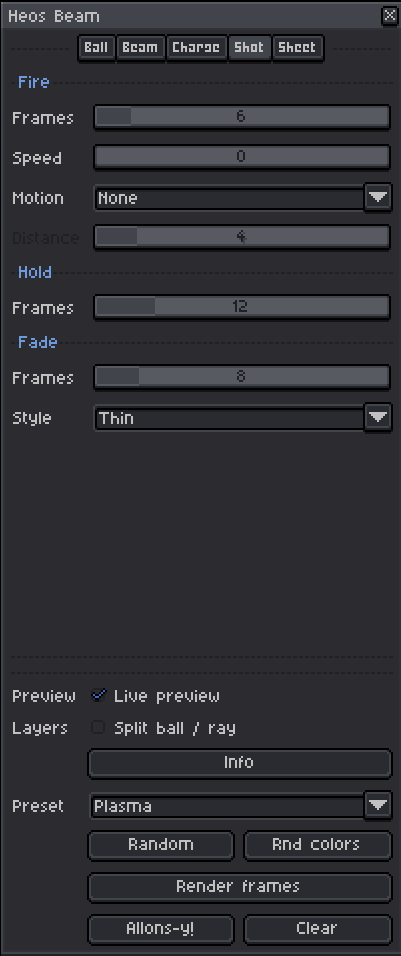
Shot tab parameters
Fire Frames: Frames the beam takes to reach its target, easing in at the end.
Speed: Pixels per frame. Above 0 the beam travels at constant speed and Fire lasts as long as the longest beam needs.
Motion: Kick, Recoil or Rumble while firing. Rumble continues through Hold and still loops.
Distance: Strength of the fire motion in pixels.
Hold Frames: Length of the looping part, 1 to 60.
Fade Frames: Length of the ending, 0 to 60.
Style: Thin narrows the beam until it disappears. Retract pulls the tail toward the tip.
Core and shell windows
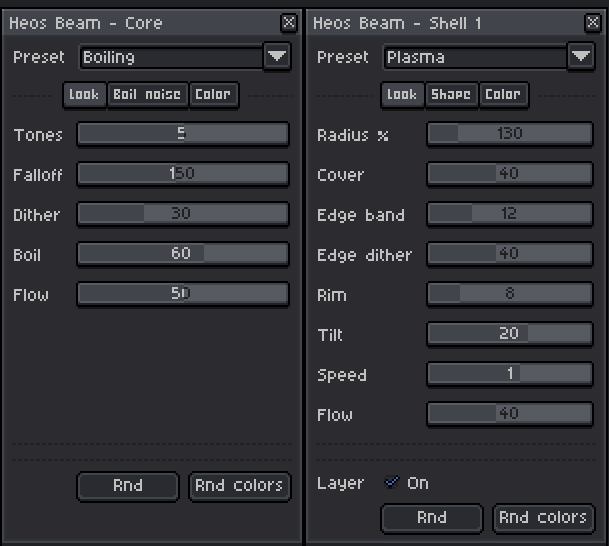
Open them from Layers.... Each window has its own Preset, a Rnd button for a new variation, and a Rnd colors button.
Tones: Core color steps, 2 to 8.
Falloff: How wide the bright center spreads.
Dither: Ordered dither between core tones.
Boil: Noise inside the core.
Radius %: Size of a shell relative to the core, 100 to 300%.
Cover: How much of the shell is filled with energy.
Edge band: Width of the Edge color along the borders of the noise.
Edge dither: Breaks up the borders of the noise.
Rim: Edge color on the outer ring of the shell.
Tilt: Angle of the axis the shell turns around.
Speed: Whole turns per Hold loop. Negative values turn the other way.
Flow: Morphs the noise over time.
Noise: Bands, Billow, Cellular F1, Cellular F2-F1, Circles, Ridged, Swirl, Terraced, Value fBm, Warped. With Scale, Octaves, Persistence, Lacunarity, Warp, Stretch and Variation.
Opacity, Blend: Applied to the Aseprite layer: Normal, Addition or Screen.
On: Turns a shell off without deleting it.
Full presets
The Preset dropdown sets the core, the shape of every shell and a color gradient spread from the center outward. It works with any number of shells. You can still tweak anything after applying. Available presets:
Acid: Bubbling green.
Arcane: Swirling violet with sparks.
Blood: Deep red veins and flames.
Candy: Soft pink and lilac bubbles.
Electric: White and yellow static over blue.
Ember: Glowing sparks and smoke.
Fire: Flames and wisps in orange.
Frost: Icy veins and mist.
Holy: Golden light with sparks.
Ocean: Turquoise swirls and bubbles.
Plasma: Classic cyan energy.
Prism: Rainbow swirls.
Shadow: Dark mist.
Toxic: Green over purple, bubbling.
Void: Deep purple swirls.
Sheet tab parameters
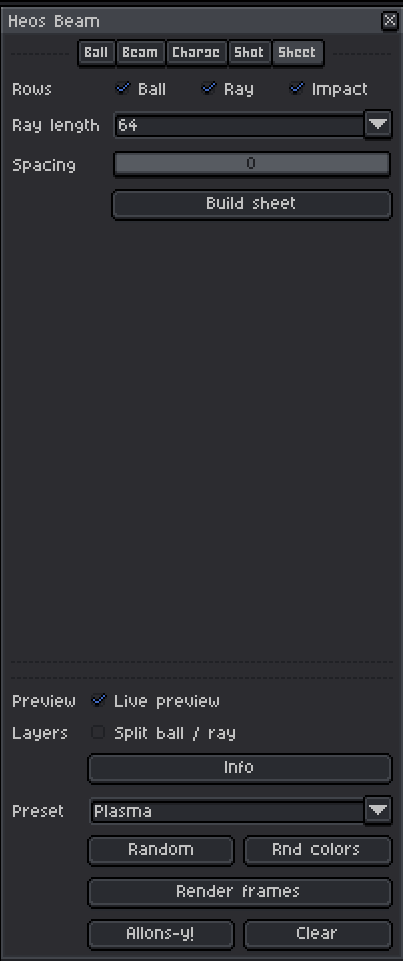
Build sheet creates a new sprite with a sprite sheet for game engines. Your sprite is not touched. Save or export the new one as you like.
Rows: Ball, Ray and Impact. Choose which pieces go in the sheet.
Ray length: Width of the beam piece, from 16 to 256 pixels, always a multiple of 4.
Spacing: Gap between cells, 0 to 8. At 0 the beam row looks like one long strip, because each piece continues into the next.
Build sheet: Creates the sheet. Building again replaces the previous sheet without saving it.
Sprite sheets for games
The sheet has one row and one layer per piece. Each layer name gives its cell size and frame count, such as Heos_Beam_Ray 64x32 x20, and a slice with the same name marks the row. The rings are merged into each layer with their opacity and blend mode.
Ball: Every phase, Charge, Fire, Hold and Fade, centered and without motion. Move it in the engine instead.
Ray: A horizontal piece that tiles: Hold, then Fade. Repeat it end to end to make the beam any length, and rotate it toward the target.
Impact: Hold, then Fade. Place it where the beam hits. Needs Impact on.
The beam piece tiles in space and loops in time, because its noise turns exactly once per piece and Hold closes in a loop. Taper and the start of Wobble are left out of the piece so it repeats cleanly, and the Fade of the ray row always narrows. Heos_Point is optional: without it the ray still builds.
Custom shapes
Press Shape and paint a silhouette of any color in the Heos_Shape layer. The core fills the silhouette with the brightest color along its thickest part, and every shell grows around it following its outline. If the layer is empty, the script uses a sphere.
Compatibility
Requires Aseprite 1.3.x or later. Works with RGB color mode.
Tips
Keep Order on Shells on top for Helix and Braid, so the strands pass in front of the core. Set the shells to Addition or Screen for a stronger glow. Paint several dots in Heos_Point to fire several beams at once. Use the None style for idle orbs, pickups or charged spells that never fire. For a game, draw the ray piece under the ball, so the joint is hidden. All input layers are hidden while rendering and come back with Clear.
Feedback & Support
I love seeing how you use Heos Beam in your projects. If you have questions, ideas, or just want to share what you've made, feel free to leave a comment or reach out directly. It's always great to see your work in action.

If you found this tool useful, taking a moment to leave a rating really helps. Thanks for the support.
Purchase
In order to download this tool you must purchase it at or above the minimum price of $3.99 USD. You will get access to the following files:
Leave a comment
Log in with itch.io to leave a comment.