Heos Chimera
Heos Chimera is a web‑based collage editor that lets you assemble faces that never existed from image sources. It blends cut‑out pieces, applies print‑like effects (threshold, dithering, grain), and lets you warp and arrange them freely.
Perfect for creating surreal portraits, composite characters, mood boards, or atmospheric illustrations with a gritty, analog aesthetic.
Examples
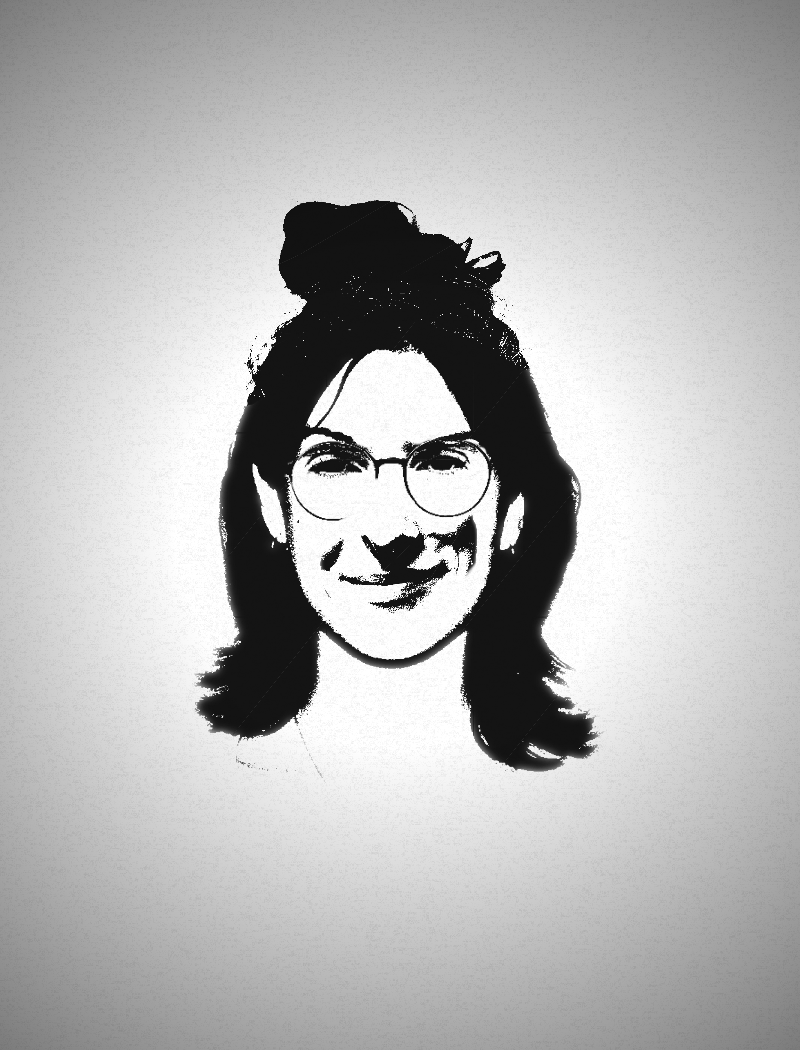
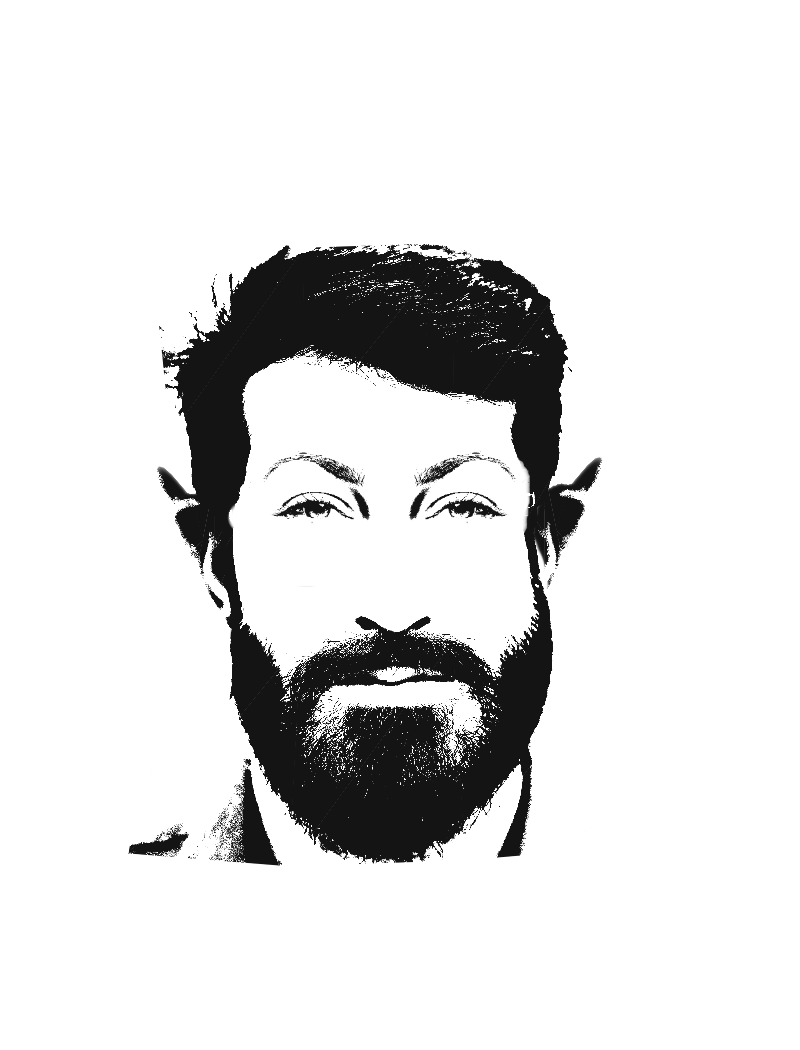
For the examples, four different faces were used (though not in every case), and mesh deformation can be used to create unsettling effects.
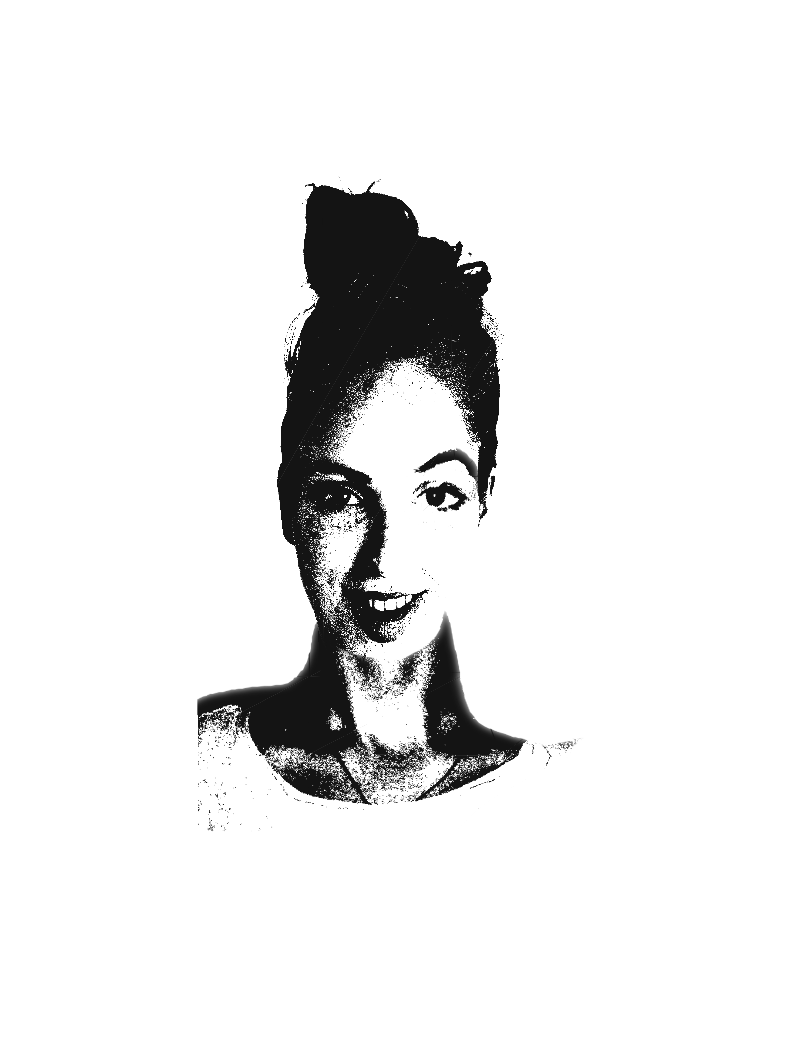
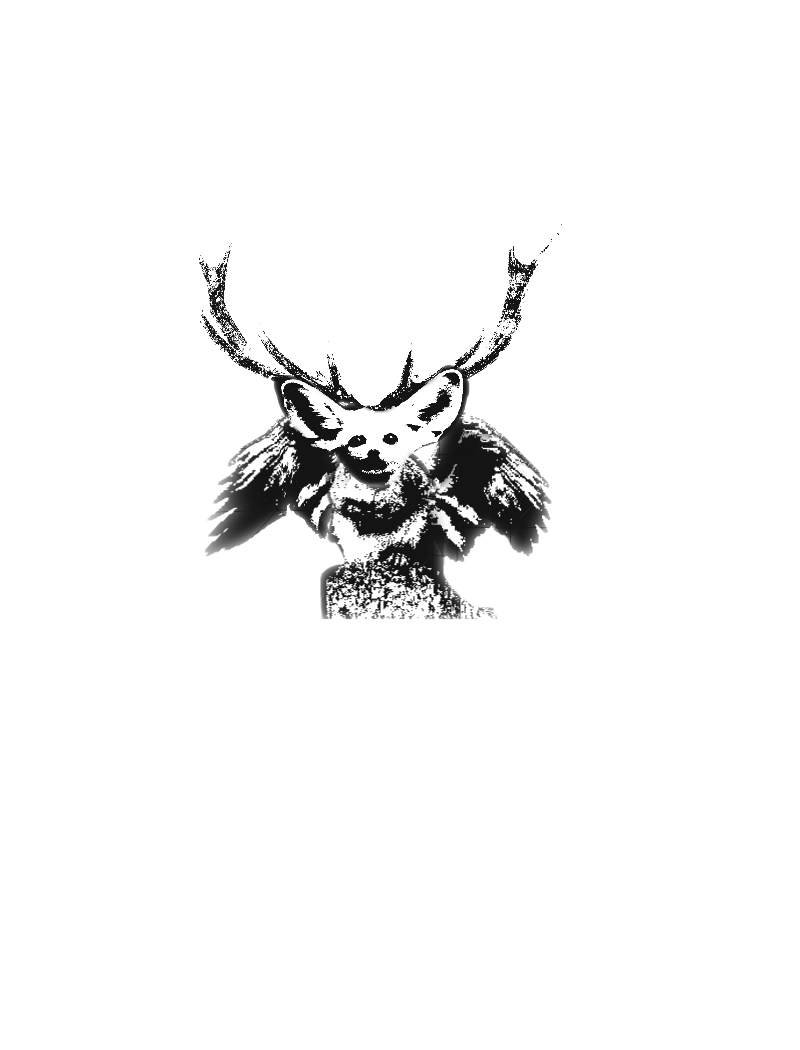
And of course, it works well for chimeras, too:
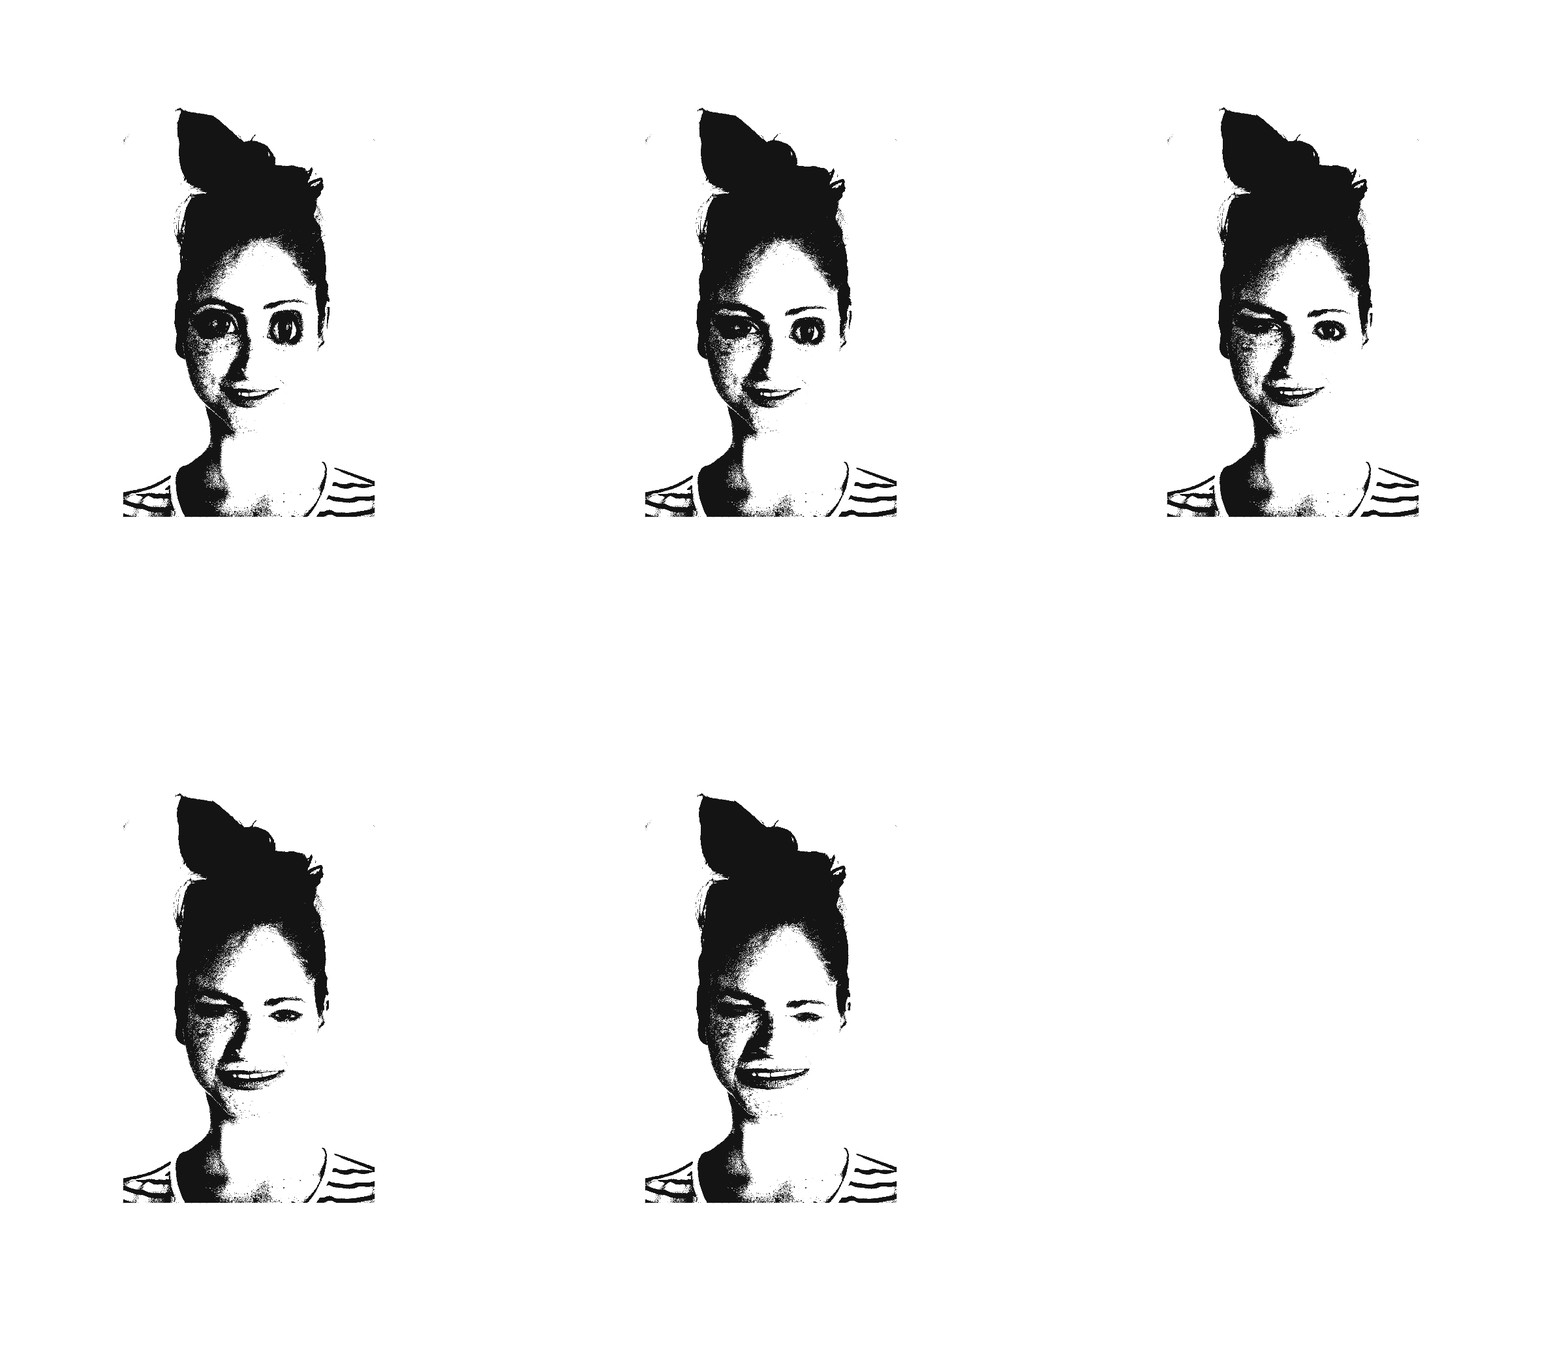
Animation:
Workflow
1. Add sources: Drag and drop images into the Sources panel, or click the + button. Each source becomes a tile you can cut from.
2. Cut a piece: Click a source tile to open the lasso tool. Draw a freehand, polygonal, rectangular, or wand selection. The cutter runs fullscreen with zoom, pan, and high-resolution detail. Adjust feathering and press Cut.
3. Position & transform: The new piece appears on the canvas. Left-click to select (drag for marquee selection). Right-click to move pieces. Use corner handles to scale, or drag the rotation handle (top centre). Hold Shift while dragging to snap to guides.
4. Apply style: In the right panel, adjust threshold, contrast, dither, grain, and ink/paper colours. Each piece can have its own effect, or you can unify everything with the global pass.
5. Fine‑tune with mesh or eraser: Switch to Mesh mode to distort the piece locally—right-click to insert a node for high-precision deformation in just one area. Or use Eraser mode to remove parts of the piece with a soft brush.
6. Animate (optional): Open the Animation bar to capture frames. Move pieces, deform the mesh, change visibility or effects, then press "+ Frame" to take a snapshot. Play back the sequence, or export as GIF or WebM video.
7. Export: Click the gold Export button to save a PNG of the final collage, or use the Animation bar to render your sequence as GIF (supported everywhere) or WebM (browser-recorded video).
How It Works
Each piece is an independent layer with its own transformation (position, scale, rotation, flip) and a deformable mesh. The mesh lets you warp the piece by dragging control points, or right-click to insert a node at precise locations for hyper-local deformation without affecting the rest of the piece.
Source cutting: The lasso tool runs fullscreen, letting you zoom and pan to see fine detail. Four tools handle different selections: freehand, polygonal, rectangular, and wand (magic wand). The mask is feathered and cropped to the bounding box, creating a new piece with transparent background.
Piece effects: Each piece can be processed with a custom posterisation pipeline: threshold (with softness), dithering (Bayer 4x4/8x8 or noise), grain, contrast, brightness, and invert. The ink colour replaces dark areas, and the paper colour (or transparency) replaces light areas.
Mesh deformation: Start with a 2×10 grid and adjust density, or right-click on the piece to insert nodes exactly where you need them. This builds local resolution only where it matters, leaving the rest untouched. Alt + right-click removes nearby nodes. The mesh topology is preserved in the undo history and animation frames.
Eraser: Paint with a soft circular brush to delete parts of a piece. Brush size and edge hardness are adjustable, and the effect is smooth thanks to feathering interpolation.
Global pass: After all pieces are composited, an optional global effect applies the same posterisation to the entire canvas, unifying the look.
Animation: Capture a sequence of frames as you position, deform, and style your pieces. Each frame records the complete state of every piece (position, mesh deformation, visibility, opacity, effects). Play back with adjustable FPS, loop, or step through manually with arrow keys. Export as GIF (universally supported) or WebM video (modern browsers).
Paper texture: A procedural paper texture adds fibre grain and a vignette, giving the final output a physical, printed feel.
Parameters
Source & Cutting
Lasso tools: Freehand, Polygonal, Rectangular, and Wand (with tolerance and contiguous option). The cutter interface is fullscreen with zoom (mouse wheel) and pan (middle-click or Space + drag), giving you precision control over every cut.
Feather: Softens the edge of the cut (0–100 pixels).
Invert selection: Cuts the area outside the drawn path.
Piece Tools
Transform: Left-click to select pieces (drag to create a selection area). Right-click to move the selected piece(s). Scale with corner handles, rotate with the top-centre handle. Shift + drag snaps to guides.
Mesh: Drag individual mesh vertices to warp the piece. Density defaults to 4×4 and can be adjusted from 2×2 to 10×10 using the slider. Right-click on the piece to insert a node for high-precision local deformation; Alt + right-click removes the nearest interior nodes. Changing the density slider rebuilds a uniform mesh and discards any manually-added nodes.
Eraser: Paint with a soft circular brush to delete parts of the piece (uses destination‑out compositing). Brush size (4–600 px) and edge hardness (0–100%) are adjustable. For smooth, continuous strokes, dabs are interpolated between mouse events.
Style Effects (per piece)
Threshold: 0–255 (defaults to 80). Pixels above the threshold become ink; below become paper (or transparent).
Softness: 0–120. Blends the threshold transition.
Dither: None, Bayer 4×4, Bayer 8×8, or Noise. Adds a patterned diffusion to the threshold.
Dither strength: 0–255. Intensity of the dithering pattern.
Grain: 0–120. Adds per‑pixel random noise before thresholding.
Contrast: 0.5 to 4.0. Multiplicative contrast applied to luminance.
Brightness: –120 to 120. Offset to luminance.
Invert: Inverts the luminance before thresholding.
Ink: Colour used for dark areas (defaults to #141414).
Paper: Colour used for light areas (defaults to #ffffff, white). Can be set to transparent.
Blend mode: Standard compositing modes (Normal, Multiply, Screen, Overlay, etc.) for layering pieces.
Global Pass
Enable: Applies the same posterisation pipeline to the whole composite.
Threshold, Softness, Dither, Dither strength, Grain, Contrast, Brightness, Invert, Ink: Same as per‑piece, but applied after all pieces are merged.
Paper
Paper colour: Background colour of the canvas (defaults to white #ffffff).
Transparent paper: Makes the background transparent, useful for overlays.
Texture amount: 0–100% intensity of the fibre texture overlay.
Fiber size: 1–12, controls the scale of the texture pattern.
Fibers: 0–100, density of horizontal streaks in the paper.
Vignette: 0–100, darkens the edges of the canvas.
Animation
Timeline: Capture a frame at any time by pressing "+ Frame". Each frame records the full state (position, mesh, deformation, visibility, opacity, blend mode, effects) of every piece visible at that moment. Click a frame to jump to it and edit; press "Update" to save changes to the current frame.
Transport: Play (P), rewind, and loop controls. FPS is adjustable (1–60).
Frame management: Duplicate (create a copy of the current frame), delete, or reorder by dragging the frame chips or using Shift + comma/period. Arrow keys step through frames when nothing is selected.
Export formats: GIF (universally supported, 256-colour palette with LZW compression) or WebM (if your browser supports it; modern Firefox, Chrome, Edge).
Presets
You can save the current effect settings (per‑piece) as a named preset. Presets are stored in your browser's local storage and persist across sessions. Applying a preset overwrites the selected piece's effect parameters (seed is preserved). The dropdown list appears in the "Style presets" section.
Selection & Region
Left-click a piece to select it (drag to create a selection area). Hold Shift or Ctrl to add or remove from selection. Right-click to move the selected piece(s) anywhere on the canvas. In Transform mode, dragging a corner handle scales all selected pieces around their common centre; the rotation handle rotates the group.
Tips
Use multiple source images to build complex characters. Try cutting eyes, mouths, and textures from different photos and blending them with Multiply or Overlay modes.
For a more unified look, enable the Global pass with a moderate threshold and dither after arranging your pieces. The paper texture adds realism – a small amount (10–20%) gives a subtle grain without overpowering the image.
The mesh tool is great for fitting a piece to a face contour: switch to Mesh mode, drag vertices to stretch or squash the piece organically. For ultra-fine adjustments (e.g., a wrinkle or eye crease), right-click to insert a node exactly where you need it—this adds a column and row without affecting the rest of the mesh.
Animation lets you show transformation sequences: morph one face into another by moving pieces frame-to-frame, or apply deformations gradually across multiple frames. Export as GIF for easy sharing, or WebM for higher quality.
Compatibility
Runs in modern browsers (Chrome, Firefox, Edge, Safari). No installation required – it works entirely in the browser. The exported PNG matches the canvas resolution (800×1050 by default). GIF export works in all browsers; WebM export requires browser support (Firefox, Chrome, Edge 79+).
Feedback & Support
I love seeing how you use Heos Chimera in your projects. If you have questions, ideas, or just want to share what you've made, feel free to leave a comment or reach out directly. It's always great to see your work in action.

If you found this tool useful, taking a moment to leave a rating really helps. Thanks for the support. ❤️
Leave a comment
Log in with itch.io to leave a comment.