Heos Cloth
A downloadable tool
Heos Cloth is a Lua script for Aseprite that simulates real fabric using a mesh‑based physics engine.
Perfect for flags, banners, curtains, capes, sails, and any pixel art that needs to move, drape, ripple, tear, or burn in the wind.
WARNING: Some generations and presets may take a little longer than usual to generate. Don't worry. Nothing will explode (I hope). For example, I count to 5 seconds while the “bunting” preset is generating. This is all due to the “step” setting. The lower the value, the more nodes the fabric has. Even so, I've included a few features to try to work around this as best as possible. A “Quality” drop-down menu and a “Bake” button. ‘Quality’ can be used for a quick preview (although the animation in the draft and preview modes isn't entirely accurate), and “Bake” calculates all the movement so you can change the lights without having to recalculate everything from scratch.
Examples
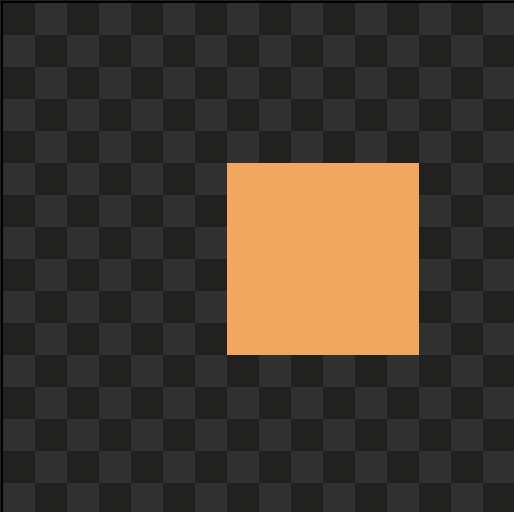
Simple form. To get started. (Canvas: 256x256. Rectangle Size: 96x96)
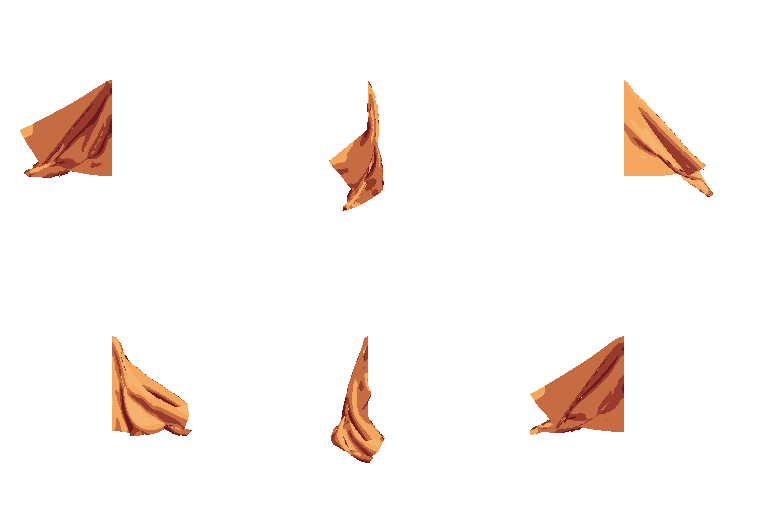
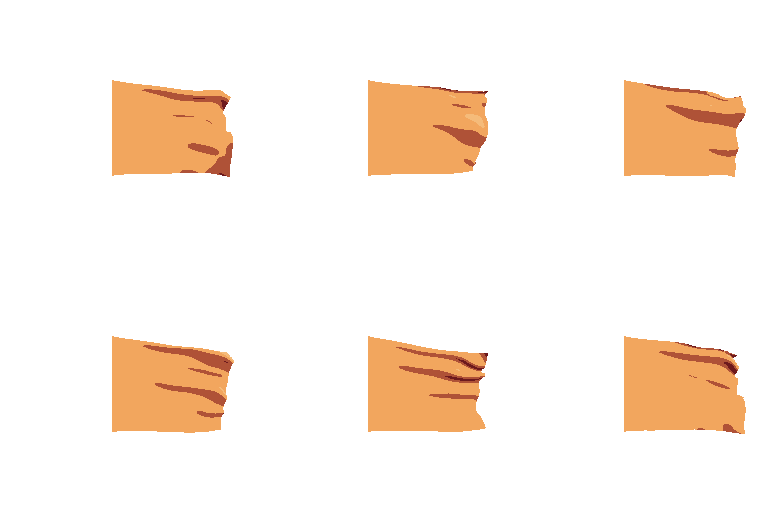
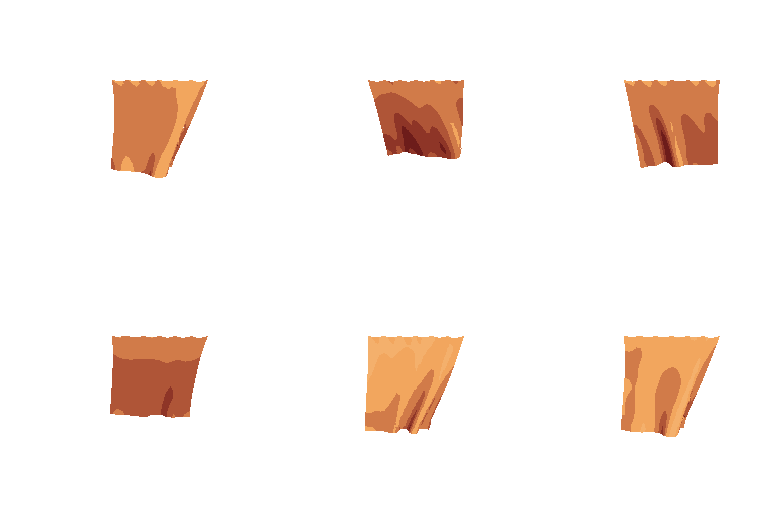
Some of the 25 presets: (Flag/Bunting/Curtain/Skirt/Silk scarf/Ash Veil)
Colliders and Custom Pin:
In this house, we're decent people, and we hate the Colliders. That's what has caused me the most heartache, but let's illustrate it with an example.
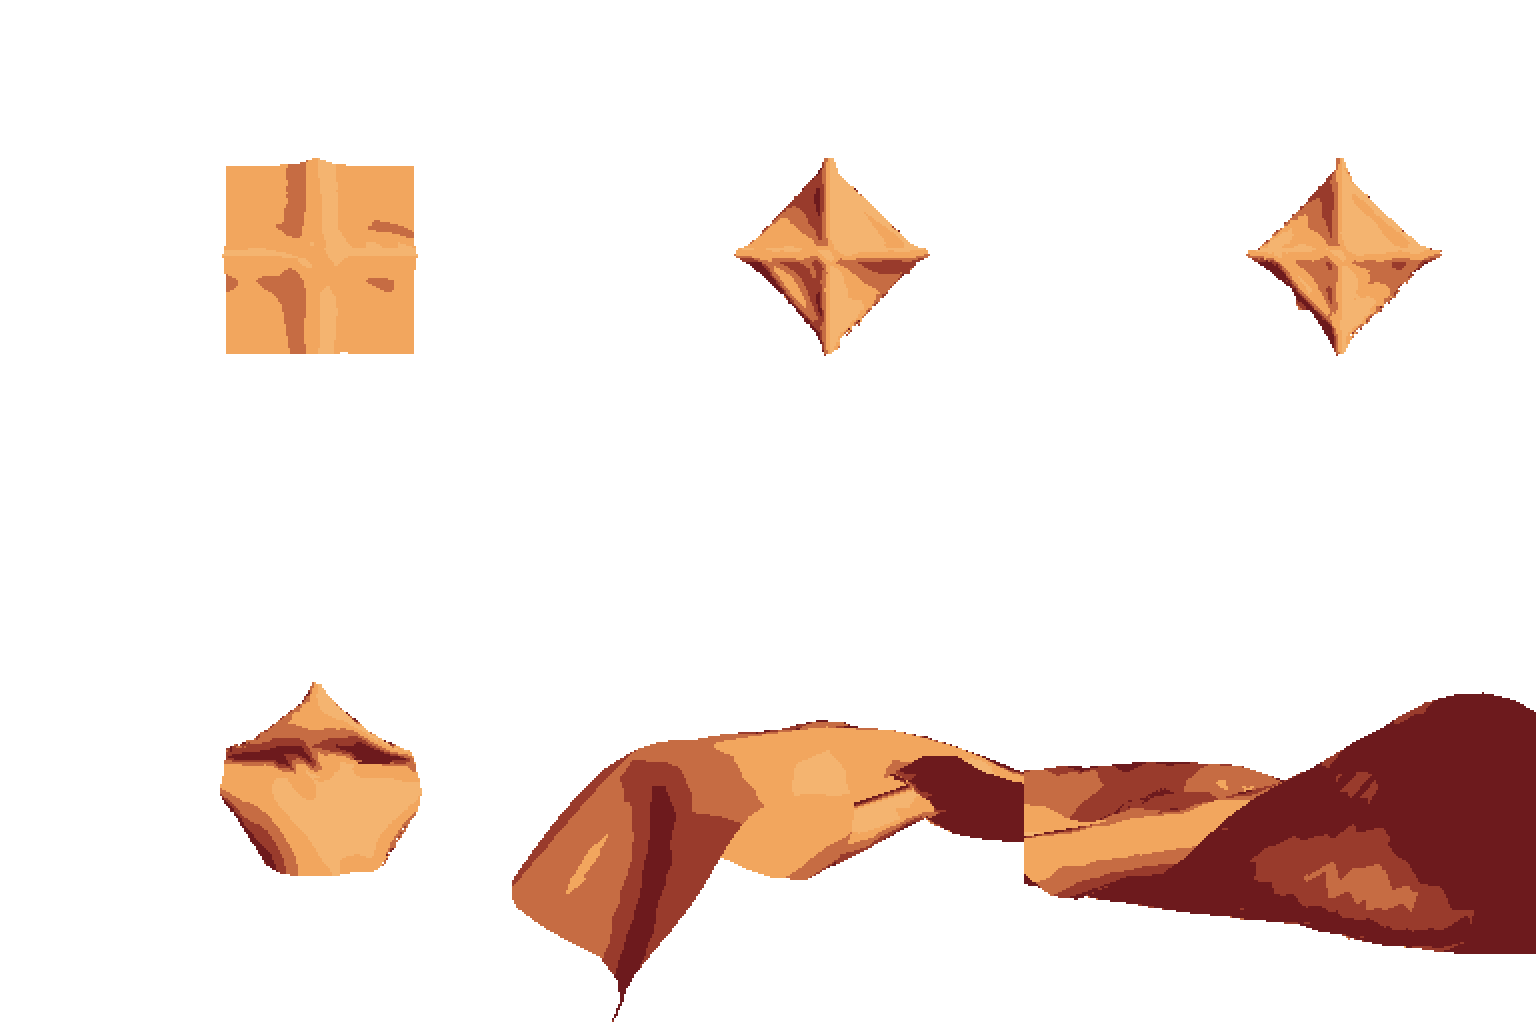
We'll start with the Flag preset. Pin mode: None. Wind: 100. Blow Far. Click “Set ground” and change ‘Collide’ to “Shape layer” (note that the button always sets it to “Terrain layer” by default; change it to “Shape layer” if that happens). Friction: 100. Place Behind. In Anim, check the box next to “include drop.” Ground drawing (green color)
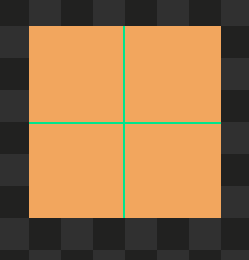
Result:
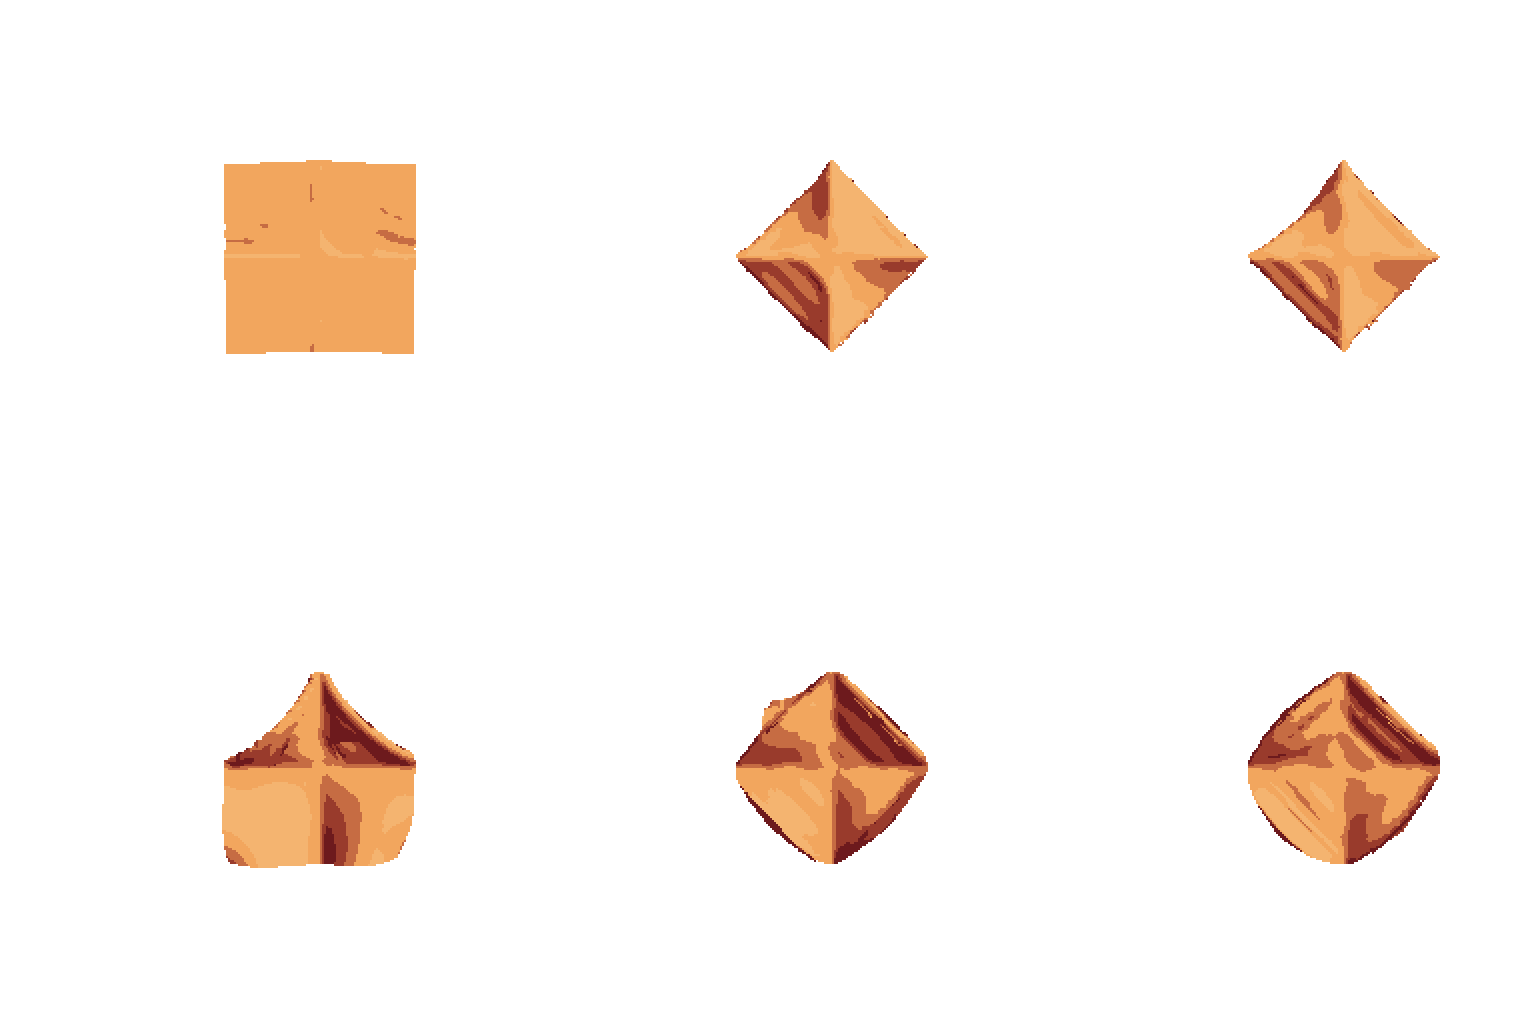
Now with custom pin mode. The initial setup is the same: Press “Set Pin,” select “Custom” in pin mode, and draw the same cross:
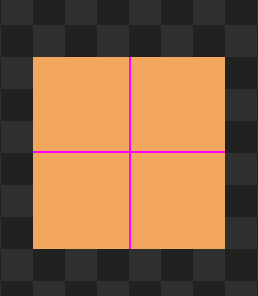
The pins act like nails. I haven't touched anything; I've even been reckless enough to put the “friction” set to 0. Result:
“Yeah, yeah, whatever... but seeing the fabric fly forward is really cool. And you can't do that with pins." Nope, but you can figure out roughly which frame you'd like to release the fabric at and set it to ‘Release (fr)’ in ‘Anim.’ That makes the pins disappear. I set it to frame 15 and....
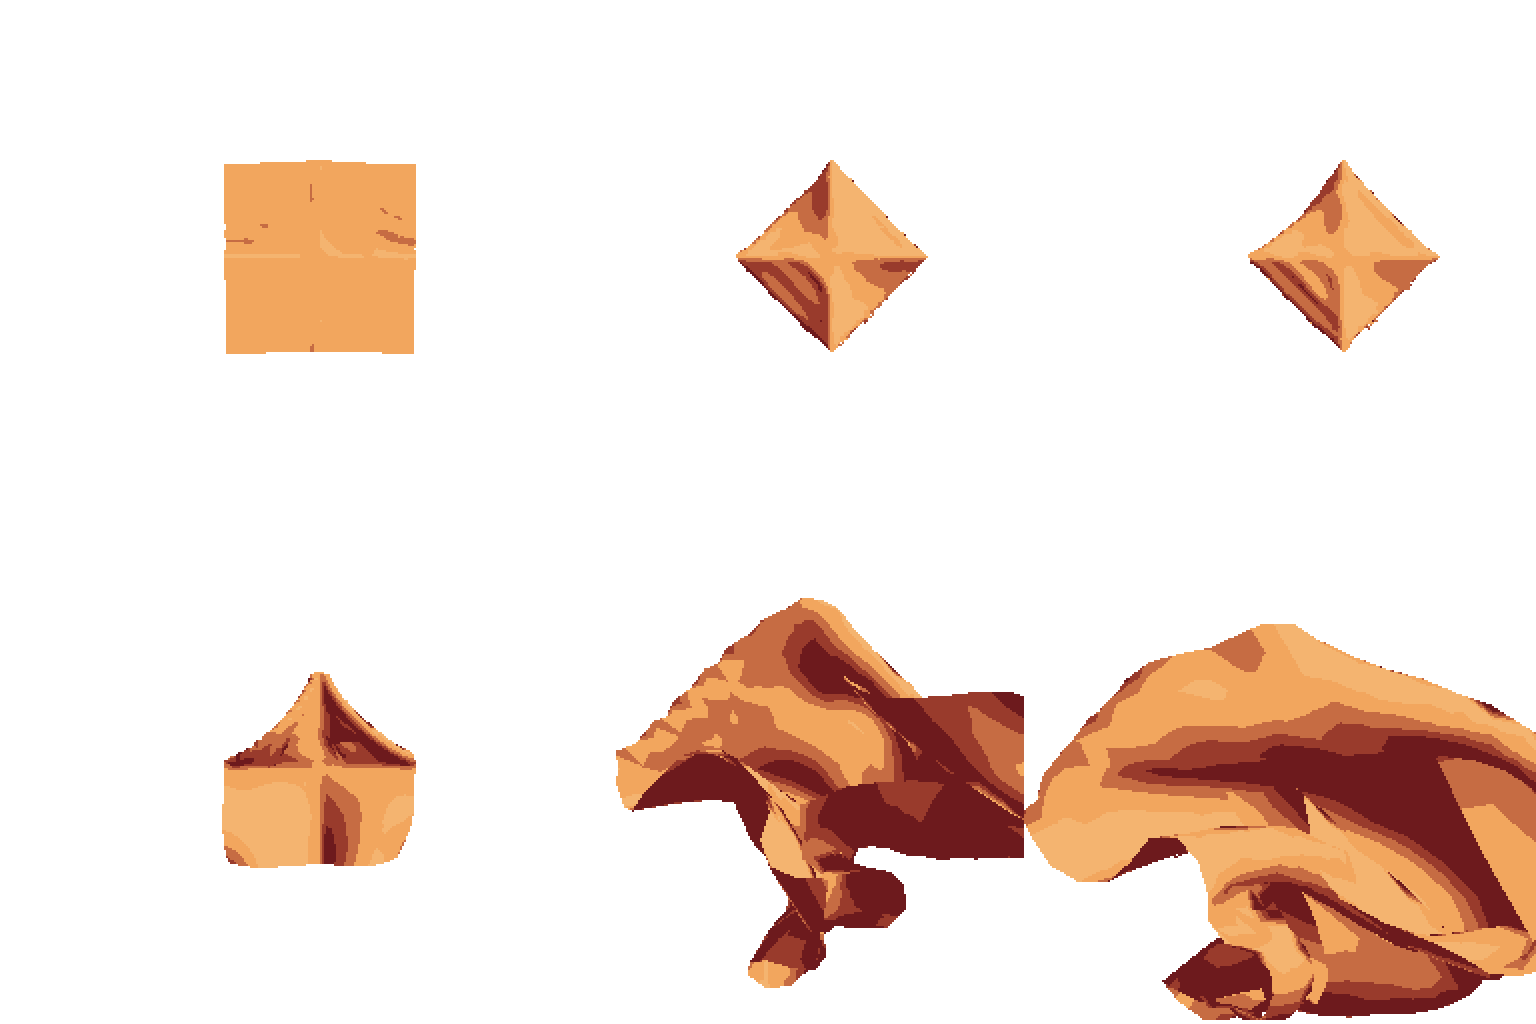
In the examples used, the result changes significantly when you adjust the friction, wind power, or angle. Collide is unpredictable. The pins are more predictable.
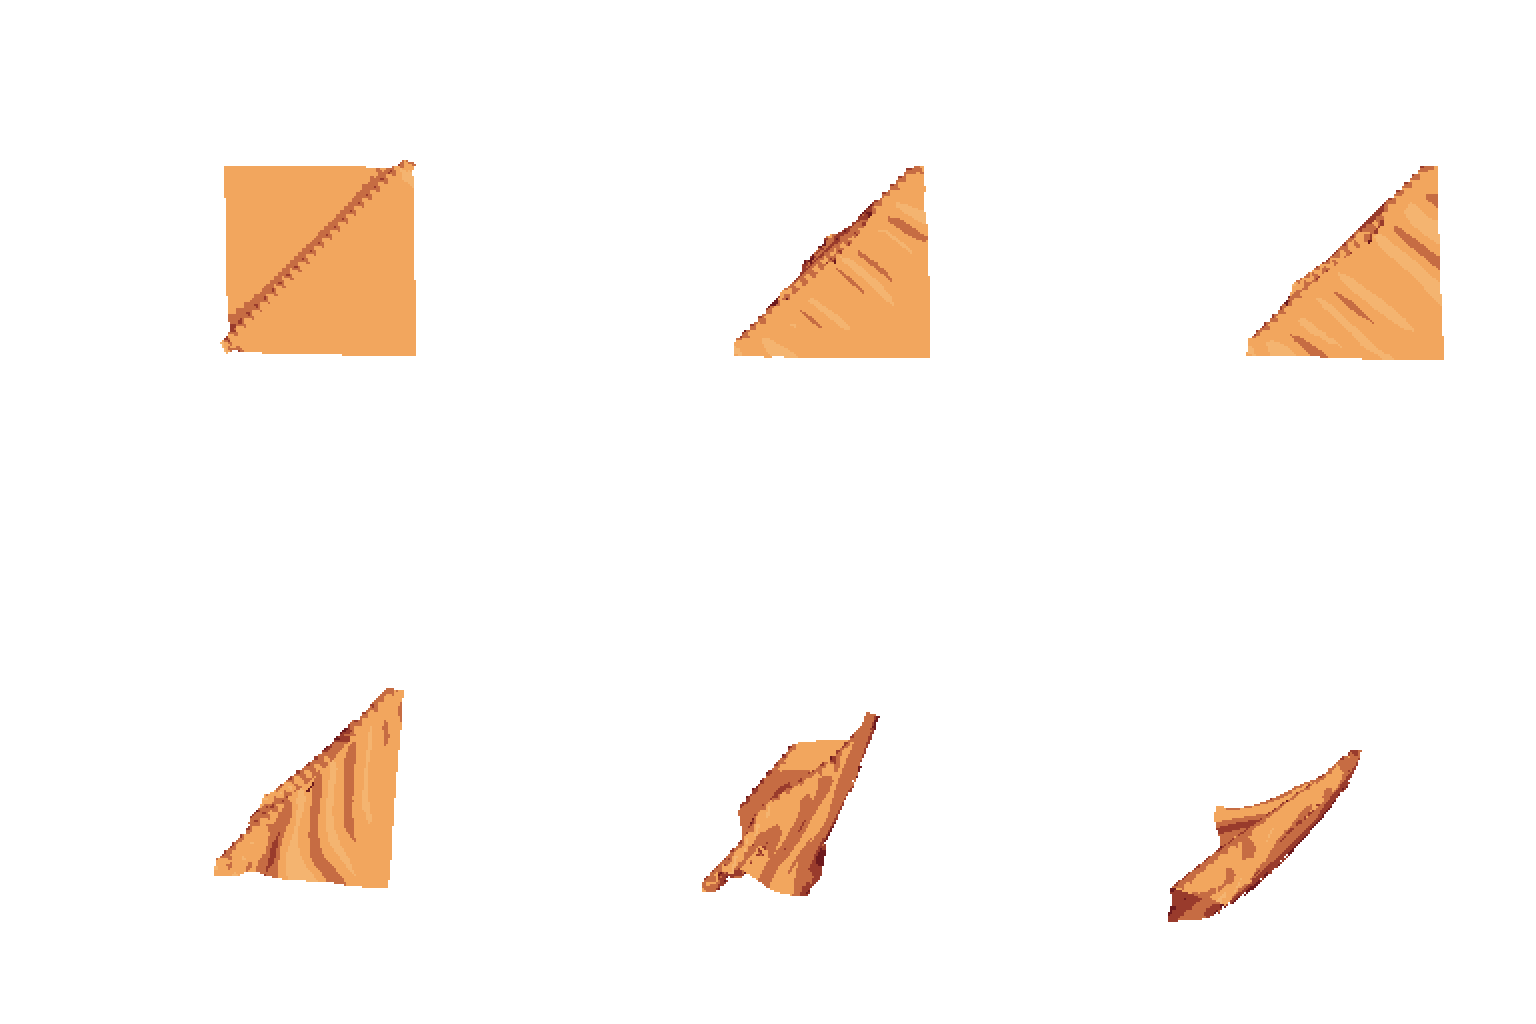
So why do I need the collider? Well, because it's not all about drawing shapes. A single diagonal line with some friction (remember to enable “include drop,” or you won't see anything)
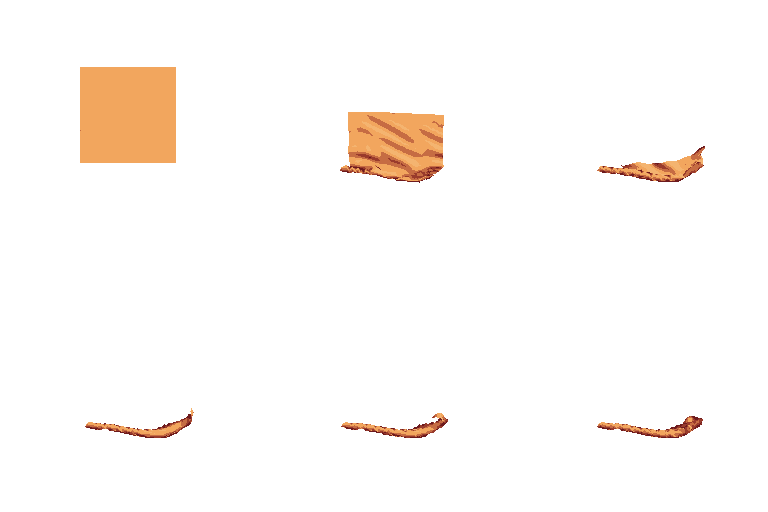
Or simply an uneven surface to fall on or bump into (very useful for dragging a cloth across the floor) -Using a terrain layer-
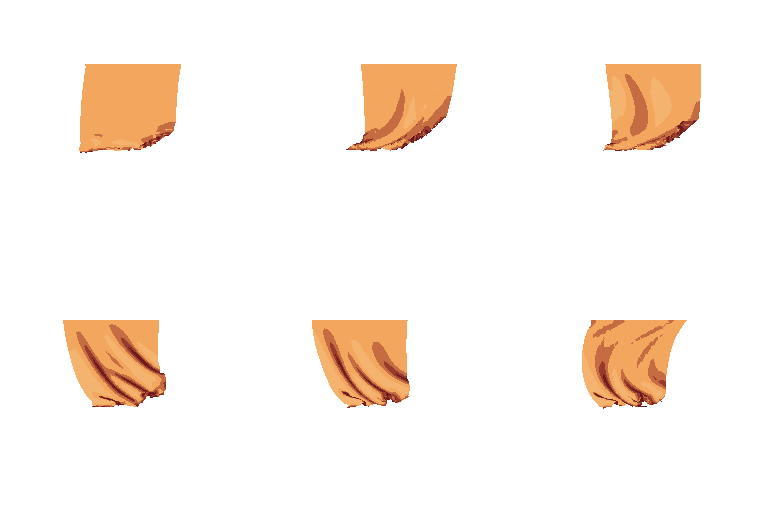
Pins can also produce other types of effects. A simple pin in the center of the fabric (with “include drop” enabled)
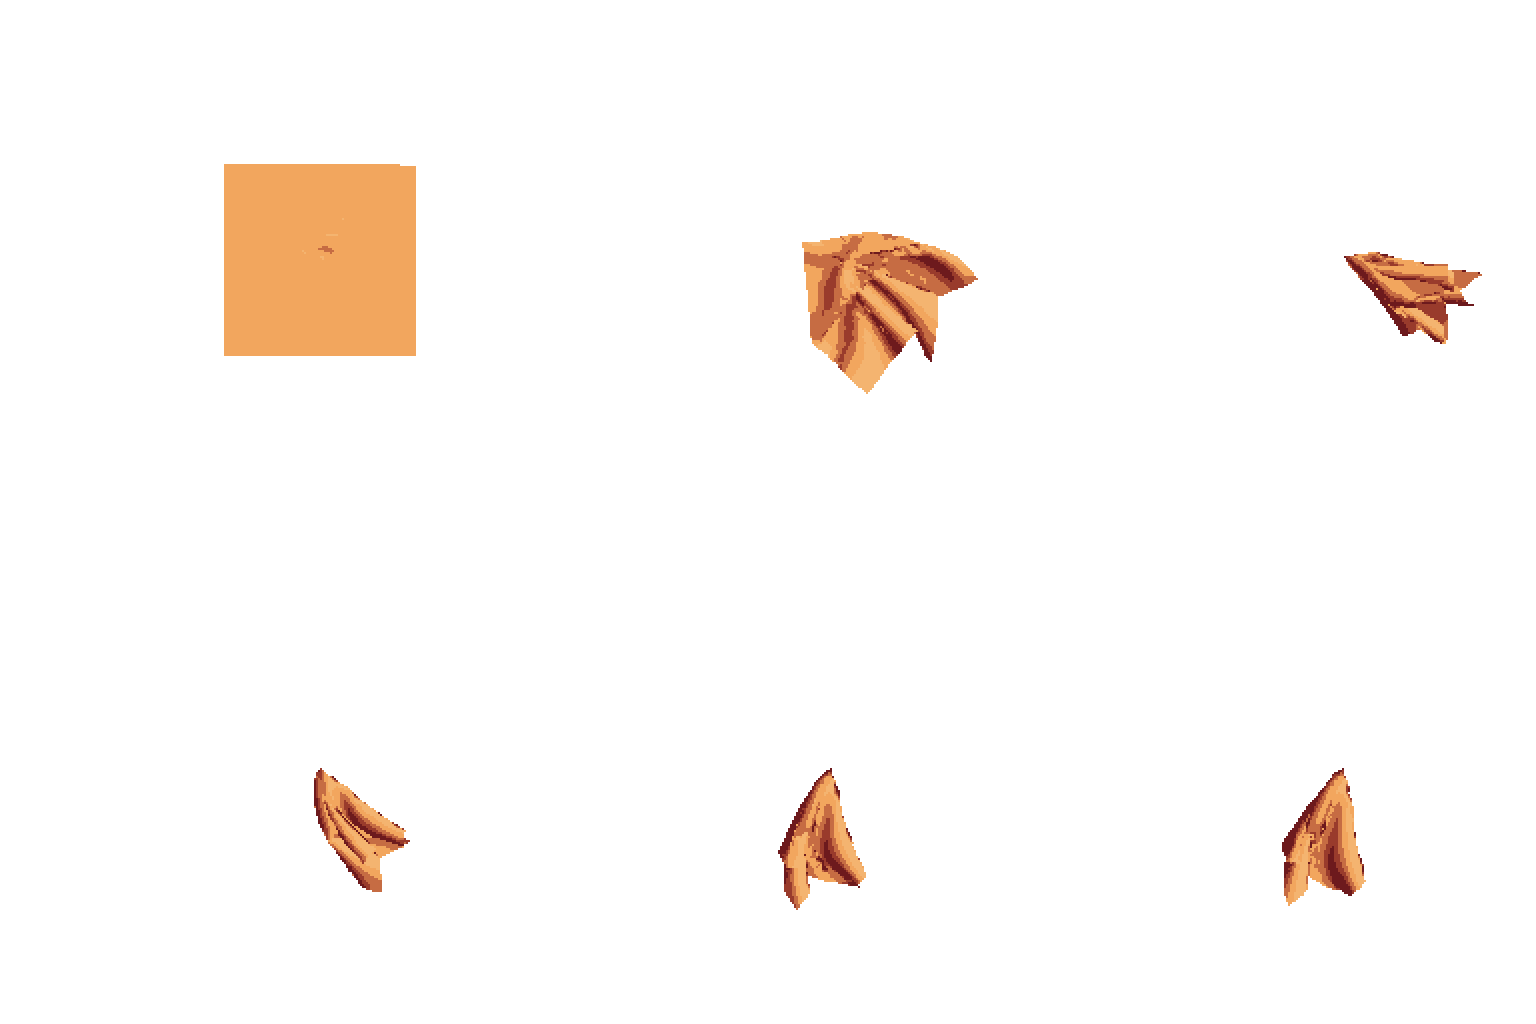
Modif:
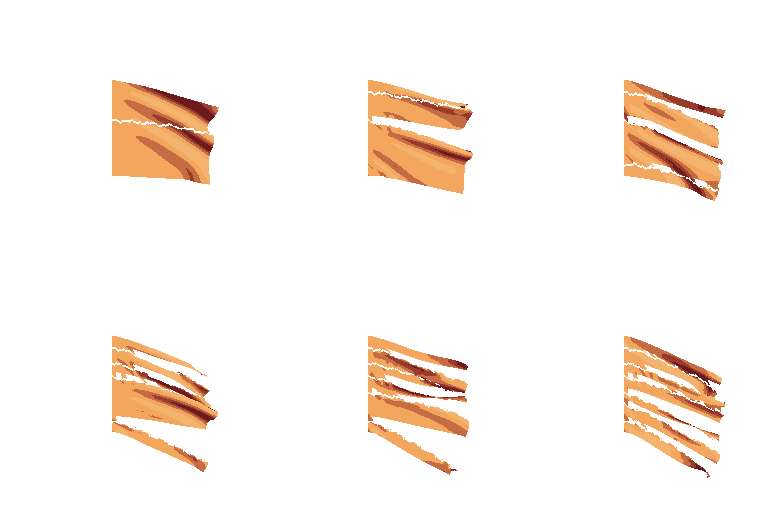
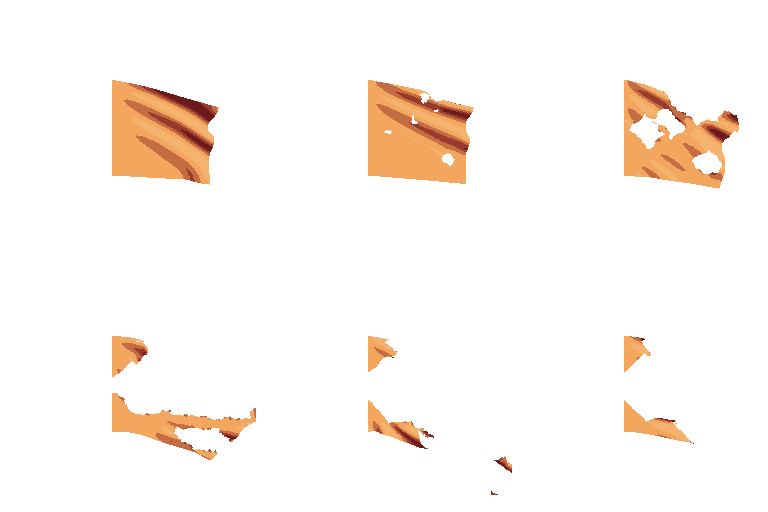
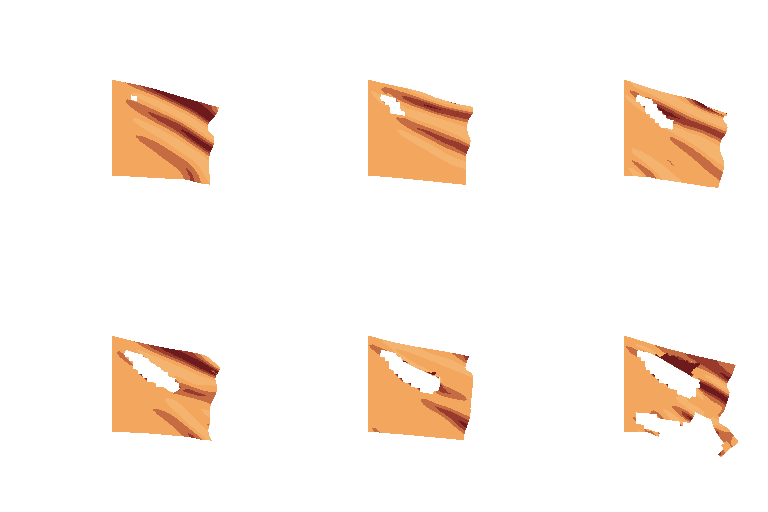
Some damage throughout the animation. I'll use the “flag” preset and change the ‘Wind’ curve to “Steady” for clarity.
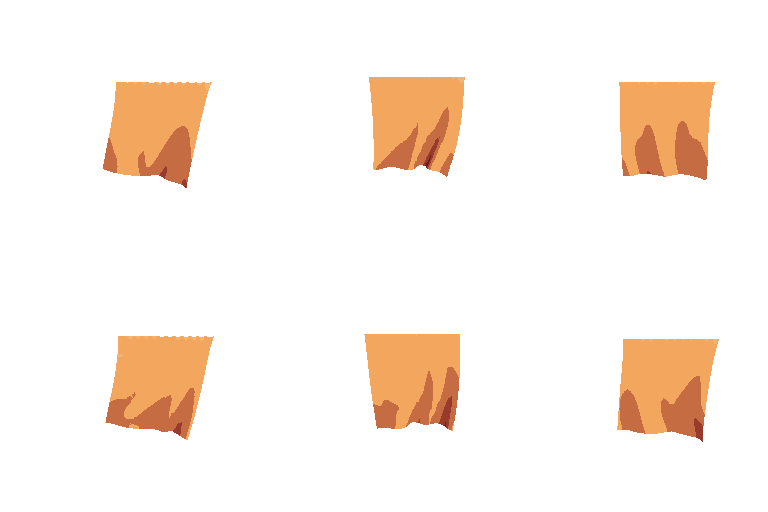
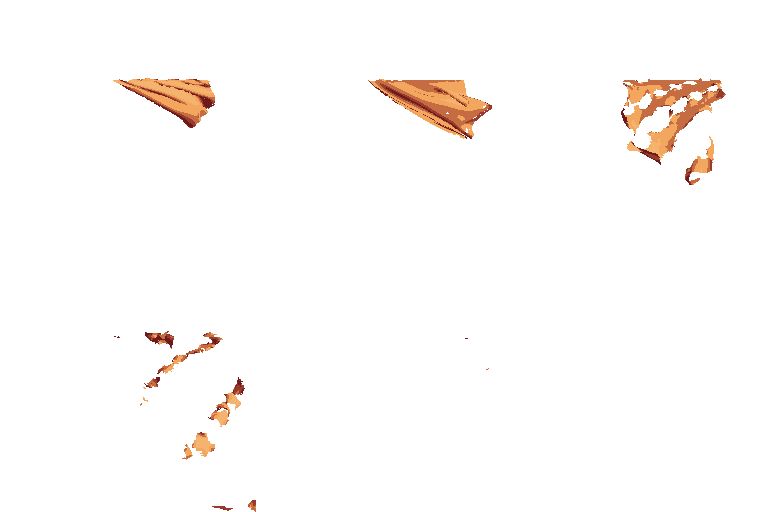
(Burn -bottom- /dissolve -center- /Fray -work betther with pin mode custom-/ Shred -top- /Hole/ Slice -set sparks-)
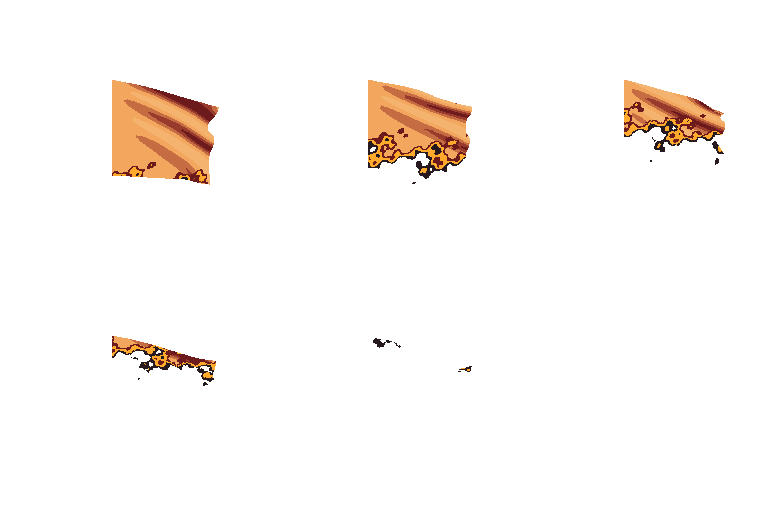
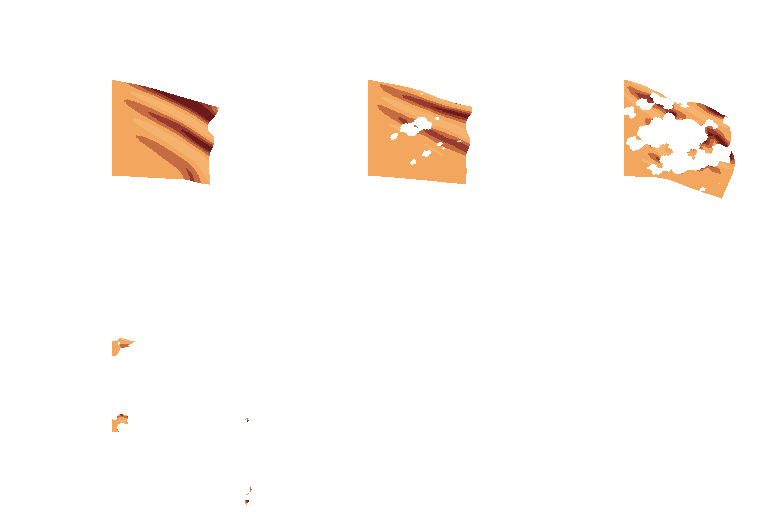
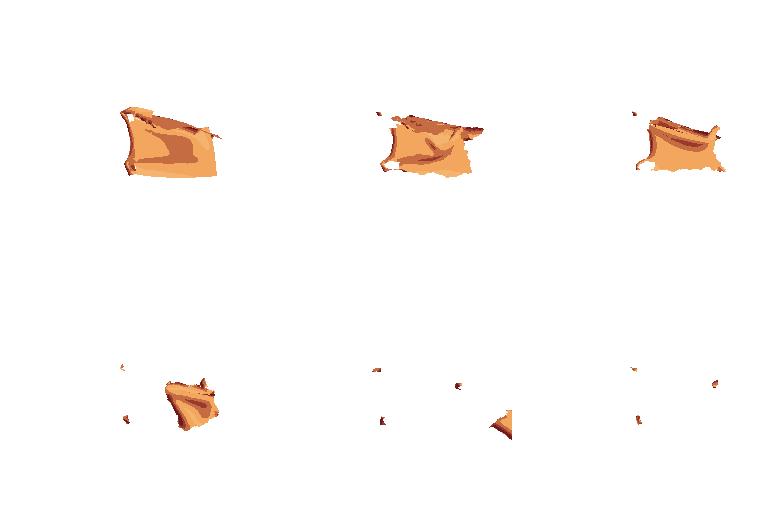
Strain kind of does his own thing. We don't talk about him because he's a mix between a teenager who does his own thing and an anarchic cat. Give him a try.
Motion:
A simple movement from the anchor points. Remember to set “Amount” to a value greater than 0. It also affects the movement of the fabric.
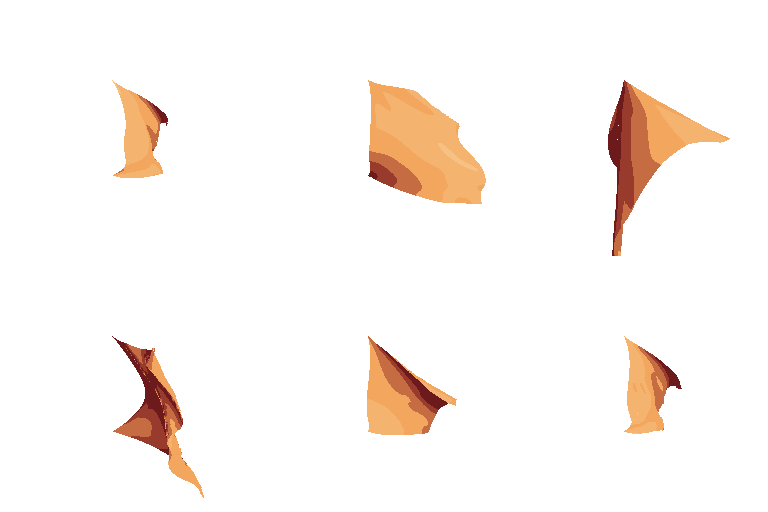
(Sway/Jog/Rise/Shake) -20 in total
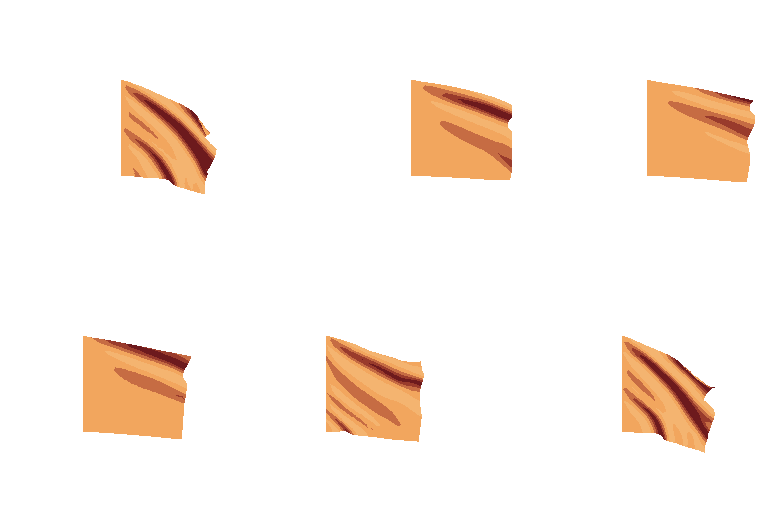
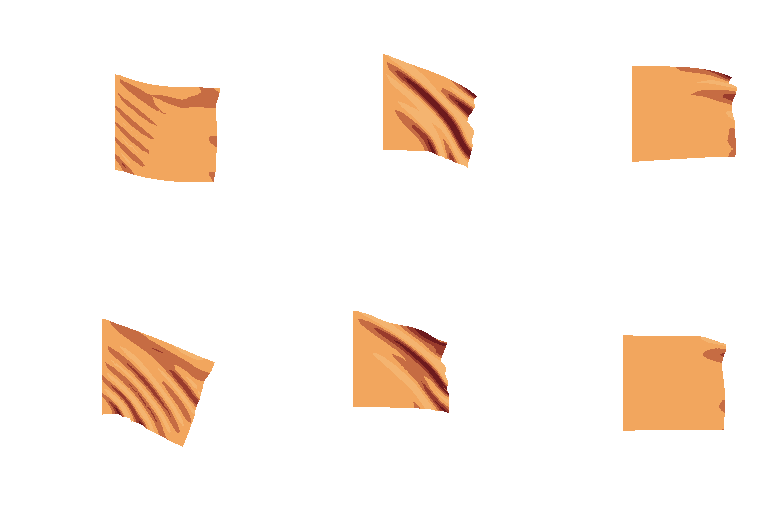
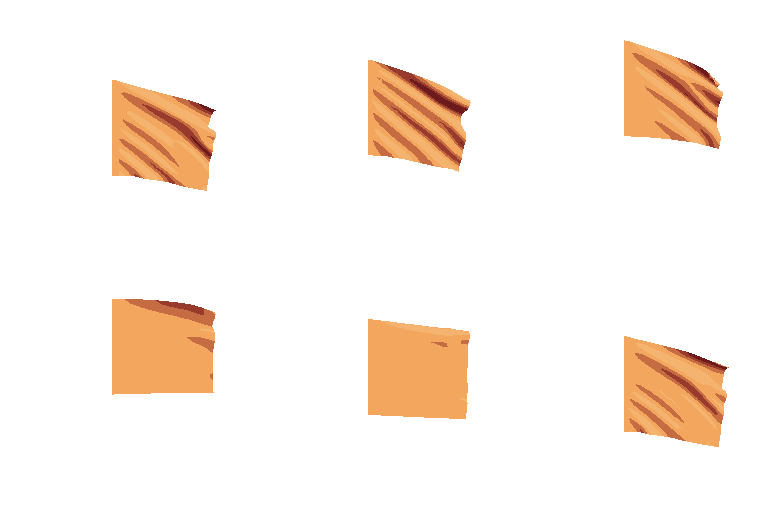
Hehe, Shake...You can also adjust the amount and the rate.
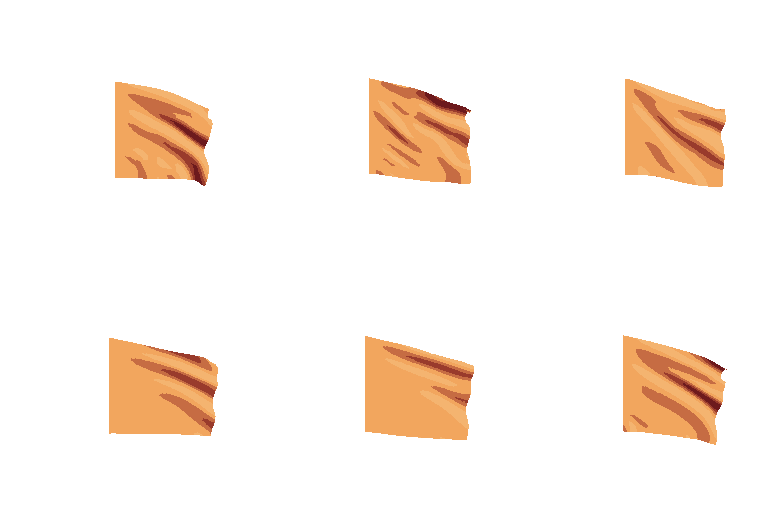
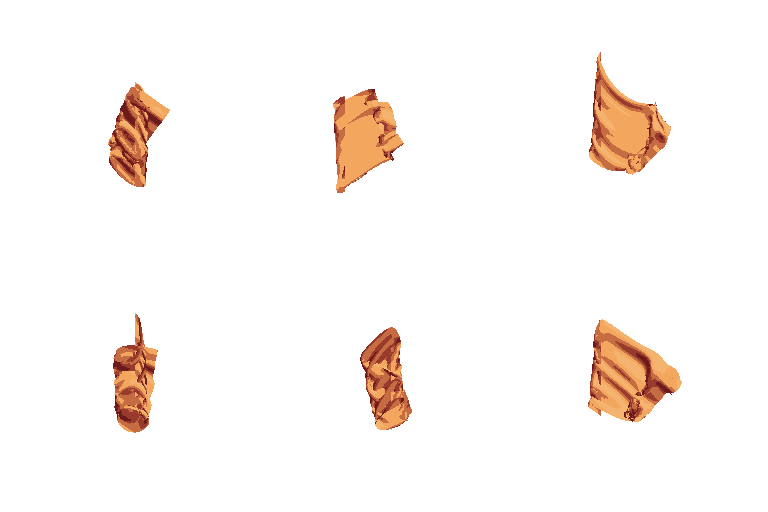
A few details I haven't covered yet. The “flag” preset, but with curve swing. Adjusting a few settings in ‘Light’ and increasing the perspective in “Anim”:
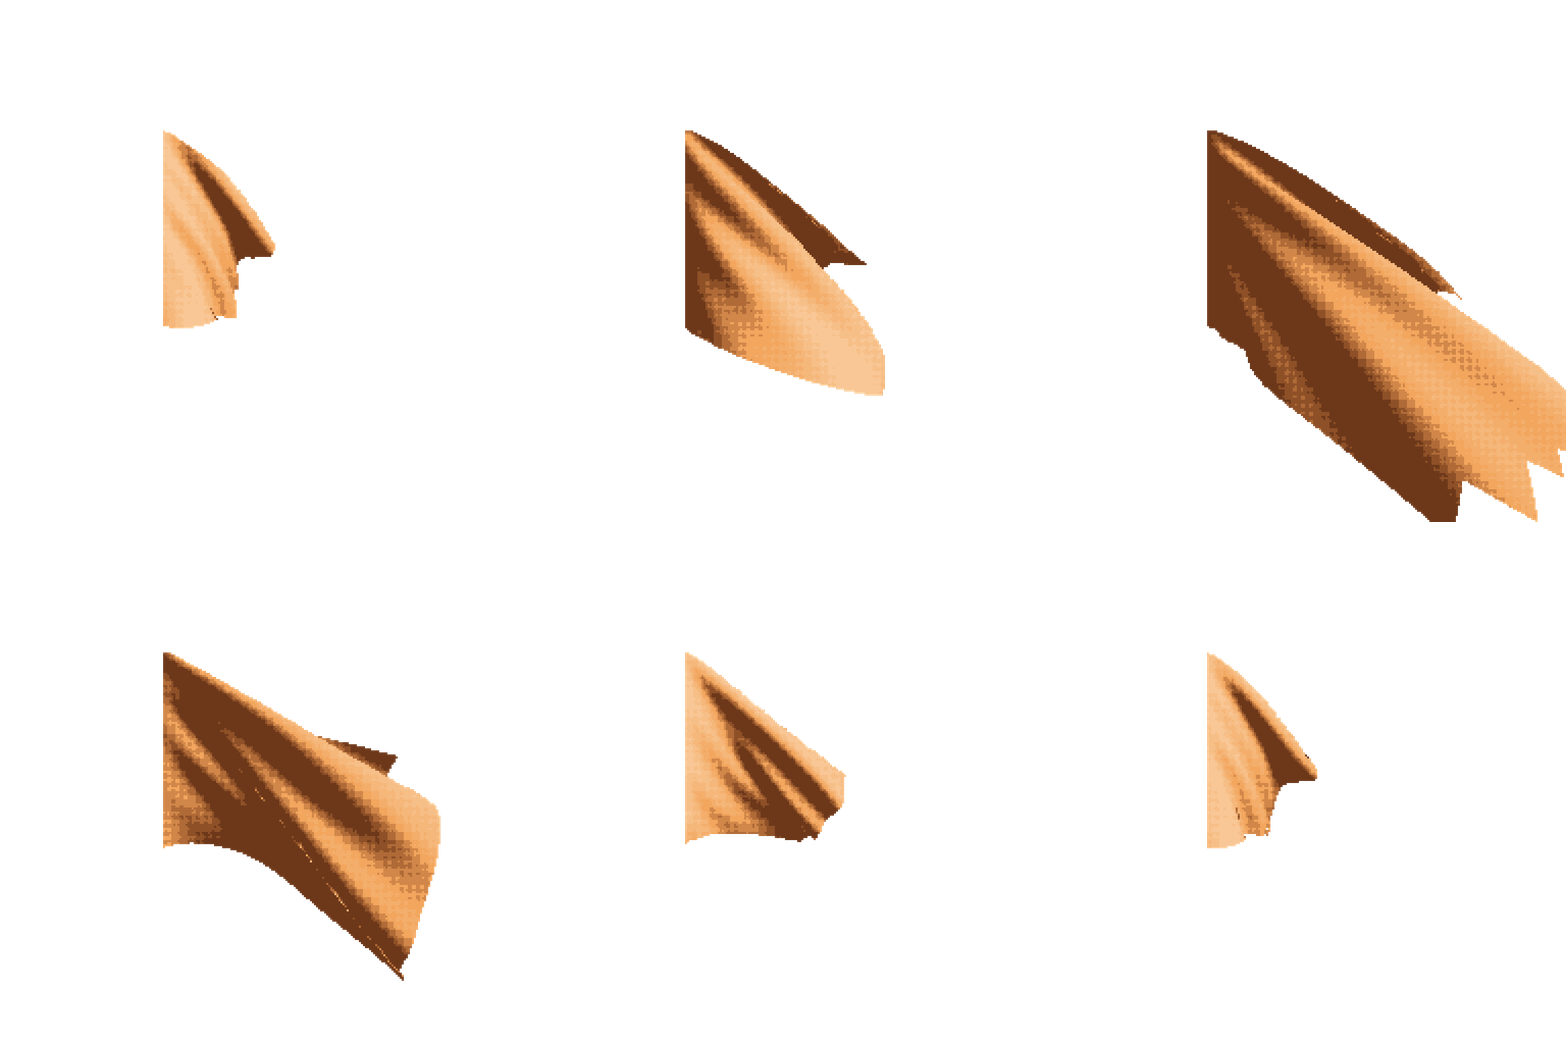
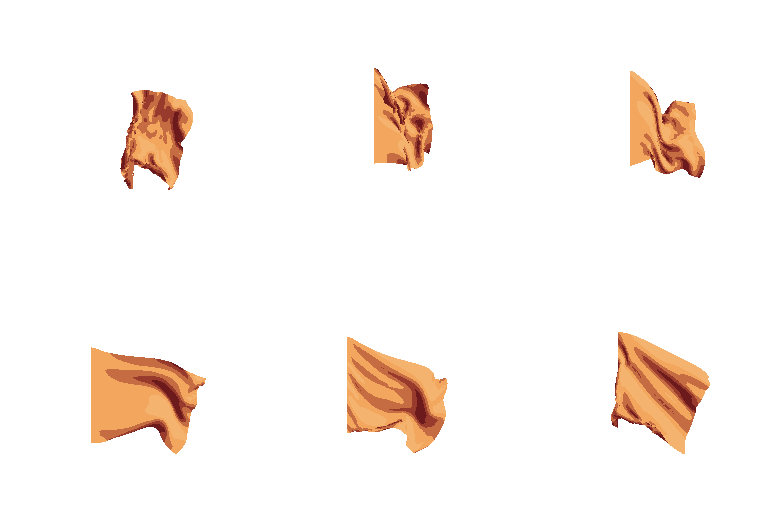
And of course, shape and color make a difference:
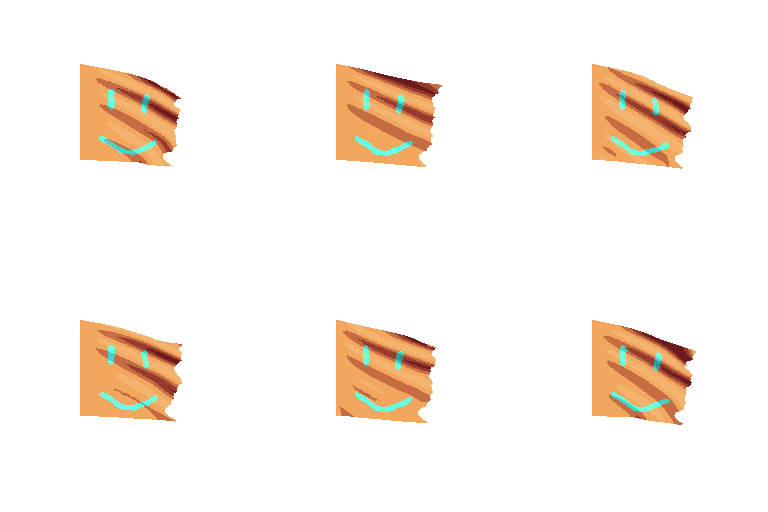
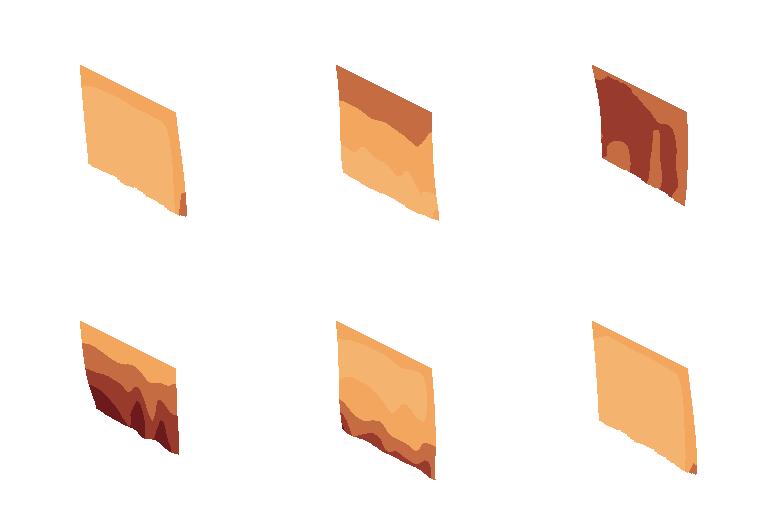
There are a few dedicated layers for different purposes. The “Weight map” lets you draw localized weights on the fabric (Black makes it light; white makes it heavy). And the “Path” layer lets you move the pins however you want, even independently (which gives you a lot of flexibility with custom pins, but you can always use bake pins to convert any pin mode to custom. A single line in the path will affect all the pins at once).
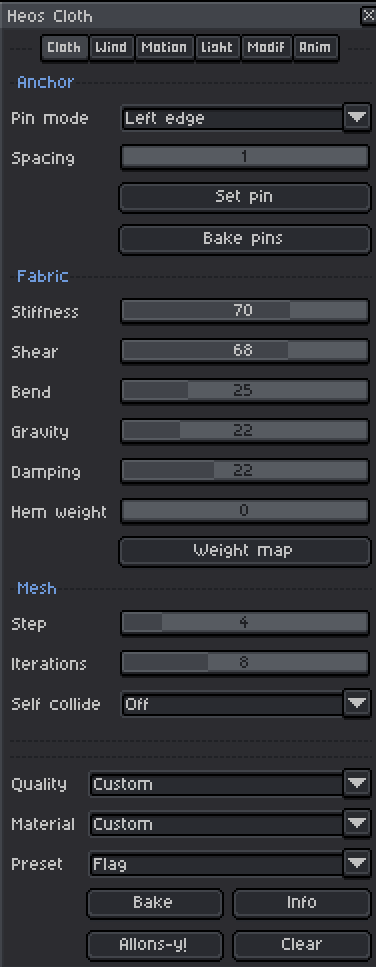
Settings:
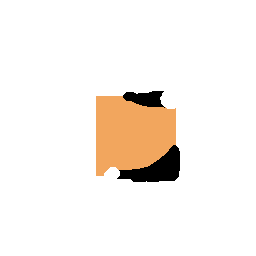
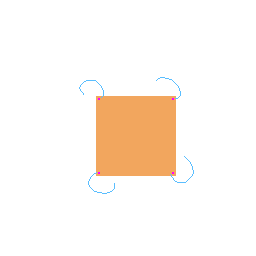
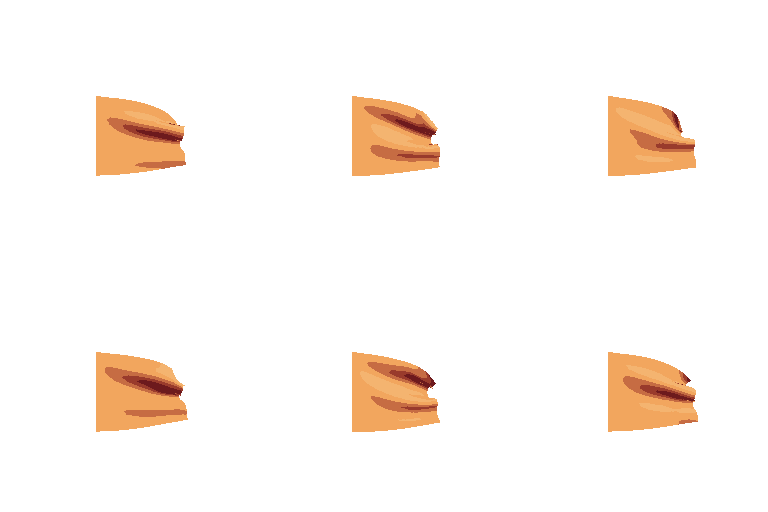
Result:
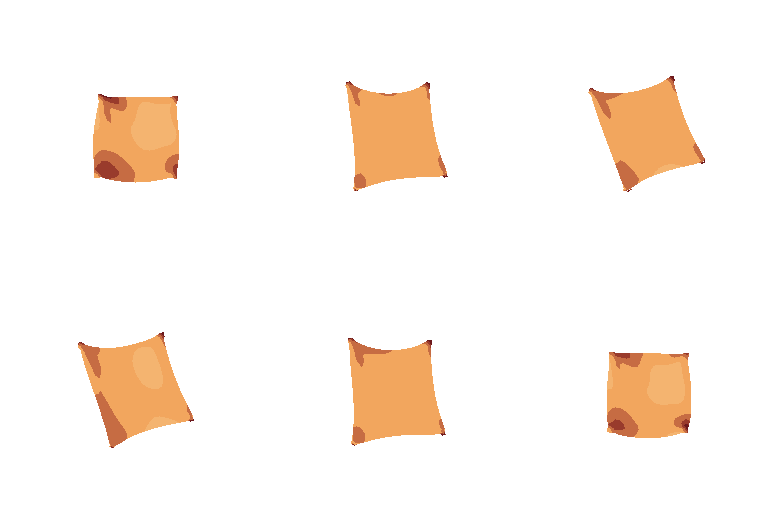
I also want to show the option to calculate each piece individually as separate cloths.
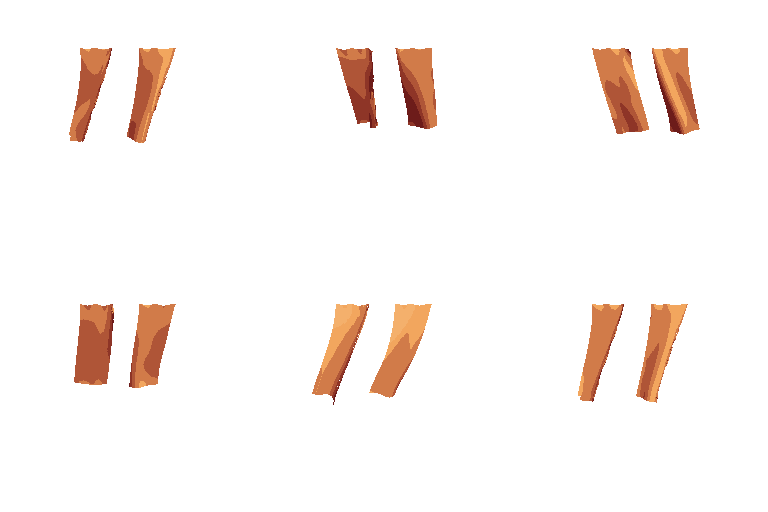
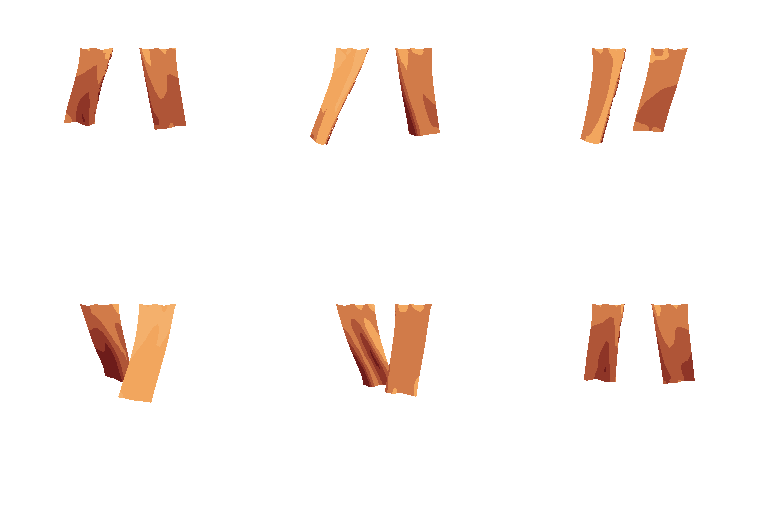
And here's a bonus feature that you might find useful. In the “Anim” tab, you can make it so that....
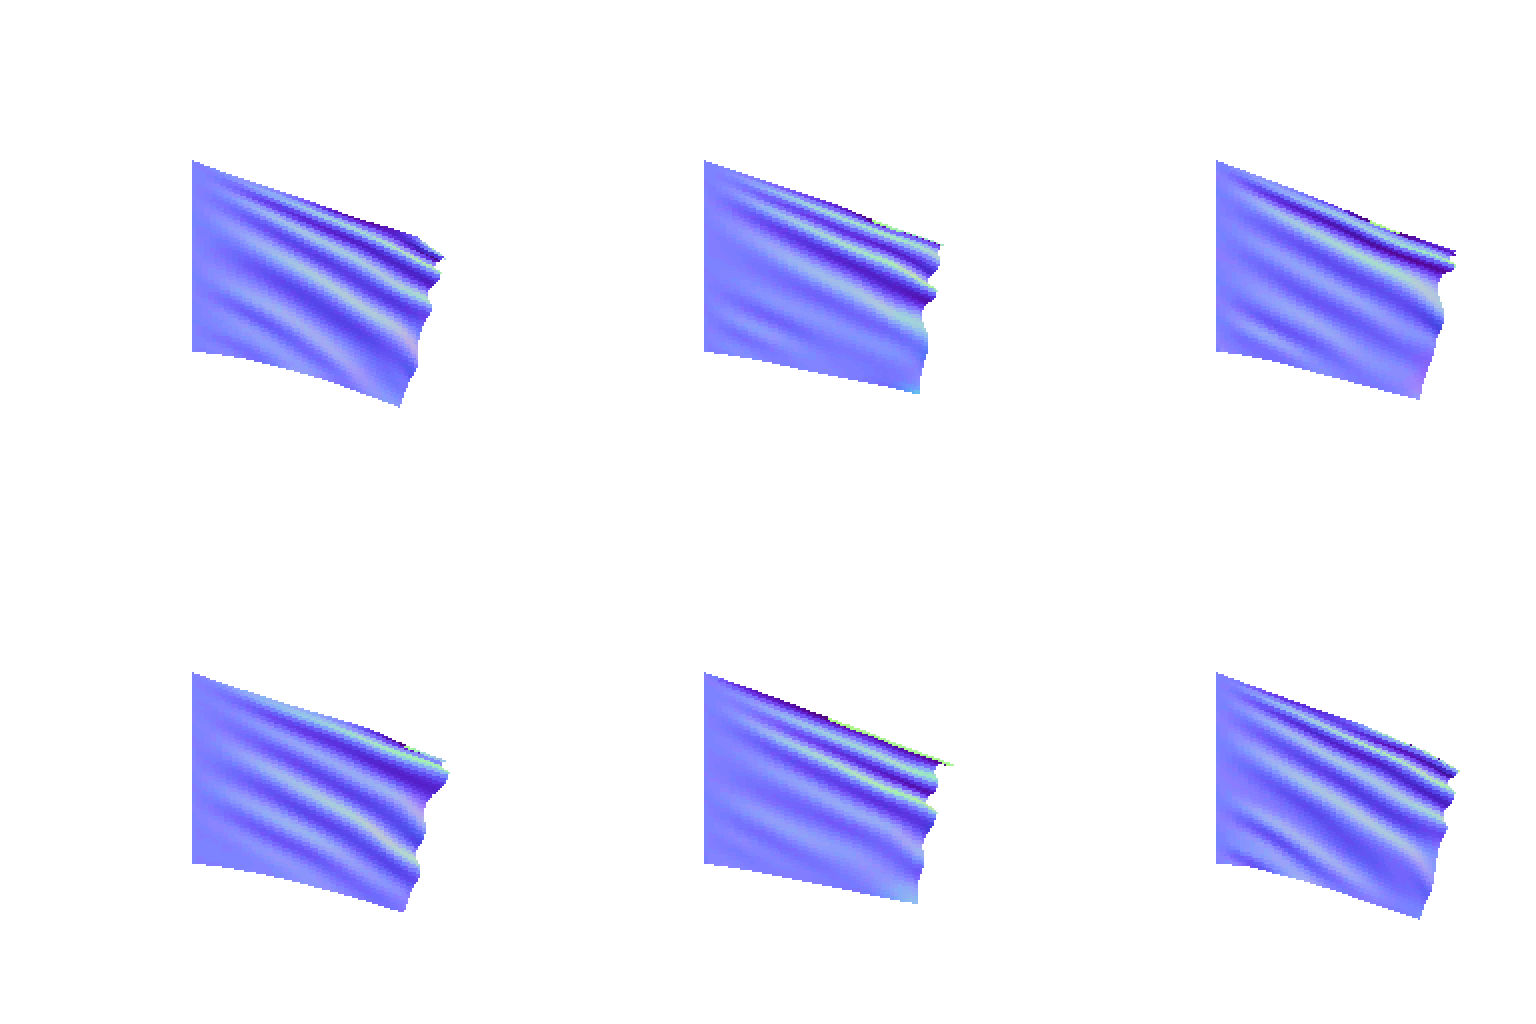
Additional details:
You can create your own curves for wind and your own paths for motion. But keep in mind that they will be affected by the UI's own characteristics. For example, a path will be affected by “amount,” and a ‘curve’ by “turbulence.”
That wraps up my TED Talk, complete with examples to illustrate the points. There are still some hidden details. Did you say “automatic outline”? Different color modes?
If you'd like the full details, here they are:
Workflow
1. Draw the cloth: Paint the flat fabric on any visible layer or group. You can split the drawing across line, colour, and shading layers — Heos Cloth composites them all.
2. Choose an Anchor: Pick how the cloth is held. Top edge, corners, custom magenta pins, or none at all for a free‑fall drop.
3. Pick a Preset: Flag, Bedsheet, Cape, Curtain, Burning flag, and many more — each tuned for a specific fabric and behaviour.
4. Adjust parameters: Tweak stiffness, wind, shading, damage timing, or anchor motion to match your scene.
5. Press Allons-y!: The simulation runs, generating a full frame‑by‑frame animation on the Heos_Cloth layer. Everything else is hidden; Clear brings it back.
How Cloth Works
Heos Cloth turns your flat drawing into a dynamic fabric. You control how it hangs, how it moves, and how it interacts with the world. The simulation handles stretching, folding, twisting, and collision with surfaces, while shading and damage are part of the same process.
Fabric character: Stiffness resists stretching; Shear resists skewing; Bend controls fold size; Gravity sets weight; Damping deadens motion.
Weight map: paint on Heos_Weight; brighter is heavier. Unpainted = normal weight, black = quarter, white = triple. Affects gravity and wind resistance, perfect for hems, wet patches, or pockets.
Wind & motion: Choose a wind curve (Steady, Natural, Shift, Swing, Squall, Custom, etc.) and adjust Force, Flap, and Turbulence. The cloth reacts in real time. You can also move the anchors themselves with Sway, Bob, Circle, Path, or many other gestures (Elastic, Spring, Impact, etc.).
Collisions: The cloth can land on floors, terrain lines, or painted shapes (cables, tables, props). It slides, piles, and wraps depending on Friction, Bounce, and surface placement. New options: Place (Around, Behind, In front) and Give (softness) for Shape layers.
Damage: Burn, Dissolve, Shred, Slice, Holes, and many more (Rot, Acid, Melt, Bullet, Blast, Electric, Twist, Punch) eat through the fabric frame by frame. The mesh tears where material is gone, and loose pieces fall and tumble on their own. You can also define weak points (Heos_Tear) and control tear propagation and bias.
Shading: Lighting comes from the deformed surface. Choose between Smooth, Flat, Dither, Halftone, Grain, Hatch, or Blocky shadow shapes for different stylistic feels.
Self‑collision: Prevents the cloth from passing through itself. Low resolves once per step, High every iteration (slower but holds tight folds and keeps the back side from poking through).
Cloth Tab Parameters
Pin mode: Top edge, Bottom edge, Left edge, Right edge, Top corners, Left corners, Custom (magenta), or None (drop).
Spacing: 1 to 12 nodes between pins. Higher spacing creates curtains with rings or pegs.
Stiffness: 5 to 100. Resistance to stretching. Silk low, canvas high.
Shear: 0 to 100. Resistance to skewing. Low lets the cloth twist and gather into folds.
Bend: 0 to 100. Resistance to folding. Low makes many small wrinkles; high gives large, soft folds.
Gravity: 0 to 100. Weight of the fabric.
Damping: 0 to 60. Energy loss. Low stays jittery and alive; high goes heavy and slow.
Hem weight: 0 to 100. Extra weight on the bottom edge. Kills flapping on weighted hems.
Weight map: paint on Heos_Weight to vary weight locally (brightness = multiplier).
Step: 2 to 16 pixels. Mesh grid spacing. Lower is finer and slower. 3–5 px is the sweet spot.
Iterations: 2 to 20. Correction passes per step. Higher makes the cloth stiffer and less stretchy, but slower.
Self collide: Off, Low, or High. Prevents the cloth from intersecting itself. High is slower but necessary for tight folds.
Wind Tab Parameters
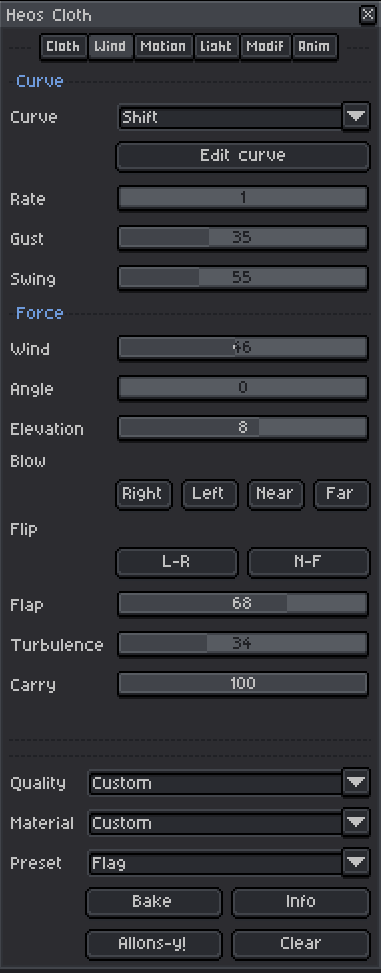
Curve: Steady, Natural, Shift, Swing, Whirl, Pulse, Squall, Breeze, Stop and go, Snap, Reverse, Rise, Fall, Rise and fall, Calm, or Custom.
Rate: 1 to 6. Cycles per animation loop.
Gust: 0 to 100. How much the wind pulses between beats.
Swing: 0 to 180 degrees. Sweep angle used by the Swing curve.
Wind: 0 to 100. Wind speed.
Angle: 0 to 359 degrees. Wind direction: 0 right, 90 near, 180 left, 270 far.
Elevation: -60 to 60 degrees. Positive lifts the cloth, negative pushes down.
Flap: 0 to 100. How much force follows the surface normal. High gives travelling ripples and snapping; low is a flat push.
Turbulence: 0 to 100. Spatial noise. Stops the cloth from moving as one rigid piece.
Carry: 0 to 100. Only matters for free cloth (no pins, release, or damage). Splits the wind into shaping and transport. 100: the wind takes it away. 0: the wind ripples while gravity drops it straight down.
Motion Tab Parameters
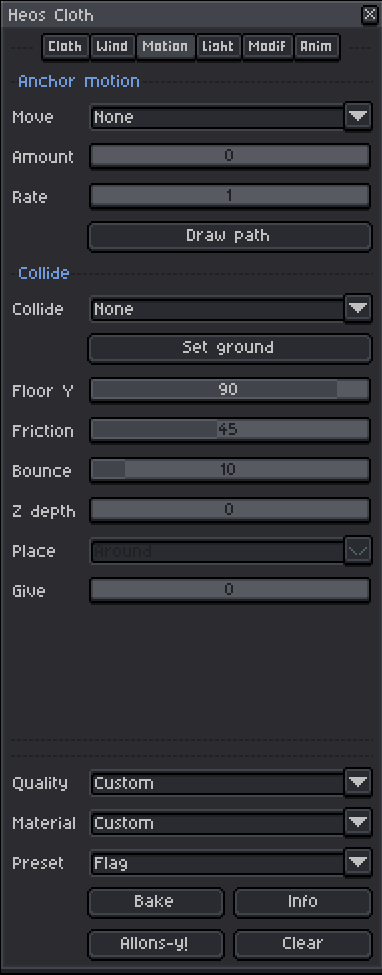
Move: None, Sway, Bob, Circle, Figure 8, Flick, Walk, Jog, Shake, Pulse, Drift, Rise, Lunge, Pendulum, Breathing, Heartbeat, Elastic, Spring, Impact, Jerk, or Path. Moves the pinned nodes themselves.
Amount: 0 to 100. Travel in pixels; in Path mode, a percentage (100 follows the drawn line exactly).
Rate: 1 to 6. Cycles per animation loop. Match your walk cycle.
Collide: None, Floor line, Terrain layer, or Shape layer. The surface the cloth interacts with.
Floor Y: 0 to 100. Height of the floor line.
Friction: 0 to 100. Grip. 100 sticks where it lands; 45 slides down a slope.
Bounce: 0 to 100. Hardness on impact only. Changes how the cloth arrives, not how it rests.
Z depth: 0 to 40. Thickness of the obstacle. 0 is a rope; 20 is a table.
Place: Around, Behind, or In front. Which side of the shape the cloth lives on. Around: the cloth can wrap it. Behind: the cloth stays in front. In front: the cloth stays behind.
Give: 0 to 100. How much the shape yields. 0 is rock; 100 is jelly.
Light Tab Parameters
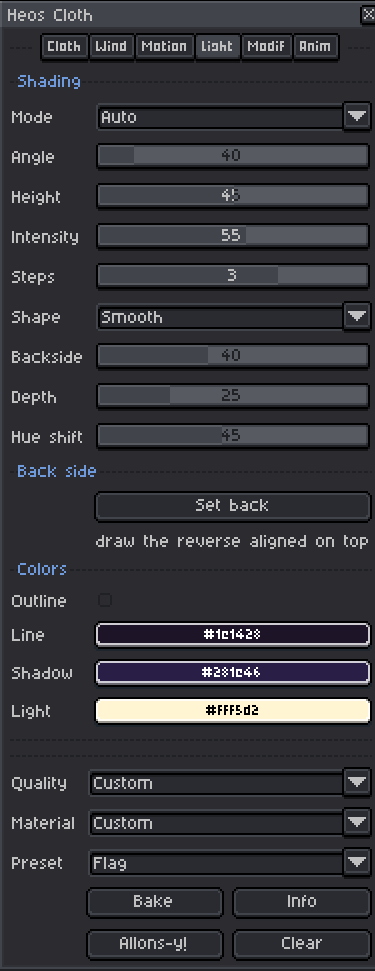
Mode: Auto, Blend, Two tone, or Ramp. How the cloth is shaded.
Angle: 0 to 359 degrees. Light direction on screen.
Height: 0 to 90. How much the light comes from the viewer.
Intensity: 0 to 100. Strength of the shading.
Steps: 1 to 4. Shading levels per side. Keep it low.
Shape: Flat, Smooth, Dither, Halftone, Grain, Hatch, or Blocky. How the shadow breaks into shapes.
Backside: 0 to 100. Extra darkening when you see the back of the cloth.
Depth: 0 to 100. Far parts get darker.
Hue shift: 0 to 100. How far Auto turns shadows cold and lights warm.
Outline: Draws a border around the finished frame, following the deformed silhouette and folds.
Modif Tab Parameters
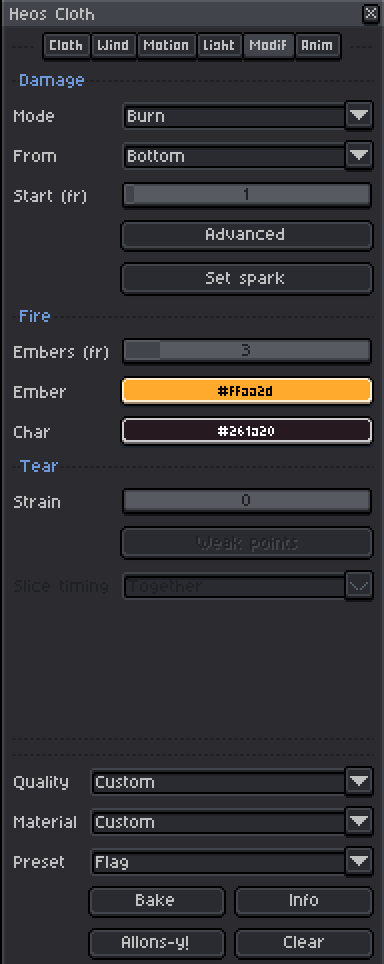
Mode: None, Burn, Dissolve, Fray, Shred, Holes, Slice, Rot, Acid, Melt, Bullet, Blast, Electric, Twist, or Punch. The type of damage or local force.
From: Bottom, Top, Left, Right, Center, Edges, or Spot. Where the damage starts.
Start (fr): 0 to MAX_FRAMES. The frame the damage begins.
Spread (fr): 1 to MAX_FRAMES. Frames to cross the whole cloth.
Amount: 1 to 100. How far the front gets before dying out. In Fray and Holes it is a depth or radius instead.
Ragged: 0 to 100. Noise on the front. 0 clean sweep; 100 moths.
Count: 1 to 24. Strips for Shred, holes for Holes, branches for Electric.
Seed: Pattern of the holes. Lock it once you like a burn and tune the rest against it.
Embers (fr): 0 to 24. Frames the glow lingers. 0 leaves a cold hole.
Slice timing: Together, In order, or Random. How multiple cut lines open.
Strain: 0 to 60. How far a thread stretches before it snaps. 0 never tears. 15–30 tears and still looks like a flag.
Propagation: 0 to 100. How fast a tear runs once it starts. 0 opens a hole and stops, 100 crosses the cloth.
Bias: Off, Horizontal, Vertical, Along wind, Against wind, or Random. The direction the rip prefers.
Weak points: paint on Heos_Tear to make those threads give first.
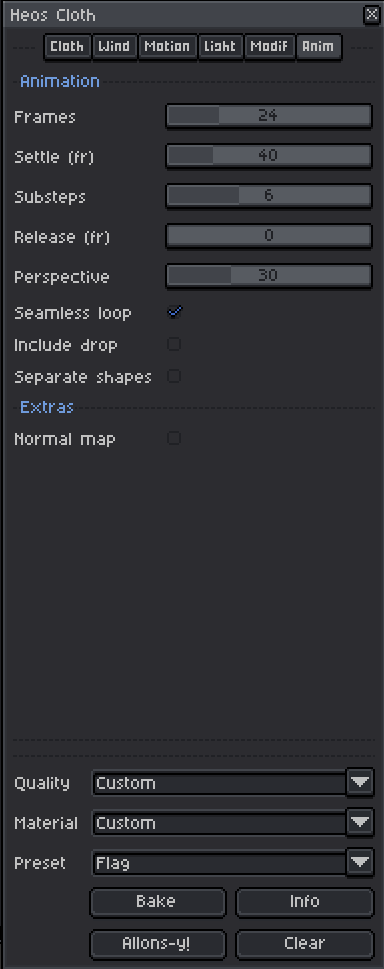
Anim Tab Parameters
Frames: 2 to MAX_FRAMES. Frames written from the current one.
Settle (fr): 0 to 200. Hidden frames before frame 1. Raise it if the start looks like a stiff board.
Substeps: 1 to 16. Physics steps per frame. Raise if the cloth stretches or jitters; lower for speed.
Release (fr): 0 to MAX_FRAMES. The frame where the pins let go. 0 never releases.
Perspective: 0 to 100. How much near parts grow and far parts shrink.
Seamless loop: Runs two cycles and cross‑blends them so the end flows into the start. Needs a looping Curve and at least one pin.
Include drop: Start from the shape as drawn instead of the settled one. Settle is skipped.
Normal map: Outputs a second layer, Heos_Normal, with the surface normal encoded as colour (OpenGL convention). Left hidden, for export.
Features
Heos Cloth composites all visible layers (including groups) into a single fabric. Heos_ working layers (Pin, Ground, Path, Spark, Back, Weight, Tear) are excluded from simulation and hidden on render.
The cloth can be painted across multiple layers — line, colour, and shading — and simulated as one piece.
Backside layer supports a hand‑drawn reverse of the cloth, sampled by material coordinates, so the back appears mirrored when the cloth turns over.
Damage and tearing are integrated: holes, cuts, and burns propagate through the fabric and physics follows. Loose pieces become falling cloth, tumbling and piling up.
Weight map and weak points let you control local behaviour without touching the physics sliders.
Known Issues & Limitations
Heos Cloth is a real‑time physics simulator running inside Aseprite. It is not a production physics engine and does not aim to be perfect. About 80% of the time it behaves as expected; the remaining 20% requires patience, tweaking, and a willingness to work with the cloth rather than against it.
Back layer bleed: The Heos_Back layer is sampled by material coordinates, not screen position. This means the back and front faces can overlap or bleed through each other in complex folds. If this happens, design the front and back with similar colours so the overlap reads as natural shading rather than a glitch.
Mesh resolution: Thin lines or very small details may be missed or behave oddly if the mesh Step is too coarse. Lower Step for fine detail, but expect longer render times.
Collider reliability: As noted above, colliders can be unpredictable. They work best with simple, solid shapes. Complex silhouettes or thin lines may cause the cloth to slip through or snap erratically.
Performance: Step 2–3 with high Iterations can more time to render. Use Step 5 for preview, then lower it for final output.
Collider vs Pin
The Collide options are expressive and can give great results, but they are unpredictable. Getting a clean drape over a Shape or Terrain often requires careful balancing of Wind, Friction, and direction. Do not trust colliders to work first time — they can behave oddly, especially with thin lines or complex shapes.
Custom Pin is far more reliable for holding specific points, though less fluid. If you need a precise shape, consider whether Custom Pin can do the job before wrestling with colliders. That said, combining both can lead to happy accidents: a cloth pinned at the corners and blown over a Shape gives natural draped folds that are hard to achieve manually. The examples above show a few practical combinations.
Tips
Lower Step (2–3 px) for fine detail and smooth folds, but expect longer render times. Step 5 is fast and still looks good for flags and banners.
Use Settle (40–80 frames) to let the cloth drape before the animation starts. Without it, the first frame is a flat board.
For a flag, use Shift curve, Left edge, and moderate Flap (60–80). For a curtain, use Swing curve, Top edge with Spacing, and lower Wind.
To make the cloth land on a shape, use Collide Shape layer and draw the surface. Set Carry to 0 so the wind shapes but doesn't drag the cloth over the obstacle.
For burning, set Embers to 3–7 frames so the glow lingers. Raggedness 50–70 gives a natural, irregular burn front.
Tear Strain 15–30 on the Flag preset tears enough to look ragged without losing the whole cloth. Higher Strain makes the cloth harder to tear.
Compatibility
Requires Aseprite 1.3.x or later. Works with RGB color mode. Indexed sprites are not supported.
FAQ
Q: The cloth doesn't move at all. Check that you have a Pin mode selected and Wind is above 0. If using None (drop), gravity needs to be high enough to show motion.
Q: The cloth tears apart instantly. Lower Strain (0–15) or reduce Wind. Tearing is sensitive to both: high wind and low strain will shred the cloth.
Q: My custom pin doesn't work. Ensure the magenta paint overlaps opaque pixels of the cloth. The pin layer must be visible and active.
Feedback & Support
I love seeing how you use Heos Cloth in your projects. If you have questions, ideas, or just want to share what you've made, feel free to leave a comment or reach out directly. It's always great to see your work in action.

If you found this tool useful, taking a moment to leave a rating really helps. Thanks for the support. ❤️
Purchase
In order to download this tool you must purchase it at or above the minimum price of $4.99 USD. You will get access to the following files:
Comments
Log in with itch.io to leave a comment.
So excited to check this one out eventually! Gotta figure out my current project and the. Figure out what to make with this one 😂
This is going to be so helpful! I just bought and downloaded it. I have a question. Do the parameters reset every time I close and reopen aseprite? I was messing around with it to test it out. I got it to work great with a flag, but then I went and messed around more and now I can't get the flag to do what it was doing originally.
EDIT: nevermind! I figured it out! It does reset to default settings whenever you reopen the script. This script is SO AWESOME!! I don't have to manually draw cloth animations ever again! You saved me hours upon hours of time. I will add you to my game credits if that is okay.
You don't need to close the program. Just changing the preset resets the values. Would it be useful to be able to save specific settings? I could look into that option. And it would be an honor to be listed in those credits! Please let me know when that happens.
Oh thats helpful thank you! I think it might be useful to save specific settings in the future. That way I can tweak the settings for specific things and then load a preset when I want to create a new cloth sprite. I'm nowhere near that for my game though. Right now I'm building out the framework and using placeholders here and there. Next year when I go through and fine-tune the worlds I'm building then I'll probably need something like that. Alternatively I could pre-draw all my cloth sprites and then go in and do them all at once.