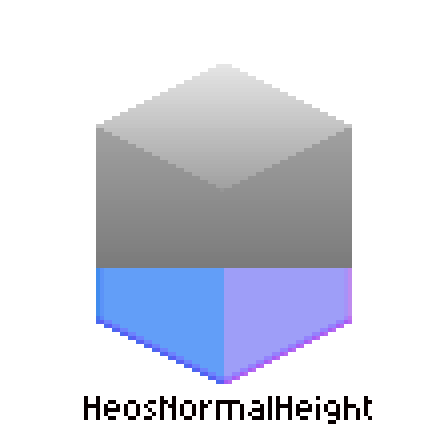
Heos Light Preview
HeosNormalHeight.lua ($3.99)
Two main functions: generating a normal map and generating a height map.
1. How to make a normal map
Paint "relief" with colors, and the script turns that into an RGB normal map ready for any game engine.
Setup
- Run the script (
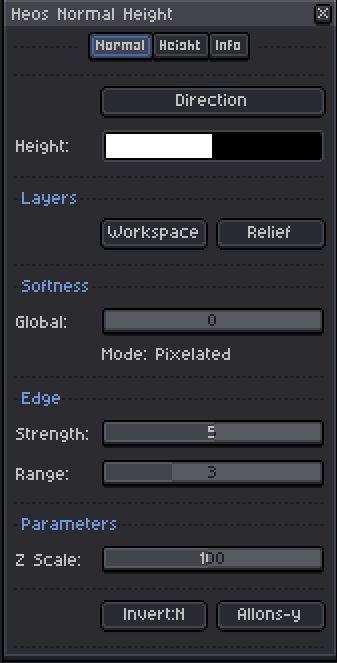
File > Scripts > HeosNormalHeight) and stay on the Normal tab. - Click Workspace to create a "Normals Workspace" group and a first "Relief 1" layer.
- Add more layers with the Relief button.
Painting modes
Toggle between Height (white = raise, black = lower) and Direction (9 colors: 4 cardinal, 4 diagonal and front). The exact colors and their direction are shown in the dialog's picker.
Relief layers stack additively; combine height base and directional details on separate layers. Layer opacity also affects intensity.
Parameters
- Z Scale – relief strength (10‑200).
- Softness – global blur from 0 (pixelated) to 16 (realistic). Live preview: sliders regenerate the map automatically once it exists.
- Edge – bevel outline effect (Strength & Range).
- Invert – flip the green channel for OpenGL/DirectX compatibility. Toggle updates the map on the fly.
Generate – Press Allons-y! to create or update the Heos_normal layer with the final RGB image.
2. How to make a height map
Generated from layer order and an optional silhouette layer.
Height tab:
- Layer order determines height: bottom layer = dark, top layer = light. Each layer carries an internal vertical gradient so the top of each element reads as "further/higher" in isometric/oblique views.
- Top-down (Cenital) mode – check this for floors or objects seen from above. Each layer becomes a flat plateau; height comes from stack order only. The silhouette still carves hard edges, but no screen-Y offset is applied.
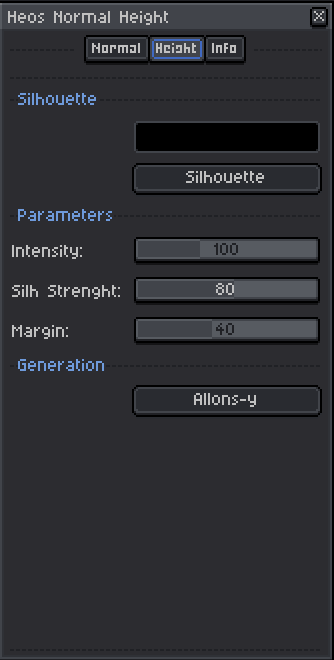
- Silhouette layer (optional) – press the Silhouette button to create it. Paint pure black strokes; they act as hard walls separating regions. Each region gets an automatic height offset (upper on screen = higher), calculated with a BFS flood-fill so even complex layouts resolve correctly.
Parameters: Intensity, Silh strength, Margin.
Press Allons-y! to generate the grayscale Heos_Height layer. Like the normal map, sliders trigger a live regeneration once the layer exists.
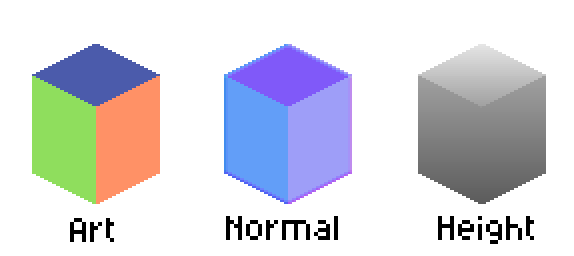
The «Heos Light Preview» viewer (FREE)
- Import: drag PNGs onto the canvas or use the button. Files named like "char.png", "char_n.png", "char_h.png" are auto‑grouped. A demo object is already included.
- Manage objects: assign art, normal, height per object; drag to move, scale, hide, or delete.
- Lighting: adjust sun direction, elevation, intensity, color, and ambient light. Add point lights (+ button or double‑click). Each light has position, color, intensity, radius, flicker modes, and layer (front/behind).
- Views: switch between Lit, Art only, Normal map, Height map.
- Navigation: drag to move, wheel to zoom, Space+drag to pan, F to fit all.
- Export: PNG capture (📷), video recording (⏺), and JSON scene save/load.
The viewer is perfect for checking your normal maps before engine import or for creating beautifully lit renders of your pixel art.
💬 Feedback & Support
I love seeing how you use Heos Light Preview in your projects. If you have questions, ideas, or just want to share what you've made, feel free to leave a comment or reach out directly. It's always great to see your work in action.

If you found this tool useful, taking a moment to leave a rating really helps. Thanks for the support ❤️
Download
Click download now to get access to the following files:
Leave a comment
Log in with itch.io to leave a comment.