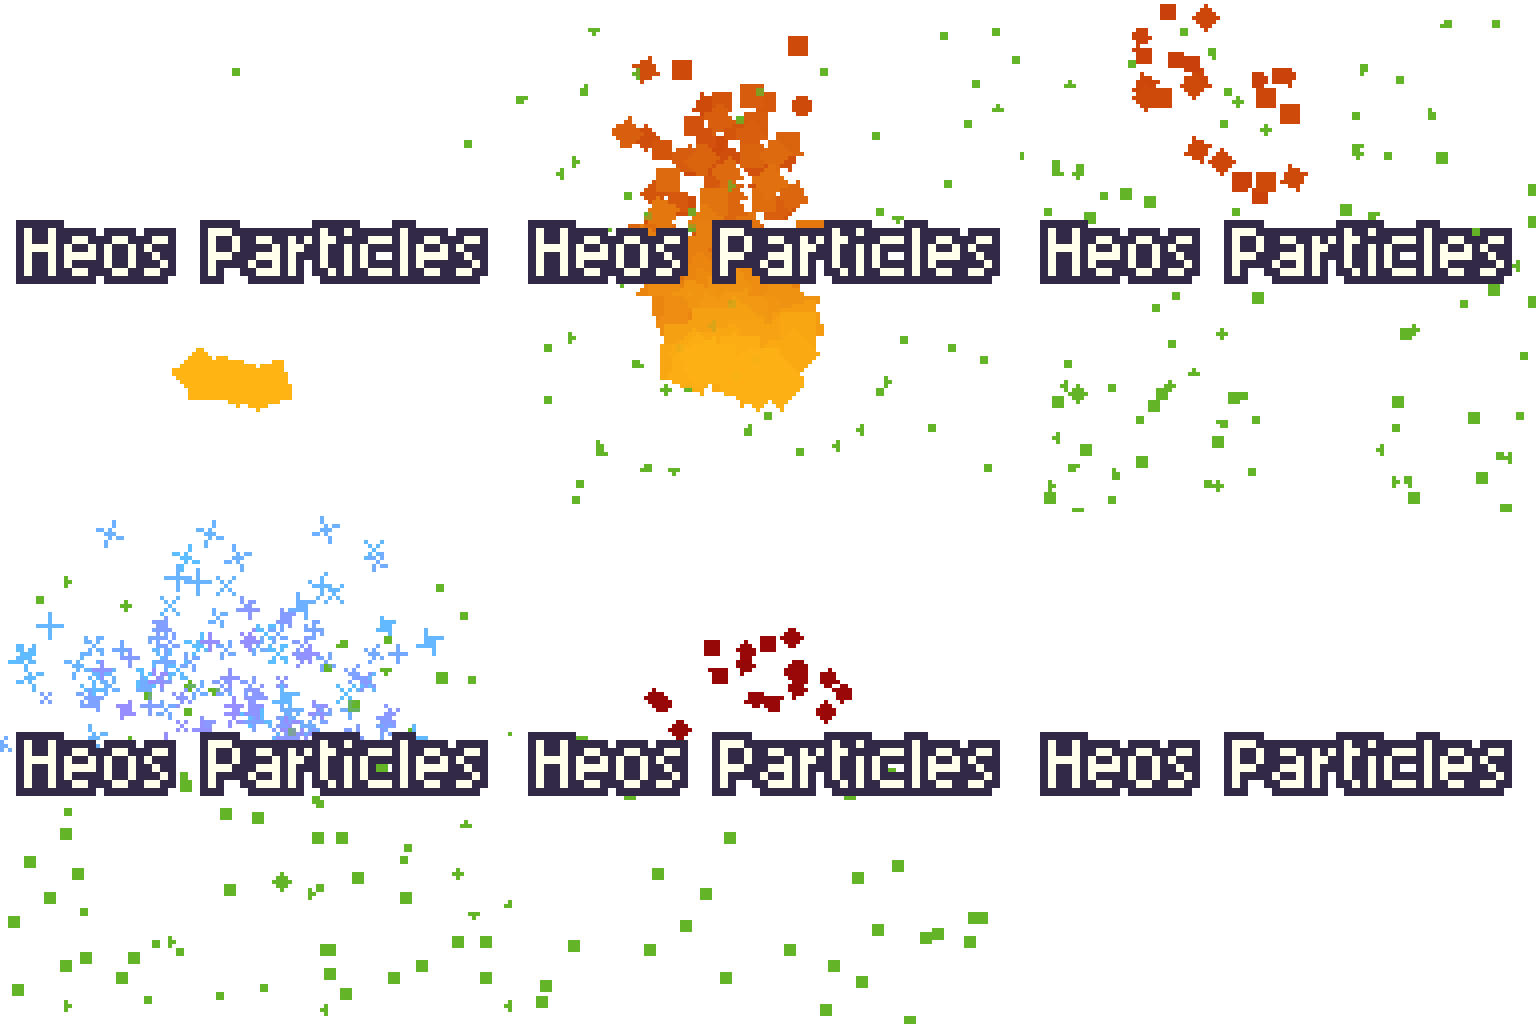
Heos Particles
A downloadable tool
Create particle effects directly inside Aseprite! Heos Particles is a script that lets you generate animated particles: sparks, explosions, smoke, rain, magic, and much more, without leaving your pixel art workflow.
Features
- 30+ ready‑to‑use presets (Sparks, Explosion, Smoke, Rain, Fireflies, Blood, Electricity, Petals, Vortex, Glitch, Magic, and many more)
- 30+ built‑in shapes: Square, Cross, Circle, Ring, Diamond, Arc, Arrow, Bolt, Bubble, Burst, Cloud, Comet, Crescent, Dash, Drop, Flame, Flower, Heart, Hexagon, Leaf, Line, Pentagon, Pixel, Snowflake, Sparkle, Spiral, Splat, Star, Triangle, X, and more
- Custom shape support: Use your own sprite as a particle by drawing on the "Heos_custom" layer
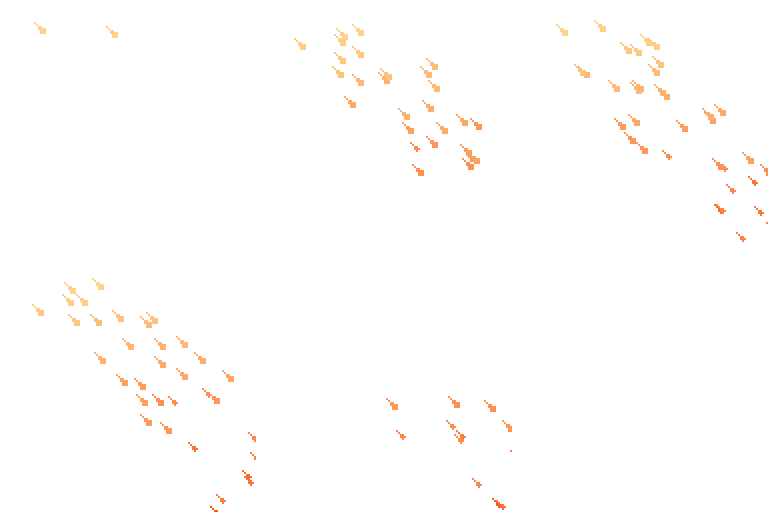
- Emit from a selection: Make a selection on the canvas, and particles will only spawn inside that area (randomly). If no selection exists, the whole sprite area is used
- Path‑based emission: Draw a trajectory on the "Heos_path" layer, and particles will follow it frame by frame (one pixel per frame defines the emitter's movement)
- Full control over size, speed, spin, gravity, color, and emission length — with optional evolution over lifetime
- Evolve system: Each property can either interpolate smoothly from start→end (Evolve ON) or pick random fixed values per particle (Evolve OFF)
- Emit over multiple frames (burst or continuous effect) with independent control over burst duration and particle lifetime
- Start frame control: Choose which frame the emission begins on
- Auto‑clears previous particles and manages frames intelligently
- Layer name customization: Create multiple particle systems by renaming the output layer
- Original colors mode: Custom shapes can keep their original pixel colors instead of being tinted
How to use
- Place the script in your Aseprite scripts folder
- Run it via File > Scripts > Heos Particles
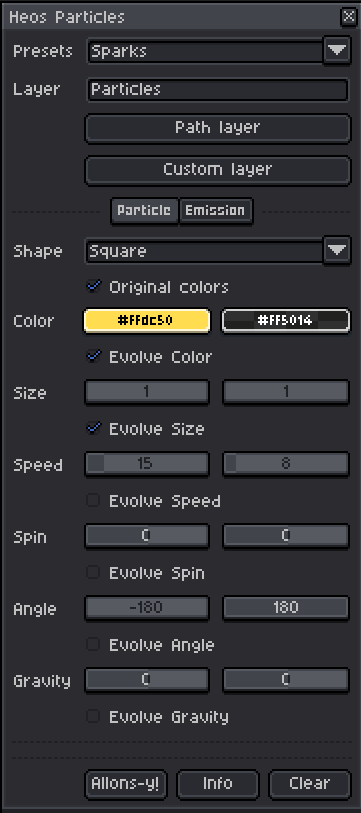
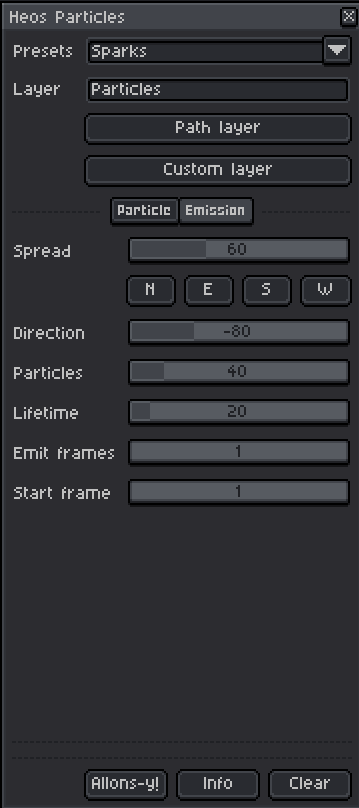
- Choose a preset or tweak the parameters in the Particle and Emission tabs
- Optional: Click "Path layer" to create a trajectory layer, or "Custom layer" to draw your own particle shape
- Click "Allons‑y!": The script creates a "Particles" layer and generates all frames
Understanding the parameters & the "Evolve" checkbox
Each particle property has a start and end value. The "Evolve" checkbox changes how these values are applied:
- Evolve ON → The property starts at the start value and linearly interpolates towards the end value over the particle's lifetime. For example, if Size evolve is ON, particles begin at
size_startand gradually grow/shrink tosize_end. - Evolve OFF → Each particle picks a random constant value when it is born, and that value never changes during its life. For example, if Speed evolve is OFF, every particle moves at a random but fixed speed (some fast, some slow).
This allows two very different behaviors: smooth transitions vs. random variety.
Parameter reference
| Parameter | What it does |
|---|---|
| Shape | Visual form of each particle (30+ built-in shapes, or Custom). "Pixel" is always 1px and ignores size sliders. |
| Color 1 & 2 | Gradient colors. Evolve ON: particles fade from Color1 to Color2 over their lifetime. Evolve OFF: each particle picks a random fixed color between them. |
| Size | Particle size in pixels (1–16). size_start = initial size, size_end = final size. Evolve ON: grows/shrinks from start to end. Evolve OFF: each particle picks a random fixed size in that range. |
| Speed | Initial velocity in pixels per frame (1–150). Evolve ON: speed changes from speed_start to speed_end. Evolve OFF: each particle picks a random fixed speed. |
| Spin | Rotation speed in degrees per frame (–45 to 45). Positive = clockwise, negative = counter‑clockwise. Evolve ON: spin accelerates/decelerates from spin_start to spin_end. Evolve OFF: each particle gets a random constant spin rate. |
| Angle | Initial rotation angle of each particle in degrees (–180 to 180). Evolve ON: all particles start at angle_start and rotate to angle_end over their lifetime (synchronized sweep). Evolve OFF: each particle spawns at a random fixed angle between angle_start and angle_end. |
| Gravity | Acceleration in pixels per frame² affecting vertical motion. Negative = upward (floating), positive = downward. gravity_end sets final gravity value. Evolve ON: gravity changes smoothly from start to end. Evolve OFF: each particle picks a random fixed gravity. |
| Spread | Angle range (0–180°) in which particles are emitted. 0° = all in same direction, 180° = full hemisphere. |
| Direction | Central emission angle (–180 to 180°). Quick N/E/S/W buttons snap to cardinal directions. |
| Particles | Number of particles spawned each emission frame (1–300). |
| Lifetime | How many frames each particle lives (1–300). |
| Emit frames | How many consecutive frames the emitter keeps spawning new particles (1–300). |
| Start frame | First sprite frame where emission begins. |
| Keep original colors | (Custom shape only) When using a custom sprite, respect its original pixel colors instead of tinting with Color1/Color2. |
Understanding "Emit frames" vs "Lifetime"
- Emit frames = duration of the burst (how long the source keeps shooting particles)
- Lifetime = how long each individual particle survives after being shot
If you set Emit frames = 1 and Lifetime = 30, you get a single explosion with particles that fade over 30 frames.
If you set Emit frames = 60 and Lifetime = 20, you get a continuous fountain: old particles die while new ones keep appearing.
Requirements
Aseprite 1.3 or newer.
Perfect for game effects, VFX, muzzle flashes, weather, ambient glows, and more.
Examples
Custom/Path


Simple presets:
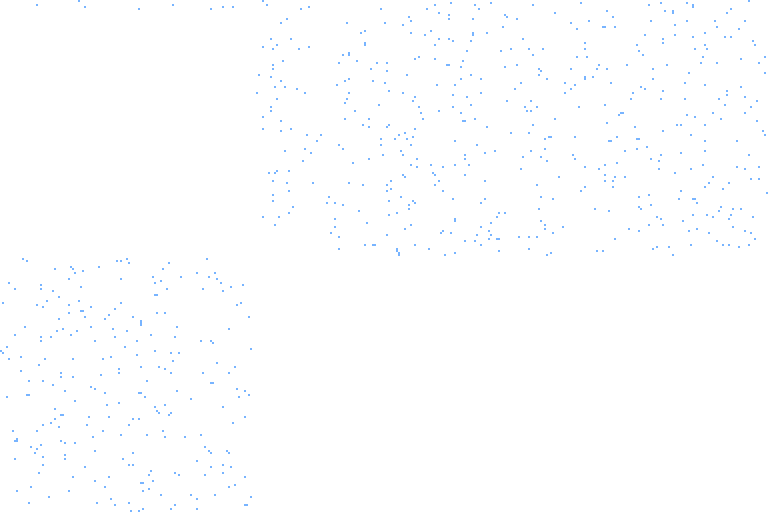
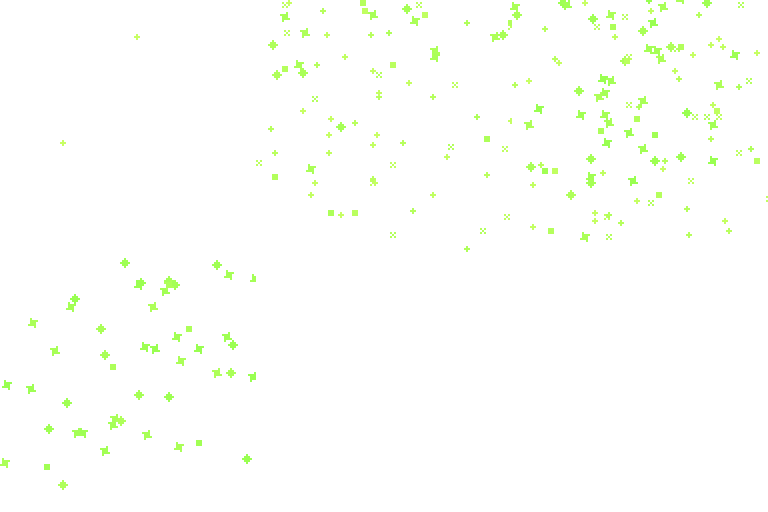
Select on the canvas (to choose the source's location):

Tips
- To use a custom shape (as in the first example), click "Custom layer" to create the Heos_custom layer, draw your particle there, then set Shape to "Custom" in the script. The "Keep original colors" option lets you preserve your pixel art colors.
- To use Path, click "Path layer," create as many frames as you need, and paint a single pixel in any color. The pixels in the frames do not have to be consecutive — the script interpolates between keyframes.
- Multiple particle systems: Change the layer name in the script to create separate particle layers without overwriting each other.
- Selection-based emission: Make a selection on the canvas before generating to confine particles to that area.
- The "Evolve" system is key to achieving different effects: turn it ON for smooth transitions (like a fireball fading from yellow to red), OFF for random variety (like confetti with different sizes and speeds).
- If a particle isn't rendering its shape correctly, you'll probably need to increase its size.
💬 Feedback & Support
I love seeing how you use Heos Particles in your projects. If you have questions, ideas, or just want to share what you've made, feel free to leave a comment or reach out directly. It's always great to see your work in action.

If you found this tool useful, taking a moment to leave a rating really helps. Thanks for the support. ❤️
Purchase
In order to download this tool you must purchase it at or above the minimum price of $4.99 USD. You will get access to the following files:
Leave a comment
Log in with itch.io to leave a comment.