ShapeCarver Studio · Photographic Monster-Maker for Aseprite
A downloadable tool
Shape Carver Studio is a Lua script for Aseprite that converts any image or selection into a flat color output using a palette of your choice, with live preview directly on the canvas.
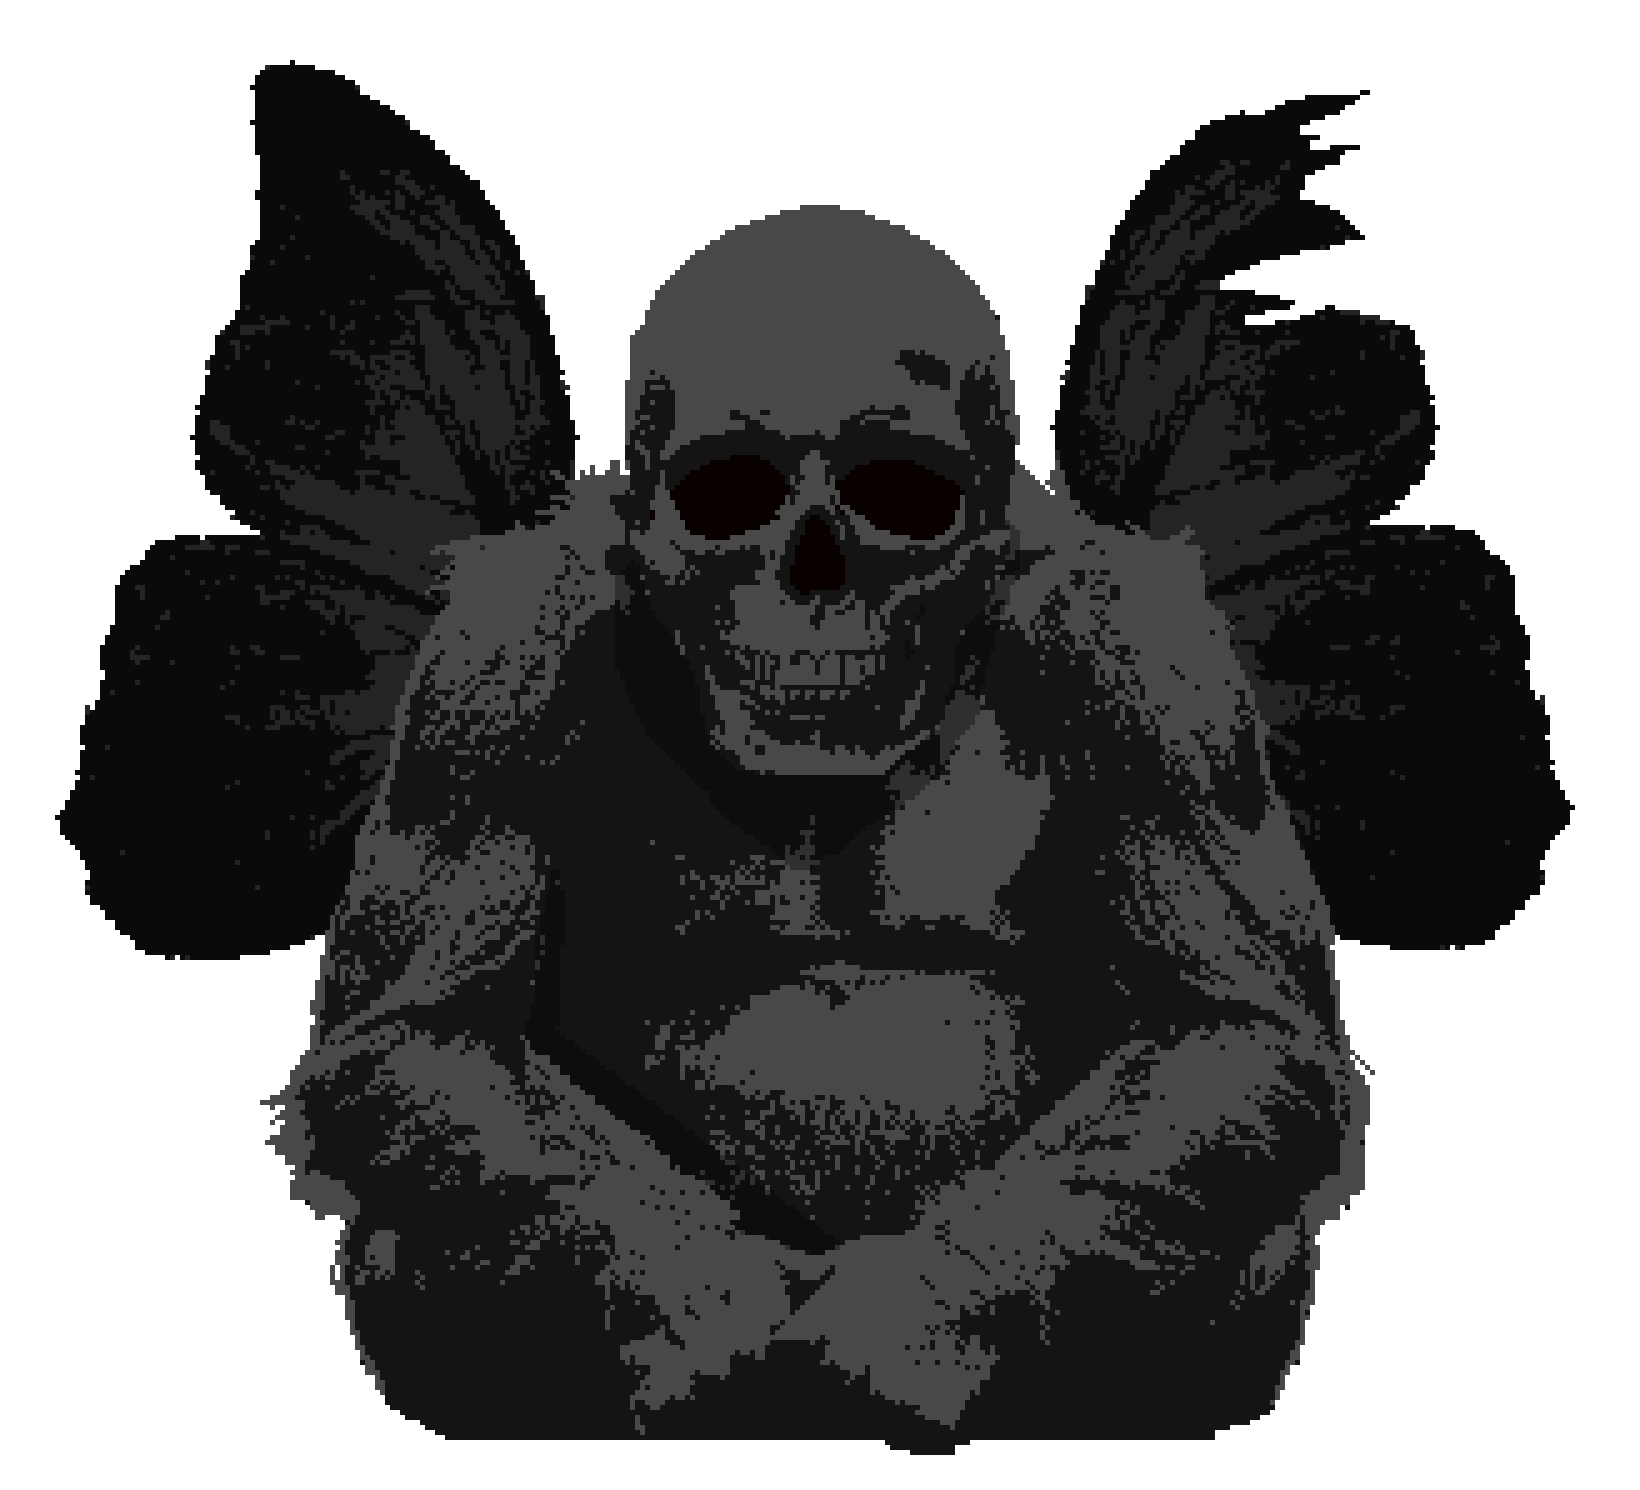
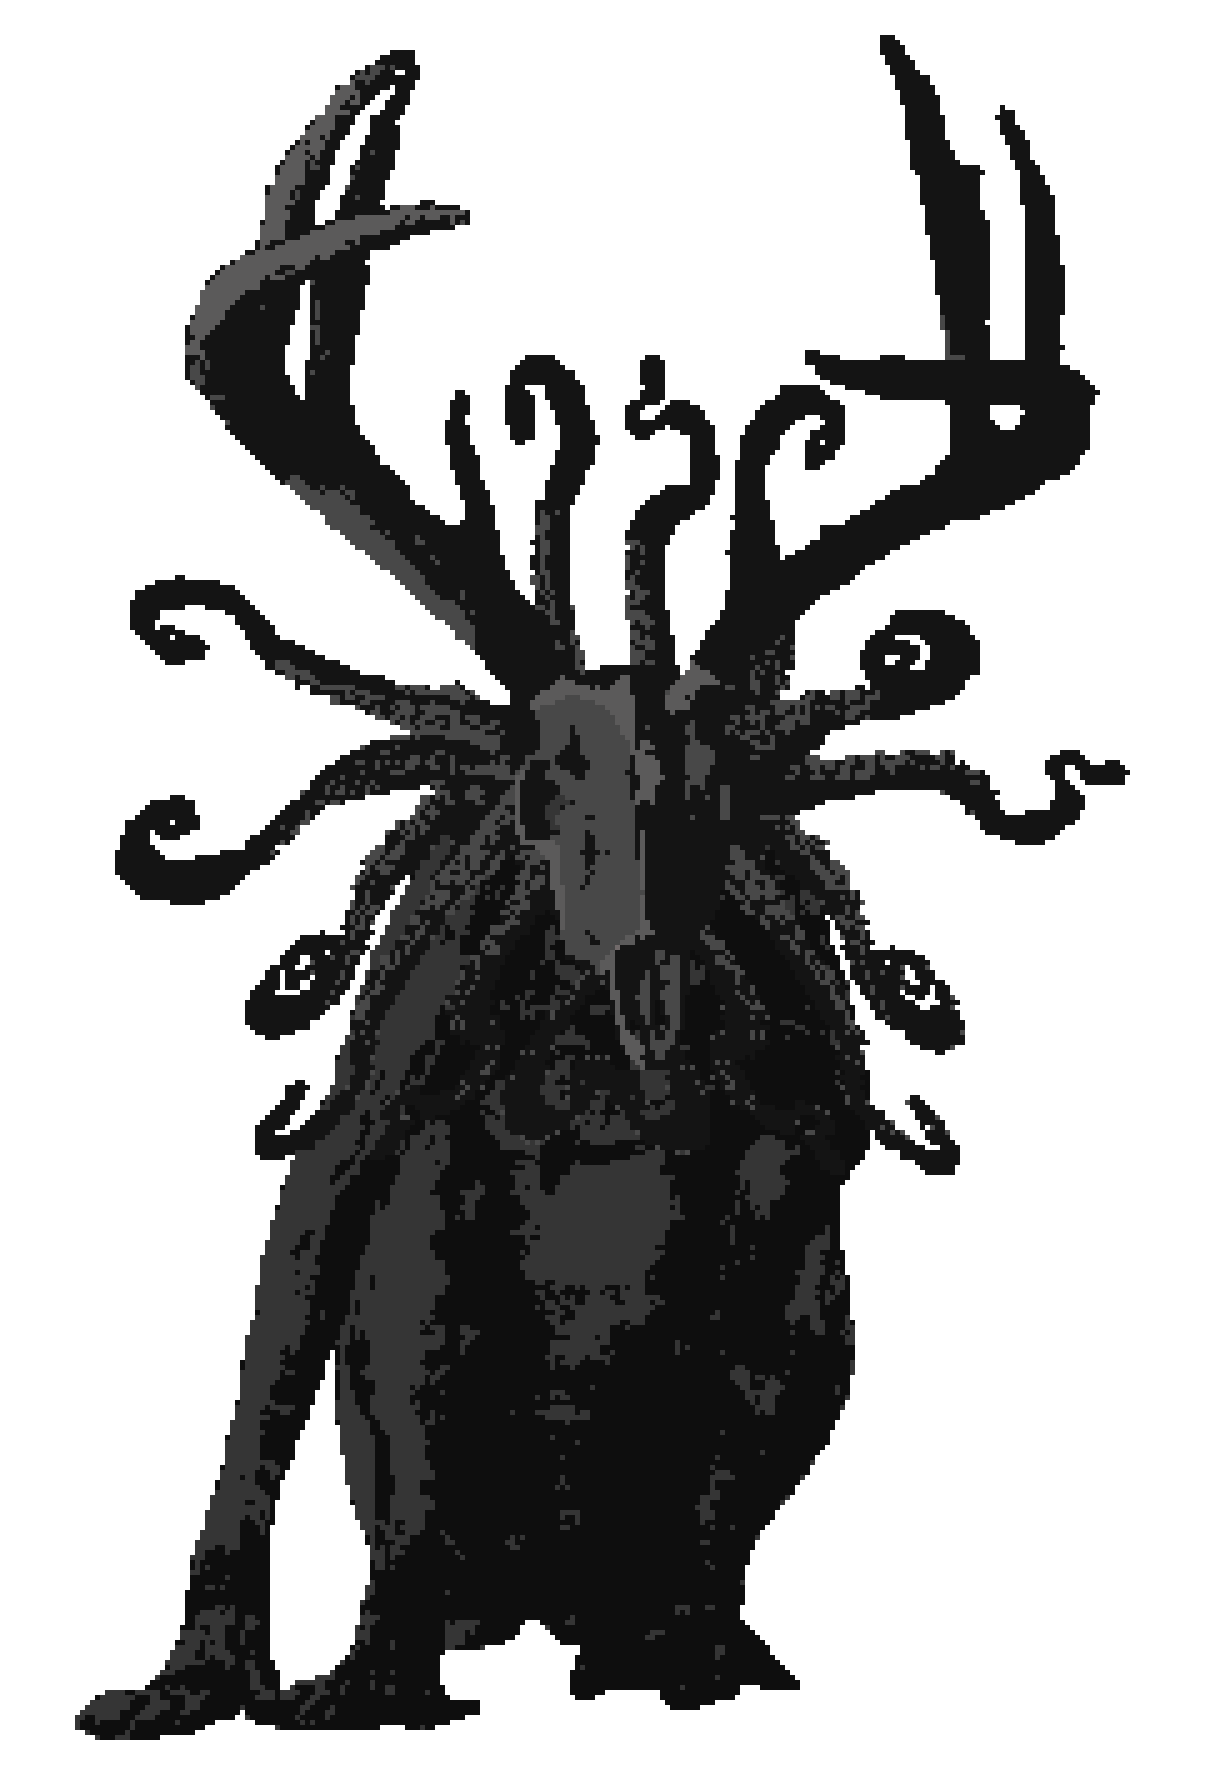
The original idea is simple: take parts of different reference images, convert each piece to the same palette and dithering style, and assemble them into something new. A skull from one source, wings from another, a body from a third. Once everything shares the same two tones and grain, the pieces read as a single coherent illustration. It works just as well for stylizing finished art, generating palette-limited exports, exploring how a piece reads at reduced color depth, or building a consistent visual language across a whole set of assets.
Workflow
1. Open a reference: Open any image in Aseprite. It can be a photo, a sketch, a render, or an existing sprite.
2. Select a region: Use any Aseprite selection tool to isolate the part you want: a head, a wing, a hand. Leave the selection empty to use the whole canvas.
3. Set your palette: Choose Two-tone for a simple dark/light split, or open the Palette manager to load one of the 18 built-in sets or build your own.
4. Set Interpret and Mode: Pick how pixels map to colors and whether to apply dithering. The preview updates live on a reference layer so you can see the result before committing.
5. Tune: Adjust Cut, Strength, and output size until the piece reads the way you want.
6. Allons-y!: Export to a new sprite. Repeat for each part, keeping the same palette and settings so all pieces share the same visual language. Then assemble.
How it works
The script captures the active sprite or selection, scales it to your target size, and runs a pixel-by-pixel mapping pass that assigns each opaque pixel to a color from your palette. The result appears as a reference layer on top of your art so you can evaluate it before committing.
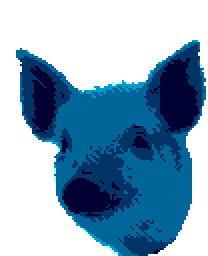
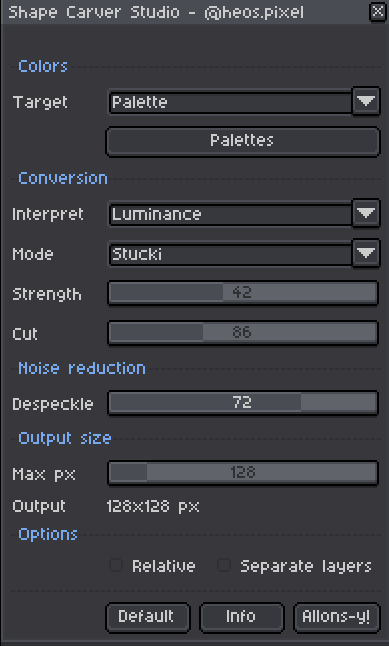
Target: Defines the output color set. Two-tone uses Color A and Color B. Palette opens the palette manager where you can load a preset, build a custom set, or import from the sprite.
Interpret: Controls the mapping logic per pixel. Luminance and Threshold map by brightness; Nearest RGB and Nearest Lab map by color proximity; Hue maps by color wheel angle.
Mode: Applies dithering on top of the mapping. In Luminance and Threshold modes, error diffusion (Floyd, Atkinson, etc.) dithers in brightness space, producing clean light and shadow grain with no color noise. In Nearest and Hue modes it dithers in RGB space.
Target
Two-tone: Color A and Color B define the two output tones. Swap reverses them instantly. Either color can be set to transparent for cutout effects.
Palette: Opens the palette manager. Load a preset (18 included), build a custom set, or import colors from the active sprite. Individual palette colors support transparency too.
Interpret
Luminance: Maps pixel brightness to palette colors in order from dark to light, auto-normalized to the image's brightness range. Cut shifts the ramp up or down. The palette is sorted by luminance automatically so any palette works regardless of the order you defined it.
Threshold: Maps by absolute brightness bands. With two colors this is a classic hard threshold. With more colors it posterizes in equal luminance steps. Cut sets the split point. Color order is respected as you defined it, so Swap works as expected.
Nearest (RGB): Assigns each pixel the closest palette color by Euclidean distance in RGB space. Cut applies a brightness bias before matching.
Nearest (Lab): Same as Nearest RGB but in CIELAB perceptual color space, which better matches how the eye perceives color difference. Slower on large images but produces more natural results.
Hue: Maps each pixel to the palette color with the closest hue angle. Neutral gray pixels fall back to a brightness match. Cut rotates the color wheel before matching.
Mode (dithering)
None: Direct nearest-color mapping. Clean flat output.
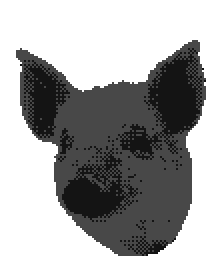
Bayer 2x2, 4x4, 8x8: Ordered dithering with a Bayer matrix. Produces regular, retro-looking grain.
Halftone: Clustered-dot ordered pattern. Print-style look.
Crosshatch: Diagonal hatching pattern.
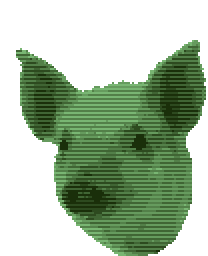
Scanlines: Alternating row bands, dark and light.
Noise: Random ordered dithering. Organic, film-grain texture.
Floyd-Steinberg, Atkinson, Burkes, Sierra, Sierra Lite, Stucki, Jarvis: Error diffusion family. Strength controls how much of the error is propagated.
Mosaic: Averages pixel blocks before mapping. Block size scales with Strength.
Smooth: Box-blurs the image before mapping. Softens region edges. Pass count scales with Strength.
Parameters
Color A / Color B: The two output tones when Target is Two-tone. Support full RGBA including transparency.
Swap: Exchanges Color A and Color B and refreshes the preview.
Interpret: Pixel-to-color mapping method (see Interpret section above).
Mode: Dithering algorithm applied after mapping.
Strength: Intensity of the dithering effect. 0 to 100.
Cut: Shift, split point, or hue rotation depending on the active Interpret mode. 0 to 255, default 128.
Despeckle: Removes isolated stray pixels after mapping. 0 to 100. Higher values require more surrounding agreement to keep a pixel.
Max px: Longest side of the output in pixels. 8 to 1024.
Scale %: Additional size multiplier, available when Relative is on. 10 to 400.
Output: Live readout of the output dimensions in pixels.
Relative: When on, output size scales with how much of the canvas is selected. When off, Max px applies to the selection directly and Scale % is hidden.
Separate layers: When on, Allons-y! creates one layer per palette color in the output sprite. Empty layers are skipped automatically. Duplicate colors in the palette are merged into one layer.
Palette manager
The palette manager opens as a separate non-blocking panel. It contains 18 built-in presets (Grayscale, Game Boy, NES Classic, Neon, Fire, Ice, Ocean, Sunset, Forest, Nature, Earth Tones, Desert, Retro, Cyber, Sepia, Pastel, Vibrant, Candy) and a custom color editor with up to 160 slots. Individual colors support transparency.
Apply: Sends the current palette to the script and refreshes the preview without closing the manager.
Import: Loads colors from the active sprite's palette into the manager.
Export: Writes the current palette back to the active sprite.
Clear: Empties the working palette.
Tips
Luminance with an ordered dither (Bayer 8x8 or Halftone) and a warm palette produces a clean retro print look. Luminance with Floyd-Steinberg at mid Strength gives smooth tonal gradients that read well at small sizes.
Threshold at Cut 128 with two colors is a hard silhouette. Move Cut down to keep more of the light side, up to keep more of the dark side. With four or more colors it becomes a posterization that respects the order of your palette.
Hue works best with palettes that cover a good spread of hue angles. It tends to flatten grayscale areas into the nearest palette color by brightness, so keep a neutral tone in your palette if you want grays to survive.
Separate layers is useful for exporting a sprite where each color lives on its own layer for compositing or animation. The output layers are named by hex code so they are easy to identify.
The preview layer is a reference layer and does not affect export. It is removed and regenerated on every update. To pause preview generation, close the dialog or click Default to reset.
Compatibility
Requires Aseprite 1.3.x or later. Works with RGB color mode.
Examples
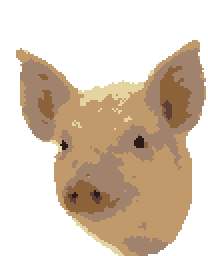
Feedback & Support
I love seeing how you use Shape Carver Studio in your projects. If you have questions, ideas, or just want to share what you've made, feel free to leave a comment or reach out directly. It's always great to see your work in action.

If you found this tool useful, taking a moment to leave a rating really helps. Thanks for the support. ❤️
Purchase
In order to download this tool you must purchase it at or above the minimum price of $4 USD. You will get access to the following files:
Comments
Log in with itch.io to leave a comment.
This sounds really neat! Would it be possible to have some example images on the page to get a better sense of the results?
Of course! I will be including more examples. For now, here's the one I used to create the cover =D