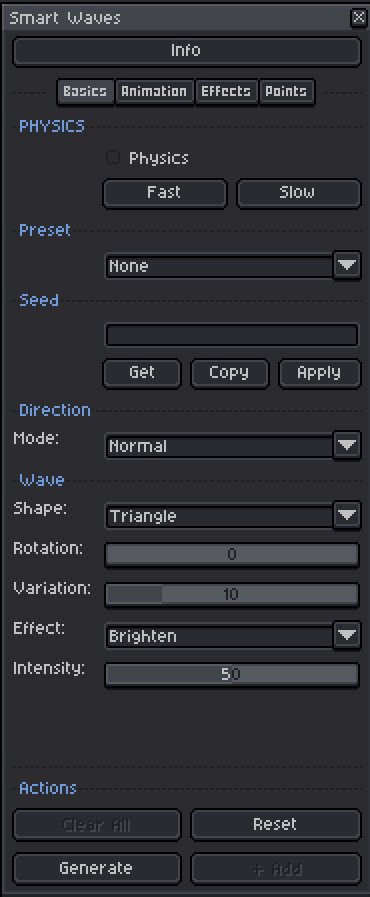
Smart Waves
Smart Waves is a powerful script for Aseprite that generates expanding wave animations from origin points. Perfect for creating impact effects, shockwaves, water ripples, magical effects, and much more.
Warnings:
-
On large drawings, frame generation may take a bit longer.
-
Using “glow”, “Pulsing” mode, or generations with many effects may also increase generation time.
-
However, factors like “speed” or “acceleration” can reduce processing time.
MAIN FEATURES
------------------------------------------------------------------------------------
• Two different systems:
- Pure Mathematical, where waves create clean geometric shapes
- “Physics” (not really physics), which makes waves flow around obstacles and take holes in the drawing into account. It also reads white and black (or intermediate values) to speed up (white) or slow down (black) the waves
Tip: Clone the original drawing layer, paint the areas where you want to change speed, generate the wave, hide the cloned layer, and keep the original.
------------------------------------------------------------------------------------
- Multiple wave shapes: Circle, Square, Diamond, Hexagon, Horizontal, Vertical, Diagonals, Fractal, Chaos, Wave, Organic (with random generation)... +20 in total
- Visual effects: Lighten, Darken, Color, Desaturate, Saturate, Hue Shift and Gradient
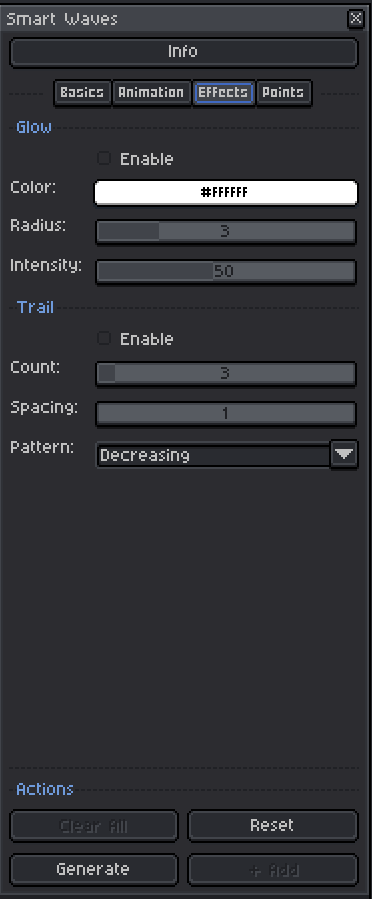
- Trail system and Glow
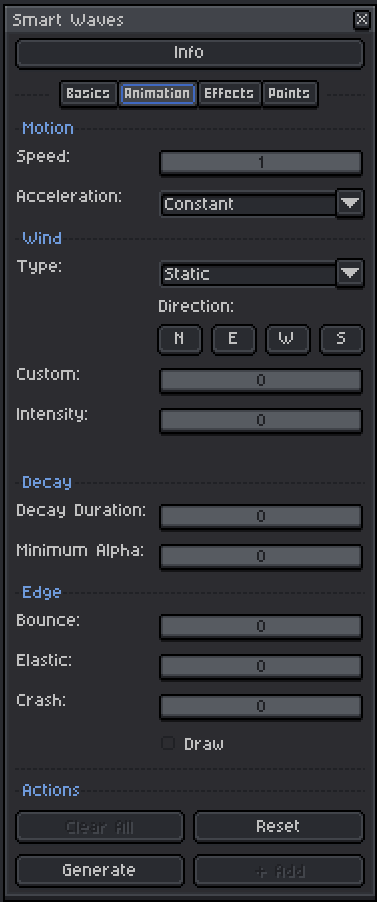
- Speed, Wind, Decay, unique edge animations (bounce, elastic, crash, and draw)
- Advanced point system to control wave behaviour
- Multiple independent waves for advanced animations
- Wave directions: Normal, Inverse, Pulsing and Wavering
- Constrain wave generation to a selected area using Aseprite’s selection tools
- Undo system that lets you undo several steps in wave generation
- Waves are generated only on the active layers of the sprite, giving you greater control
- “Info” button to check details whenever you need them
------------------------------------------------------------------------------------
HOW TO ADD NEW WAVES
Adding multiple waves to your animation is very simple:
-
Generate your first wave using the “Generate” button with the desired settings
-
Select any frame of the first wave to start a new wave
-
If needed, place origin, attraction, repulsion, or path points on the selected frame
-
Adjust the parameters of the new wave if you want it to be different
-
Click the “+Add” button to generate a new independent wave
-
Repeat the process to add as many waves as you need
You can also generate multiple waves at once. In the same “Source” layer, place different Origin points in different frames and when you press +Add, it will generate each wave starting at the frame where there is a point. Less control, but faster.
Waves are generated on separate layers (Wave 1, Wave 2, Wave 3…), so you can:
-
Edit each wave independently
-
Show or hide specific waves
------------------------------------------------------------------------------------
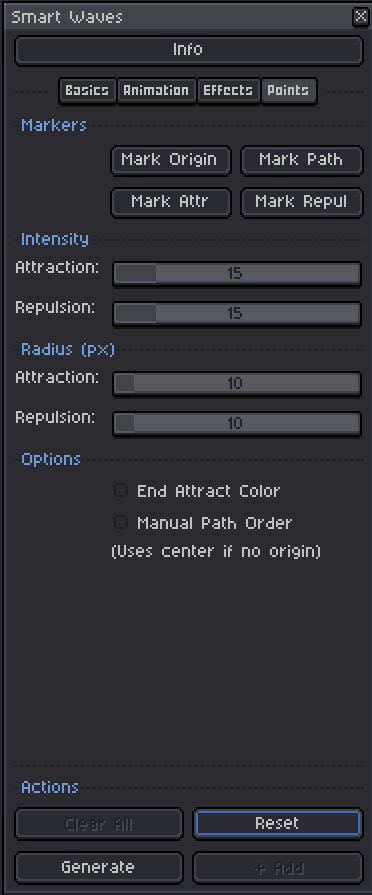
USING POINTS – EXHAUSTIVE GUIDE
The Points system is one of the most powerful features of Smart Waves. It lets you precisely control how waves behave. Points can act inside or outside the drawing, for example, if you want to mark an origin outside the visible area but still affect the drawing. Applicable to the first wave or to new waves.
TYPES OF POINTS:
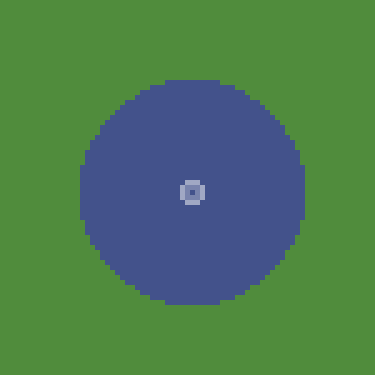
1. ORIGIN (Red) – Origin Point
-
Mark Origin: Generates a “Source” layer and selects the red color for you to paint the origin
-
Add a new Origin for each new wave you want to generate (Not in the same frame)
-
The frame where you draw the point determines when that origin starts acting
-
Generate/+Add
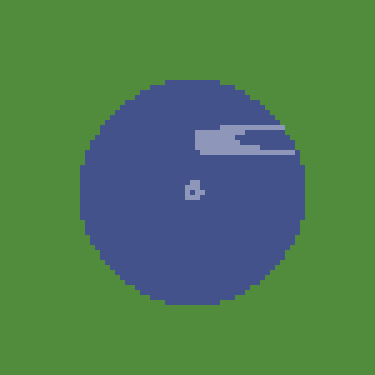
2. PATH (Orange) – Movement Path
-
Martk Path: Generates a “Path” layer and selects the orange color for you to paint the path
-
The origin will move along the Path points during the animation
-
You can use multiple Path points to create complex trajectories
-
Two ordering modes:
-
Auto (unchecked): Points are automatically ordered by proximity, starting from the origin
-
Manual (checked): Each Path point must be on its own numbered layer (Origin/Center, Path 1, Path 2, Path 3…) so you can define the order manually
-
-
Generate/+Add
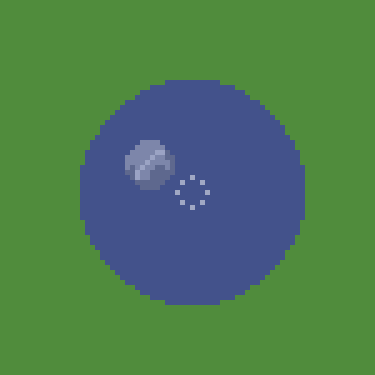
3. ATTRACTION (Green) – Attraction Points
-
Mark Attr: Generates an “Attraction” layer and selects the green color
-
Pulls waves toward them, deforming the wave shape
-
Attraction strength is set before marking (0–100%)
Attraction radius (px) is set before marking (5-100%)
-
You can have multiple green points on the same “Attraction” layer
-
All points on the same layer share the same strength
-
The frame where you draw the point determines when it starts acting
-
Extra: “End Attract Color” changes the wave’s color as it approaches the attraction point. Color and influence radius are configurable.
-
Use: Set the attraction strength, click “Mark Attr,” then draw green points. Generate/+Add
4. REPULSOR (Magenta) – Repulsion Points
-
Mark Repul: Generates a “Repulsor” layer and selects the magenta color
-
Pushes waves away, creating exclusion zones
-
Repulsion strength is set before marking (0–100%)
Repulsion radius (px) is set befroe marking (5-100%)
-
You can have multiple magenta points on the same “Repulsor” layer
-
All points on the same layer share the same strength
-
The frame where you draw the point determines when it starts acting
-
Use: Set the repulsion strength, click “Mark Repul,” then draw magenta points. Generate/+Add
5. MULTI POINTS SYSTEM
- You can add several points in different frames to the same Origin/Attraction/Repulsion layer.
- With Origin, clicking +Add will generate a new wave starting from each Origin point.
- With Attraction/Repulsion, different points are added to the specified frames, generating complexity in the wave.
- The attraction and repulsion values can be edited from the numbers in the layer itself.
------------------------------------------------------------------------------------
ADVANCED TIPS ABOUT POINTS
• Multiple points on the same layer: You can draw several points of the same type on a single layer. They will all share the same settings (strength, start frame, etc.). There is a power limit; adding countless points will not make the effect infinite.
• Start frame: The frame where you draw a point determines when it starts affecting the waves. This allows sequential effects where different points activate at different times.
• Combining points: You can use Origin + Path to create waves that move while expanding. You can also combine Attraction and Repulsor to create complex force fields.
• Path order: In auto mode, Path points are ordered by proximity. In manual mode, the order depends on the layer number (Origin, Path 1, Path 2, etc.). The distance between path points affects movement speed: closer points slow it down, farther points speed it up.
• Attraction color: You can enable “Use End Color” so attraction points also influence the wave color, creating color effects that shift toward the configured target color.
------------------------------------------------------------------------------------
PHYSICS SYSTEM (not really)
IMPORTANT: The “Physics” system in Smart Waves is NOT real physics, but a visual approximation of how waves might behave when encountering obstacles.
In “Basics” there is a checkbox called “Physics.” When enabled, all waves behave somewhat differently. There are also two buttons (Fast and Slow) that select white and black colors.
When Physics is enabled:
-
Waves calculate paths around transparent areas and obstacles. If your drawing has holes (for example, a rock in the middle of water), the waves will deform around them. Edge effects make this more noticeable.
-
Edge effects behave more realistically
-
Waves flow more naturally around complex shapes
“Physics” also interacts with colors:
-
Lighter (brighter) colors = waves travel faster (up to 1.5× normal speed with pure white)
-
Darker colors = waves travel slower (down to 0.5× normal speed with pure black)
-
This creates interesting visual effects where waves accelerate or slow down depending on the material they pass through
Tip: You can clone the layer of the original art and paint it with lighter and darker colors to vary speed, create the wave animation, and then use it on the real drawing. Waves are always generated on separate layers to preserve your artwork.
This system lets you create effects where waves seem to “prefer” certain areas or materials, resulting in more dynamic and visually interesting animations.
------------------------------------------------------------------------------------
LAYER WORKFLOW
Smart Waves generates waves on separate layers, giving you maximum flexibility:
-
WORK LAYER: Create your artwork on normal Aseprite layers
-
GENERATION: Smart Waves creates new layers (Wave 1, Wave 2, etc.) without modifying your original layers
-
OVERLAY: Wave layers are placed over your original drawing
-
EDITING: You can
-
Show or hide individual wave layers
-
Adjust wave layer opacity
-
Change blend modes
-
Manually edit wave layers if needed
-
This system lets you experiment freely without fear of losing your original work. You can always delete wave layers and start again, or generate new waves with different settings.
------------------------------------------------------------------------------------
OTHER FEATURES
• Included presets: Several preconfigured presets to get started quickly (Water Drop, Pond Ripple, Shockwave, etc.)
• Seed system: Save and share configurations using seed codes
• Some options are not explained here on purpose, so you stay curious and try them out (Wind? Seriously?)
Purchase
In order to download this tool you must purchase it at or above the minimum price of $3.34 USD. You will get access to the following files:


Comments
Log in with itch.io to leave a comment.