Heos Path
A downloadable tool
Heos Path lets you draw a trajectory directly on your sprite and generate a frame‑by‑frame animation that follows it automatically. It works with static sprites, frame animations and layer‑based animations — including grouped layers. The script also includes a Mesh Warp system for marker‑based multi‑point deformations.
Technically it's two scripts in one — and they're more versatile than the name suggests. Path isn't just for moving things from A to B: you can also bend an entire drawing along the line and have it repeat like a garland, or scatter copies across several strokes at once. Mesh Warp isn't just for subtle corrections either: with Reach you can drag a shape all the way to the canvas edge in one stroke. Between the two, the same tool covers animation, distribution, layout and deformation — with a single red line as the starting point.
Path animation – Features
- Draw the path. Red line = the route, green dots = timing markers.
- Variable speed. Dense greens = slow, sparse = fast. One green at start + one at end = classic ease‑in / ease‑out.
- Jump cuts. Separate red segments appear instantly, no interpolation.
- Opacity. The pixel alpha is used as cel opacity — great for fades.
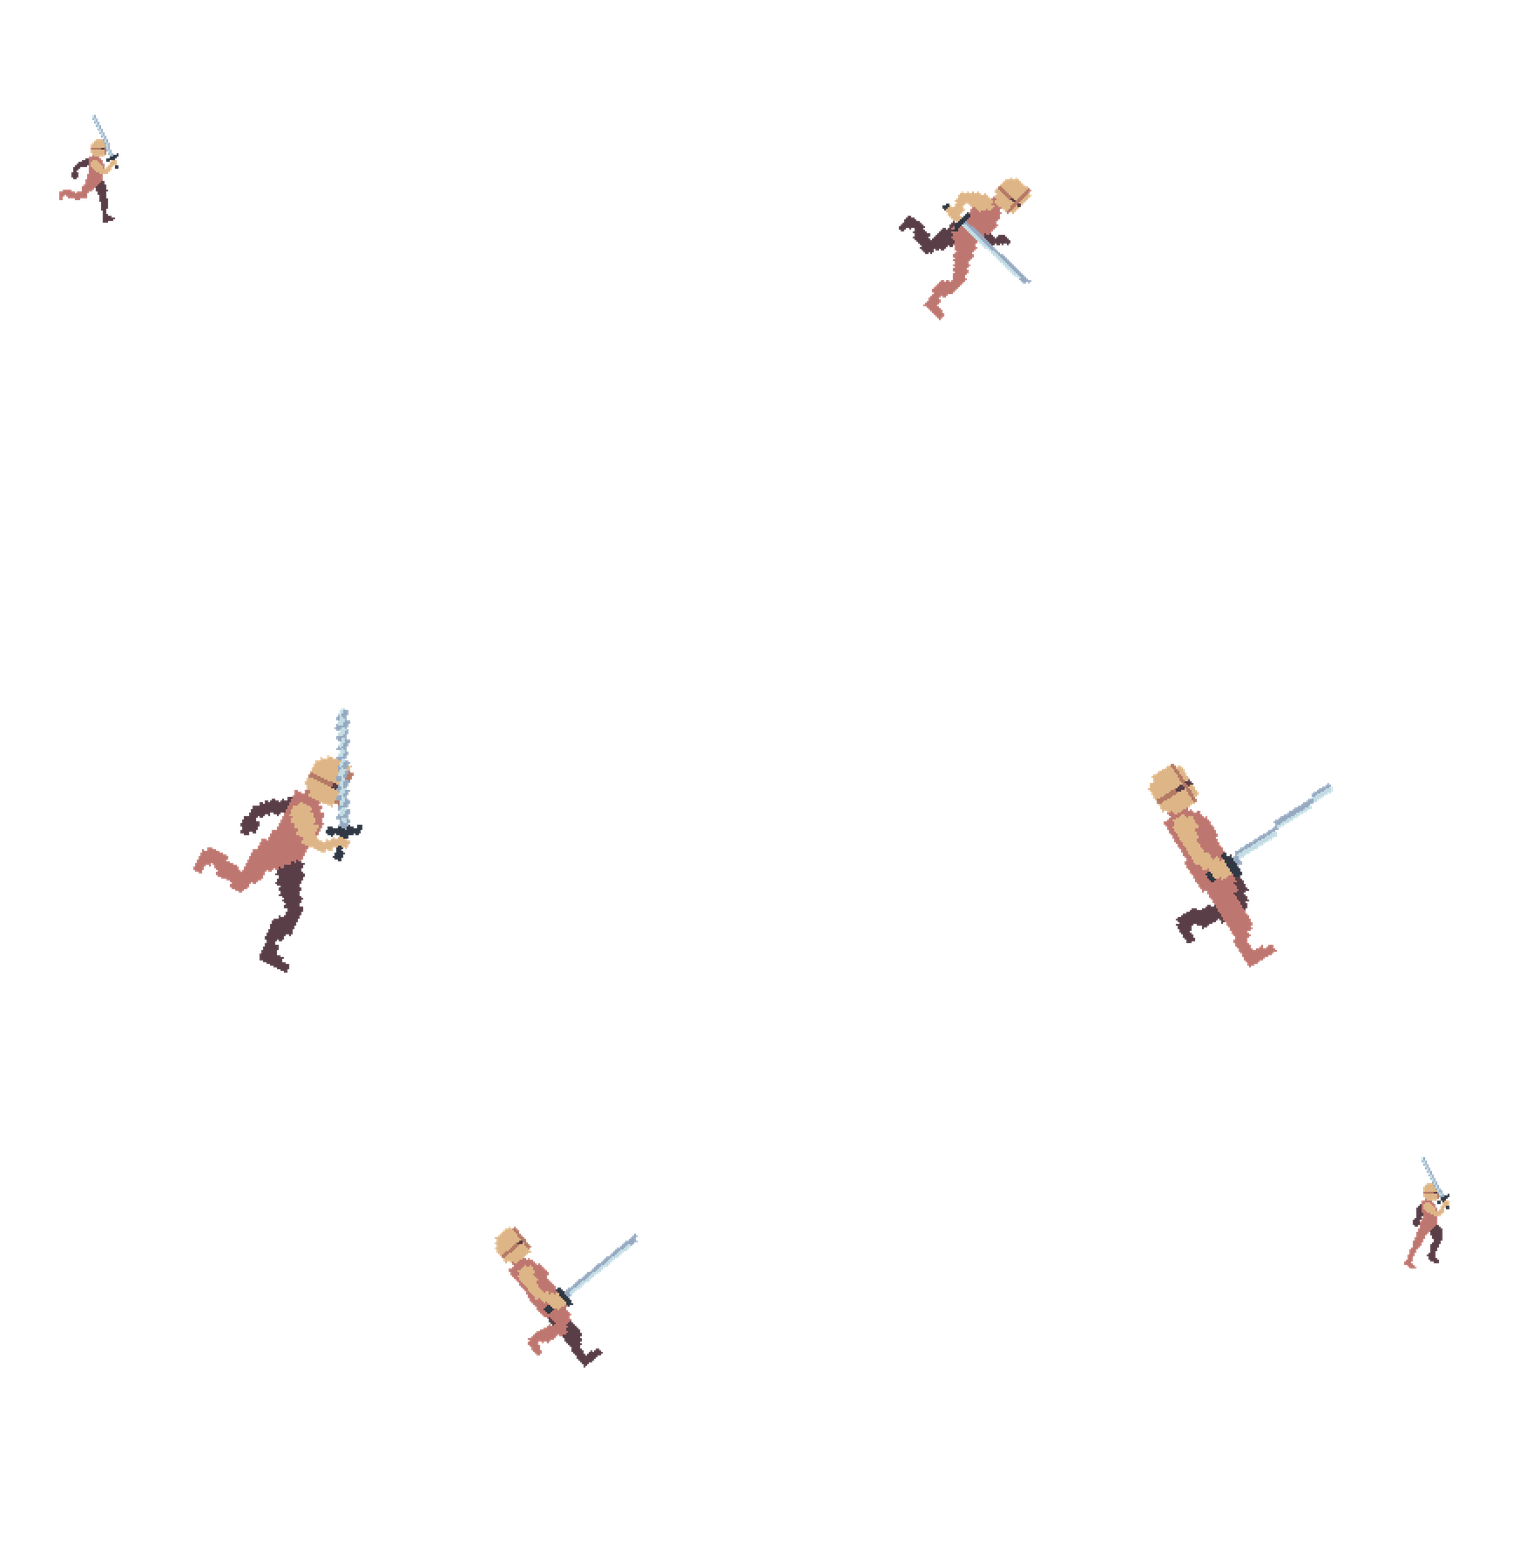
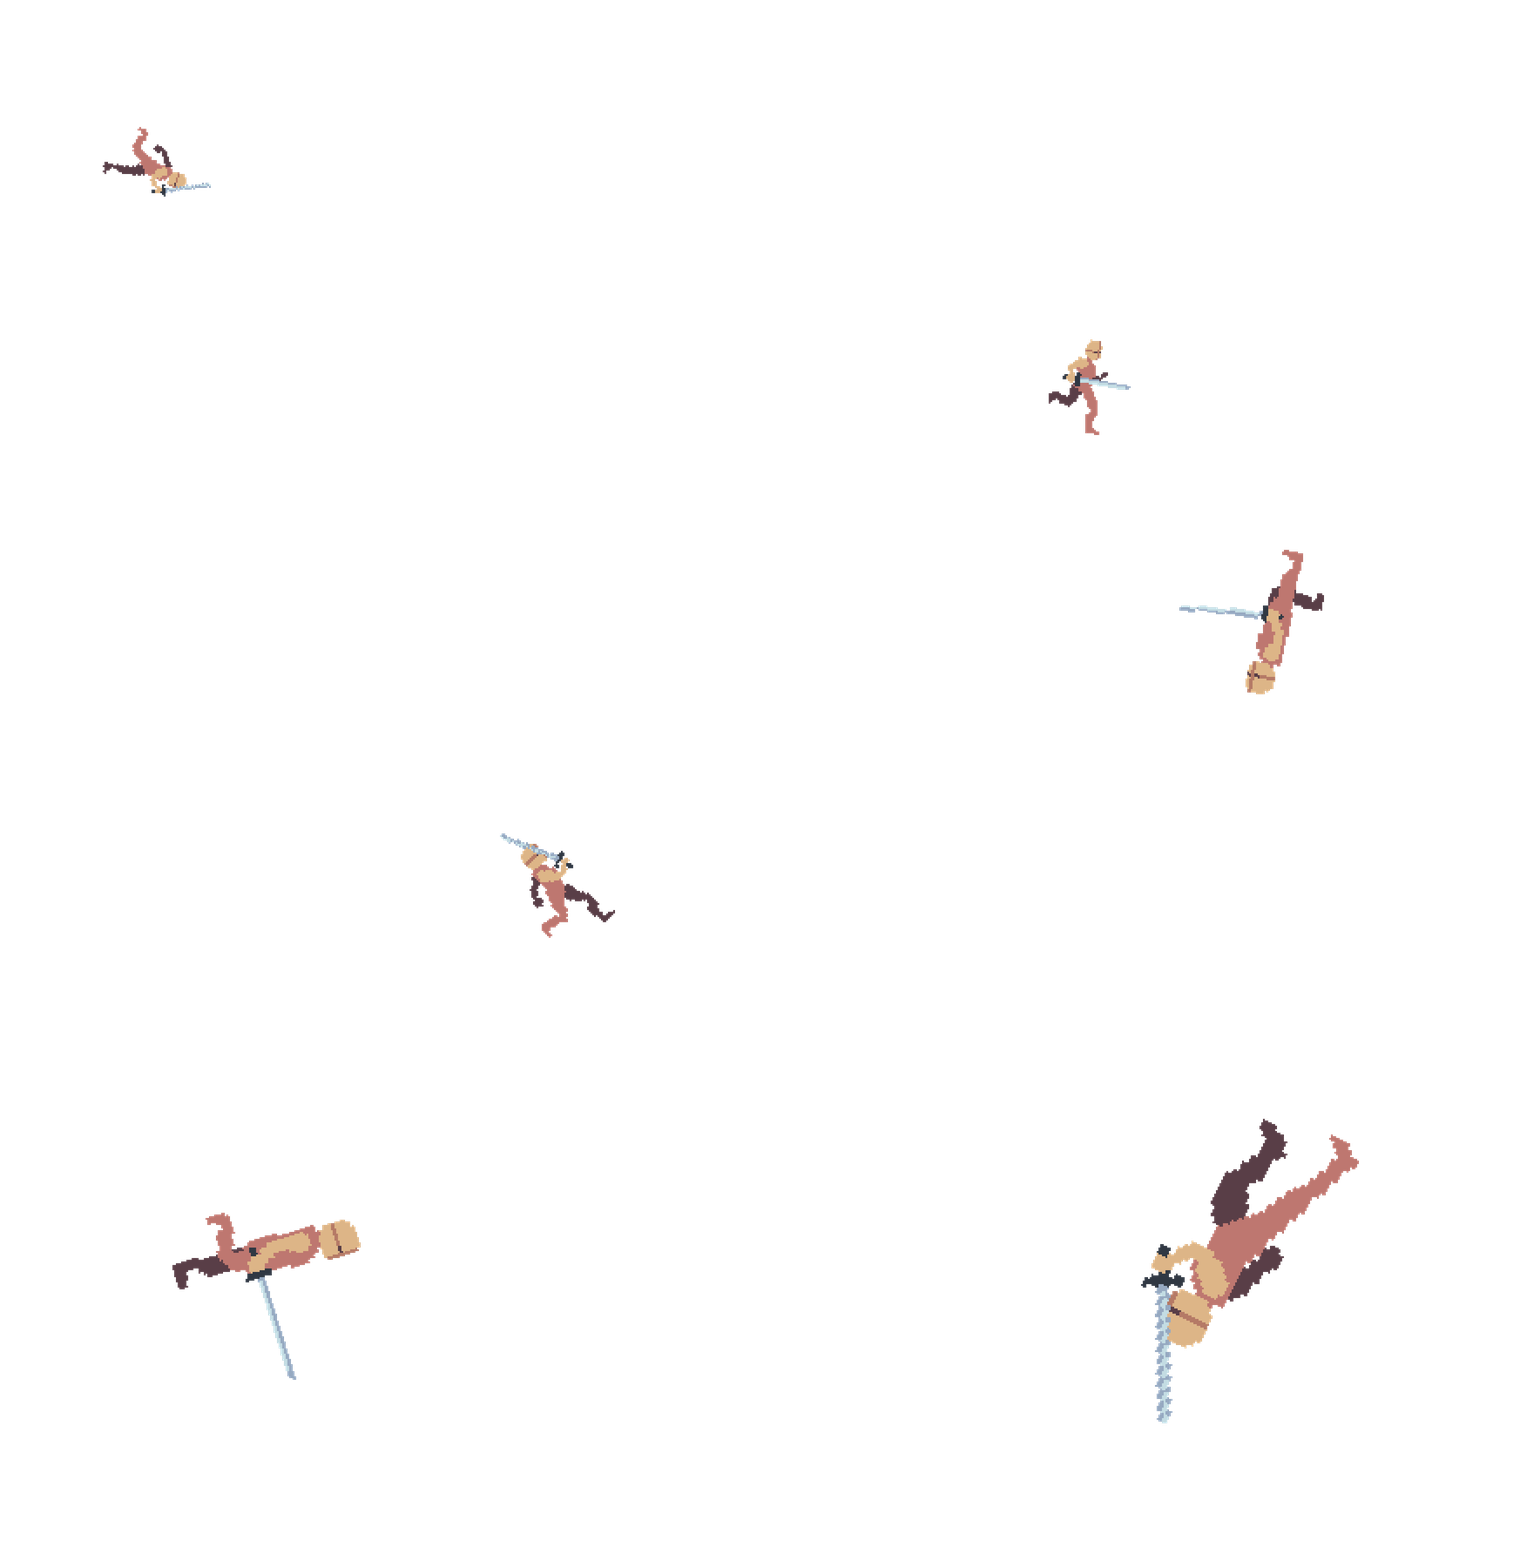
- Optional rotation. Sprite follows the path's tangent automatically.
- Scale along the path. Grow, shrink, or both with linear or eased acceleration. Perfect for arrivals, departures or "approach and retreat" motions.
- Custom pivot (blue point). A single blue pixel defines a custom anchor point (instead of the sprite's center). Ideal for rotations around a corner, like a falling tree or a swinging door.
- Fixed pivot mode. The blue point stays locked in canvas space and the sprite rotates around it while the path describes the arc of a moving extremity — perfect for hinged or pendulum motions.
- Animated sprites & layer groups. Multiple frames cycle as the sprite travels. Supports nested Aseprite groups.
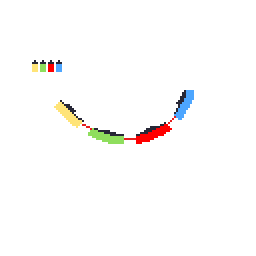
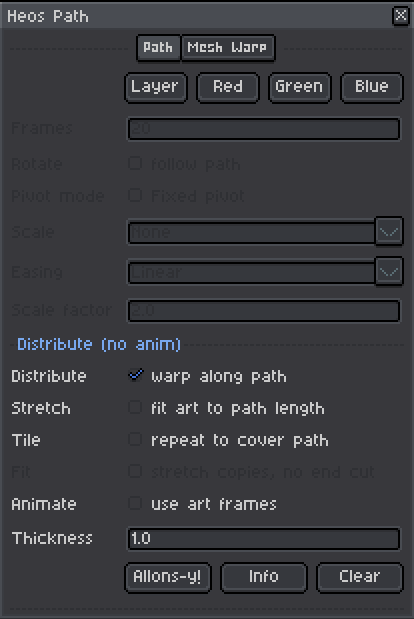
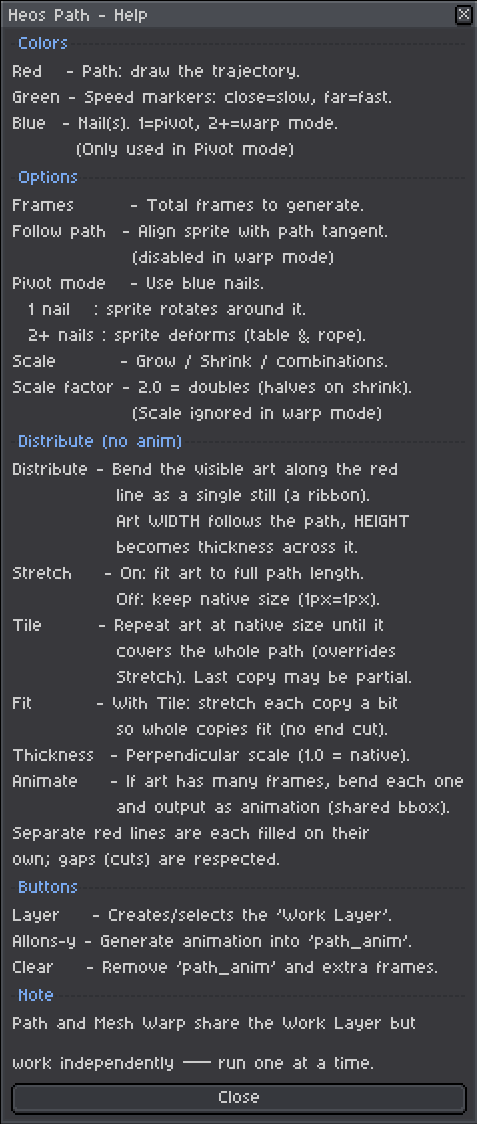
- Distribute mode. Instead of animating, bend the visible art along the red line as a single still — like wrapping a row of objects around a curve. The art's width follows the path and its height becomes the thickness across it. The result lands on its own
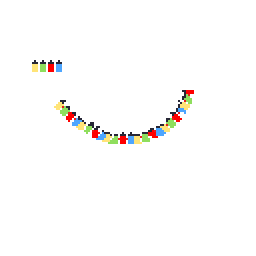
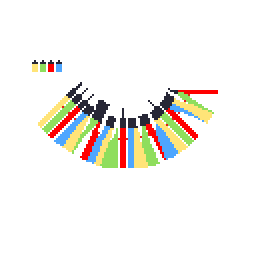
path_distlayer. Enable Animate to bend each frame of a multi-frame sprite as an animation, with a unified bounding box so the ribbon never stretches or squashes. - Distribute fill modes. Stretch fits the art to the whole path, Tile repeats it at native size until the line is covered, and Fit stretches each copy a touch so whole copies land with no cut at the end. Thickness controls the perpendicular scale.
- Cuts respected in Distribute. When the path has several separate red lines, each one is filled on its own and the gaps between them stay empty.
- One‑click clear. Removes the generated animation and restores original frames.
Mesh Warp – Marker‑based deformation
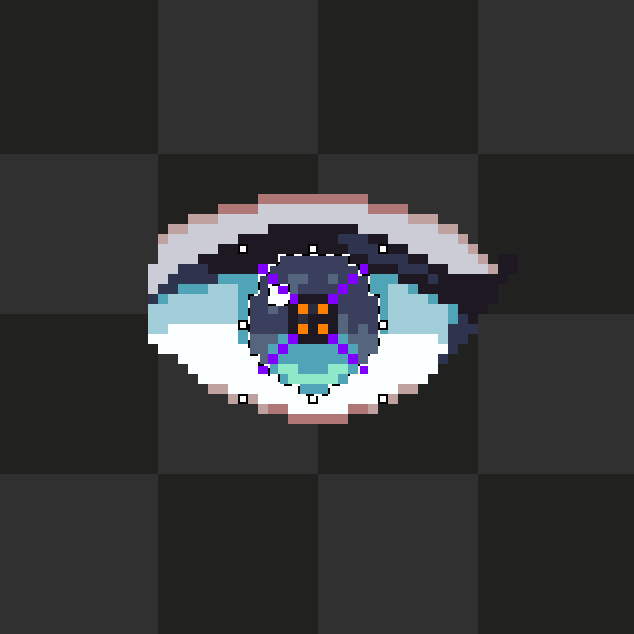
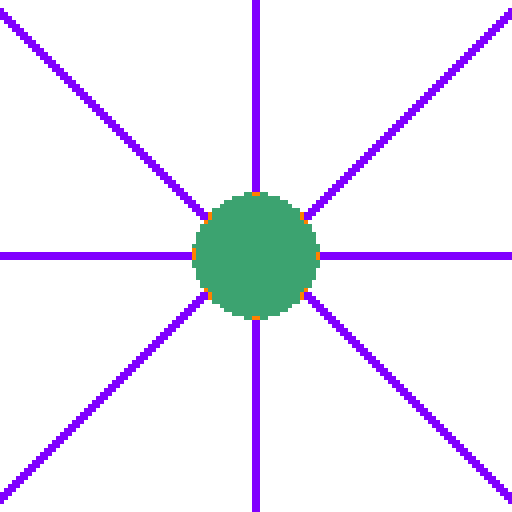
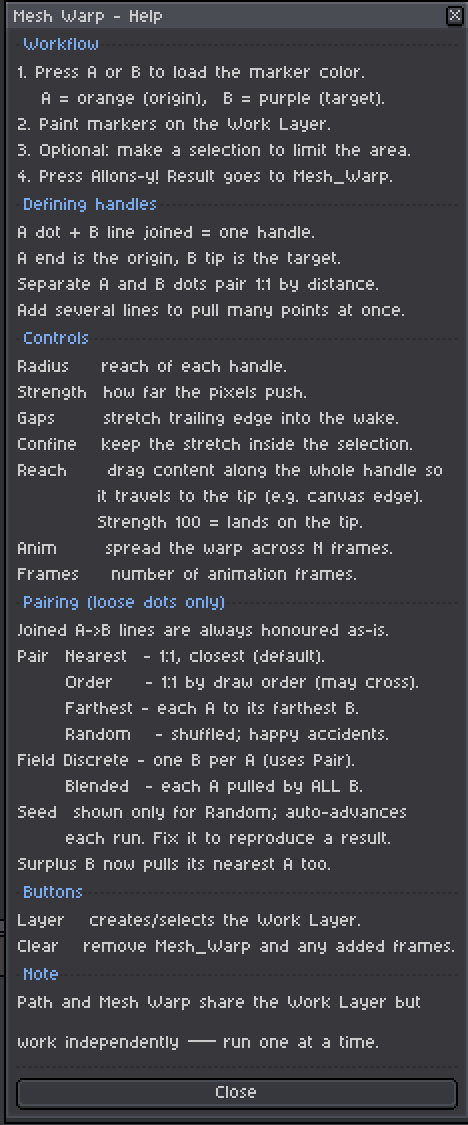
- Orange (A) and purple (B) markers. Orange = origin, purple = target. Paint them on the same Work Layer.
- Explicit handles. Draw an orange dot connected to a purple line → one handle. The orange end stays, the purple tip pulls the pixels. Always honoured as-is regardless of pairing mode.
- Loose marker pairing modes. Separate orange and purple dots are paired according to your choice:
- Nearest – 1:1 by minimum distance (default, stable).
- Order – 1:1 by discovery order; may cross for swirling effects.
- Farthest – each A to its farthest B; long crossing vectors.
- Random – shuffled pairing for happy accidents. Seed auto-advances each run; fix it manually to reproduce a result.
- Field modes. Choose how loose markers interact:
- Discrete – one B per A (uses Pair mode above).
- Blended – each A pulled by all B with inverse-distance weighting; creates a continuous field instead of discrete pulls.
- Surplus markers. More B than A? Surplus B now pulls its nearest A too. Both configurations are balanced.
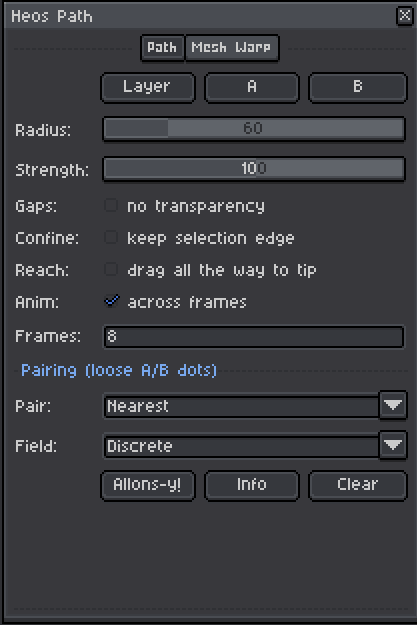
- Radius & Strength. Control how far each handle reaches and how strongly it pulls.
- Reach. Drag the content along the whole handle so it travels all the way to the purple tip — even the canvas edge. With Strength at 100 it lands exactly on the tip.
- Fill gaps. Stretches trailing edges into the wake, avoiding transparency holes.
- Confine to selection. Keeps the deformation inside the active selection edges.
- Animated warp. Spreads the deformation across multiple frames for smooth transitions. Enabled by default.
- Clear button. Removes the
Mesh_Warplayer and any extra frames created by the animation.
How to use – Path animation
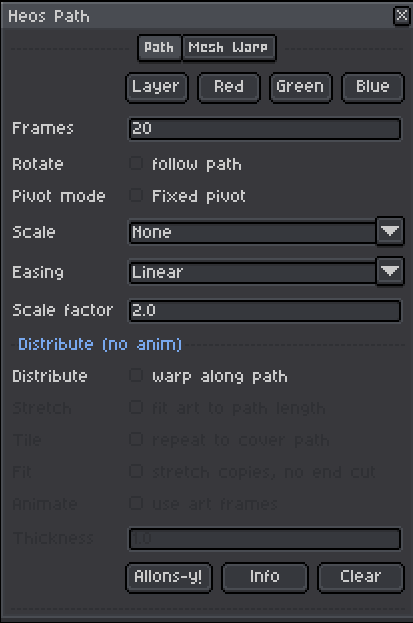
- Click Red and draw your route — one pixel thick.
- Click Green and add dots where you want the sprite to slow down.
- Optionally vary pixel opacity along the line for fade‑in / fade‑out.
- Set the number of frames.
- Enable Rotate if you want the sprite to turn with the path.
- For a fixed hinge effect, enable Pivot mode and draw a blue pixel at the desired anchor point (e.g. a door hinge). The blue pixel defines the rotation centre, and the red line marks where the opposite end moves.
- To resize the sprite as it travels, pick a Scale mode (Grow, Shrink, Grow & Shrink, Shrink & Grow), choose an Easing (Linear, Ease in, Ease out, Ease in‑out) and set a Scale factor (e.g. 2.0 = doubles in Grow, halves in Shrink).
- To lay the art along the path instead of animating it, enable Distribute, pick a fill mode (Stretch, or Tile with the optional Fit for no end cut) and a Thickness. Separate red lines are each filled independently. Enable Animate if your sprite has multiple frames and you want each to bend along the path.
- Click Allons‑y! — a new layer
path_animappears with the finished animation (orpath_distwhen Distribute is on).
The script finds the start point automatically: the red endpoint closest to your sprite's centre. Move the object closer to one end if you need to control which side is the beginning. A blue pixel overrides the sprite's natural centre as the pivot.
How to use – Mesh Warp
- Switch to the Mesh Warp tab in the dialog.
- Click A (orange) to set the origin colour, or B (purple) for the target colour.
- Paint markers on the same Work Layer.
- Draw an orange dot connected to a purple line → explicit handle.
- Or just place separate orange and purple dots — they will pair automatically according to your Pair mode.
- Optionally make a selection to limit the warp area.
- Adjust Radius (how far each handle pulls) and Strength (intensity of the pull).
- Choose a Pair mode (Nearest, Order, Farthest, or Random for happy accidents).
- Choose a Field mode (Discrete for 1:1 pulling, or Blended for a continuous field pulled by all markers).
- If using Random mode, the Seed auto-advances each run for exploration. Fix the number manually to reproduce a result.
- To pull pixels all the way to the purple tip (e.g. the canvas edge), enable Reach. At Strength 100 the content lands exactly on the tip; higher overshoots, lower stops short. Radius sets how wide the drag is.
- Enable Gaps to fill transparency holes, or Confine to keep the stretch inside the selection.
- Anim (enabled by default) spreads the deformation across multiple frames for smooth transitions. Set the number of frames.
- Click Allons‑y! — the warped result appears on a new layer called
Mesh_Warp.
Painting greens comfortably
Once your red line is ready:
- Switch to the Magic Wand (W).
- Click on any empty area outside the red line — this selects the background.
- Invert the selection (Ctrl + Shift + I) — now only the red line is selected.
- Click Green and paint freely — the selection keeps you inside the line.
💡 Keep the red line exactly 1 pixel thick. Thicker strokes can confuse the path‑ordering algorithm.
Working with animations
Heos Path supports three setups with no extra configuration:
- Static sprite. All visible layers are flattened and moved along the path.
- Frame animation. Multiple frames (walk cycle, idle…) are cycled automatically as the sprite travels.
- Layer animation / groups. One layer per frame inside a group works the same way. Nested groups are supported.
The bounding box is calculated across all frames at once, so no pose ever gets clipped.
Tips
Path tips:
- No greens → constant speed (1 frame per pixel).
- One green in the middle → subtle local pause.
- A cluster of greens → the sprite lingers in that section.
- Separate red blobs → instant jump cuts between them.
- Low alpha on red pixels → fade in or fade out.
- One green at start + one at end → classic ease‑in / ease‑out.
- Grow + Ease out: expands fast at the beginning, settles at the end.
- Shrink + Ease in: stays full size most of the path, collapses near the end.
- Grow & Shrink: starts and ends small, peaks in the middle — depth effect.
- Shrink & Grow: a "waist" in the middle — fly‑through or pinch effect.
- Blue point + normal rotation: rotates around the custom anchor while its centre follows the path.
- Blue point + Pivot mode: the blue point stays fixed, the sprite rotates around it — ideal for doors, tree falls, levers, pendulums.
- Distribute + Tile + Fit: a garland effect — repeat a motif evenly along a curve with no cut at the end.
- Distribute + Animate: each frame of an animation bends along the path with a unified box so the ribbon stays stable.
- Distribute with separate red lines: each line gets its own copy — handy for scattering the same art along several strokes at once.
- Scale is ignored in warp mode (2+ blue points), because warping already deforms the sprite.
Mesh Warp tips:
- Explicit handles (orange dot + purple line) give you precise control — the purple tip is the exact pull direction.
- Loose marker pairing (Nearest, Order, Farthest, Random) works great for many small markers: just drop orange and purple dots anywhere.
- Random mode generates happy accidents; click Allons-y multiple times to explore. Fix the Seed number if you find one you like.
- Blended field mode creates smooth, organic deformations by pulling each origin toward all targets at once, instead of discrete 1:1 vectors.
- Larger radius = smoother, wider deformation.
- Strength above 100 can stretch pixels beyond the target point — experiment for exaggerated effects.
- Reach turns a handle into a long‑distance drag: great for pulling a shape right to the canvas edge or stretching a tail to a far target, where the normal falloff would stop short. Radius sets how wide the drag is.
- Fill gaps is essential for large stretches; without it you'll get transparency holes.
- Confine to selection keeps the warp from bleeding outside the chosen area — useful for local corrections.
- Animated warp spreads the effect over several frames. Great for morphs, slow pulls or subtle transitions.
Both systems share the same Work Layer but run independently. You can use Path and Mesh Warp on the same project — just run one at a time.
Examples:
Path Anim:
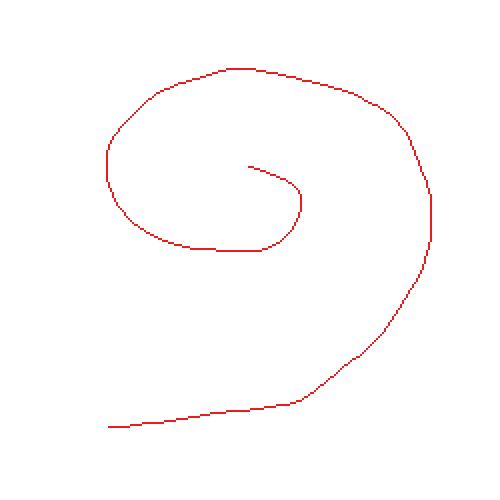
Path in Red (ugly)
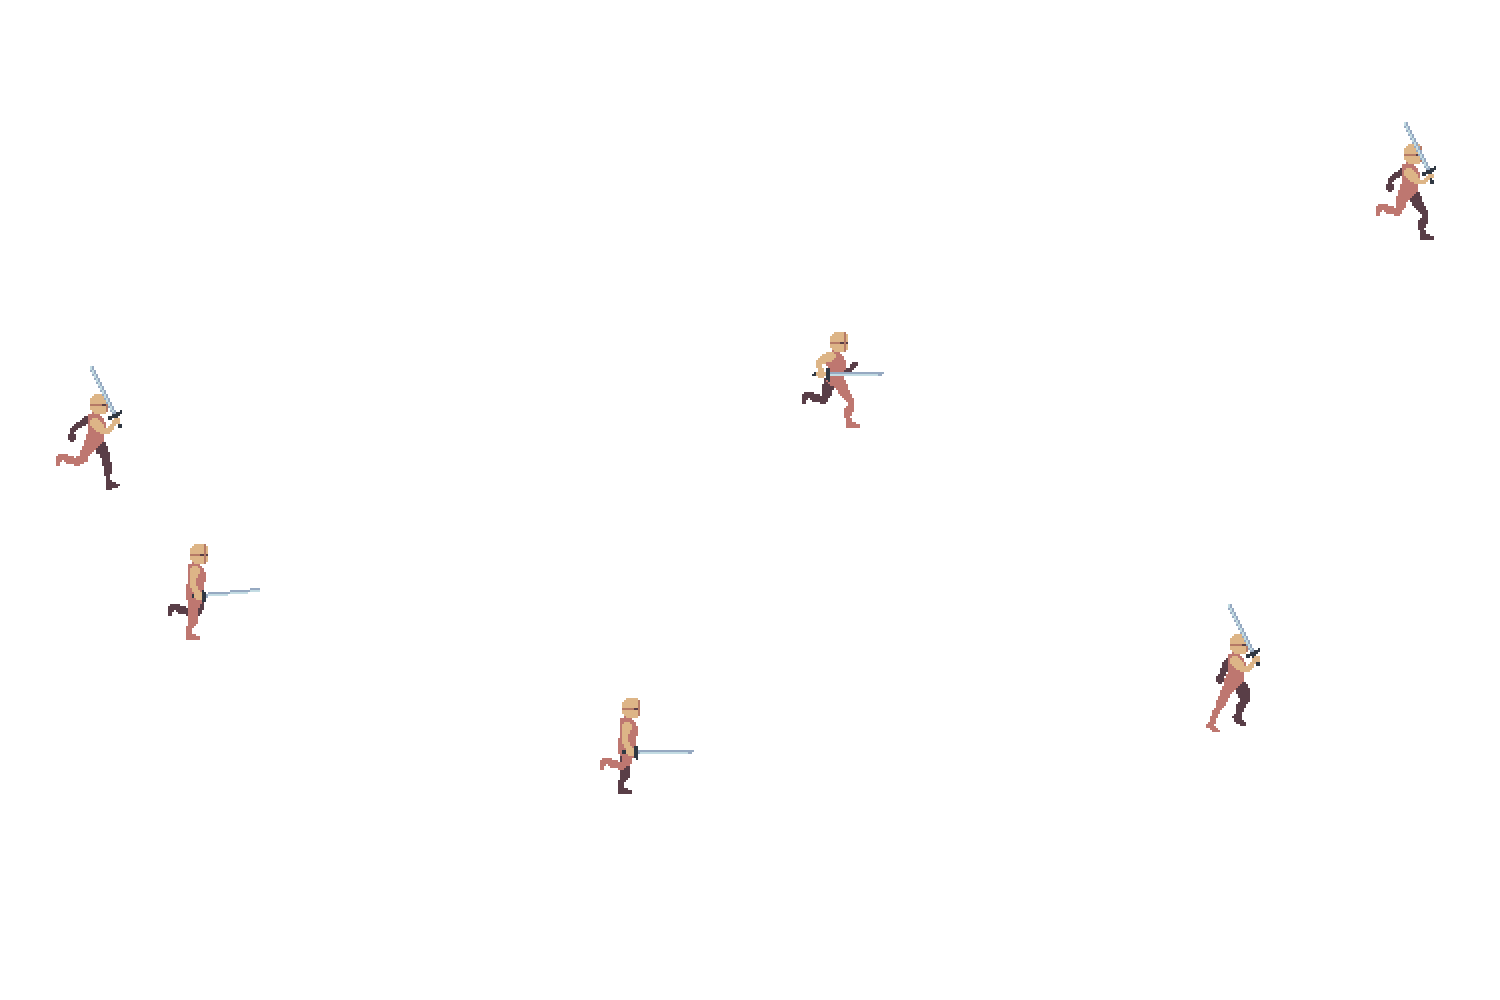
Rotate OFF (animation):
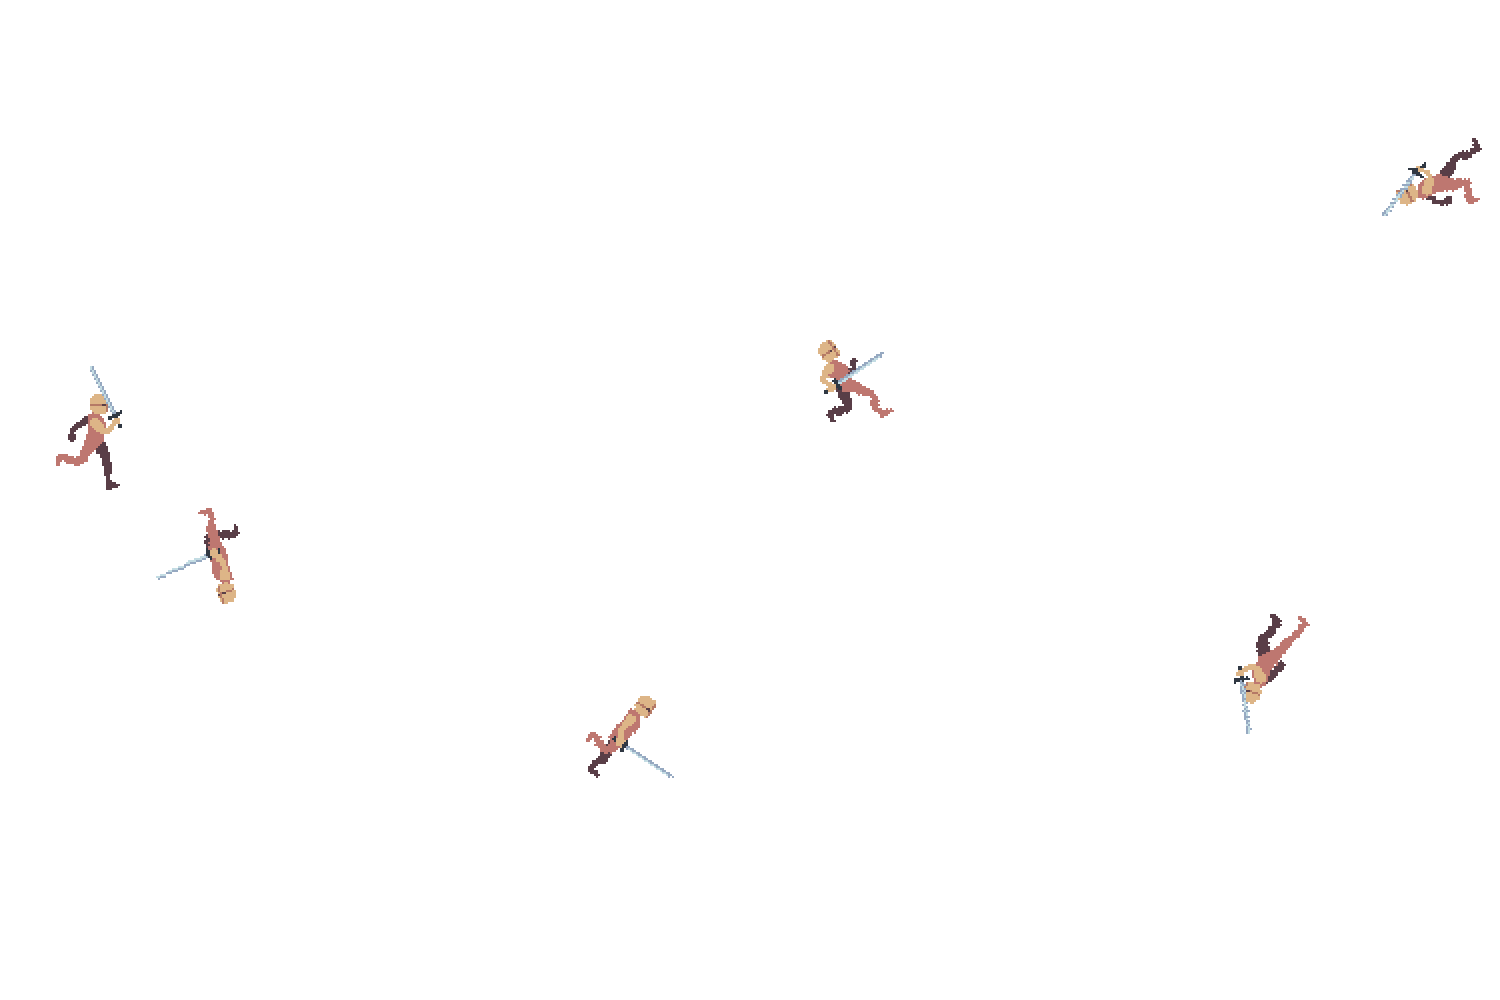
Rotate ON (animation):
Rotate ON and Heos Motion Trail (hehe)
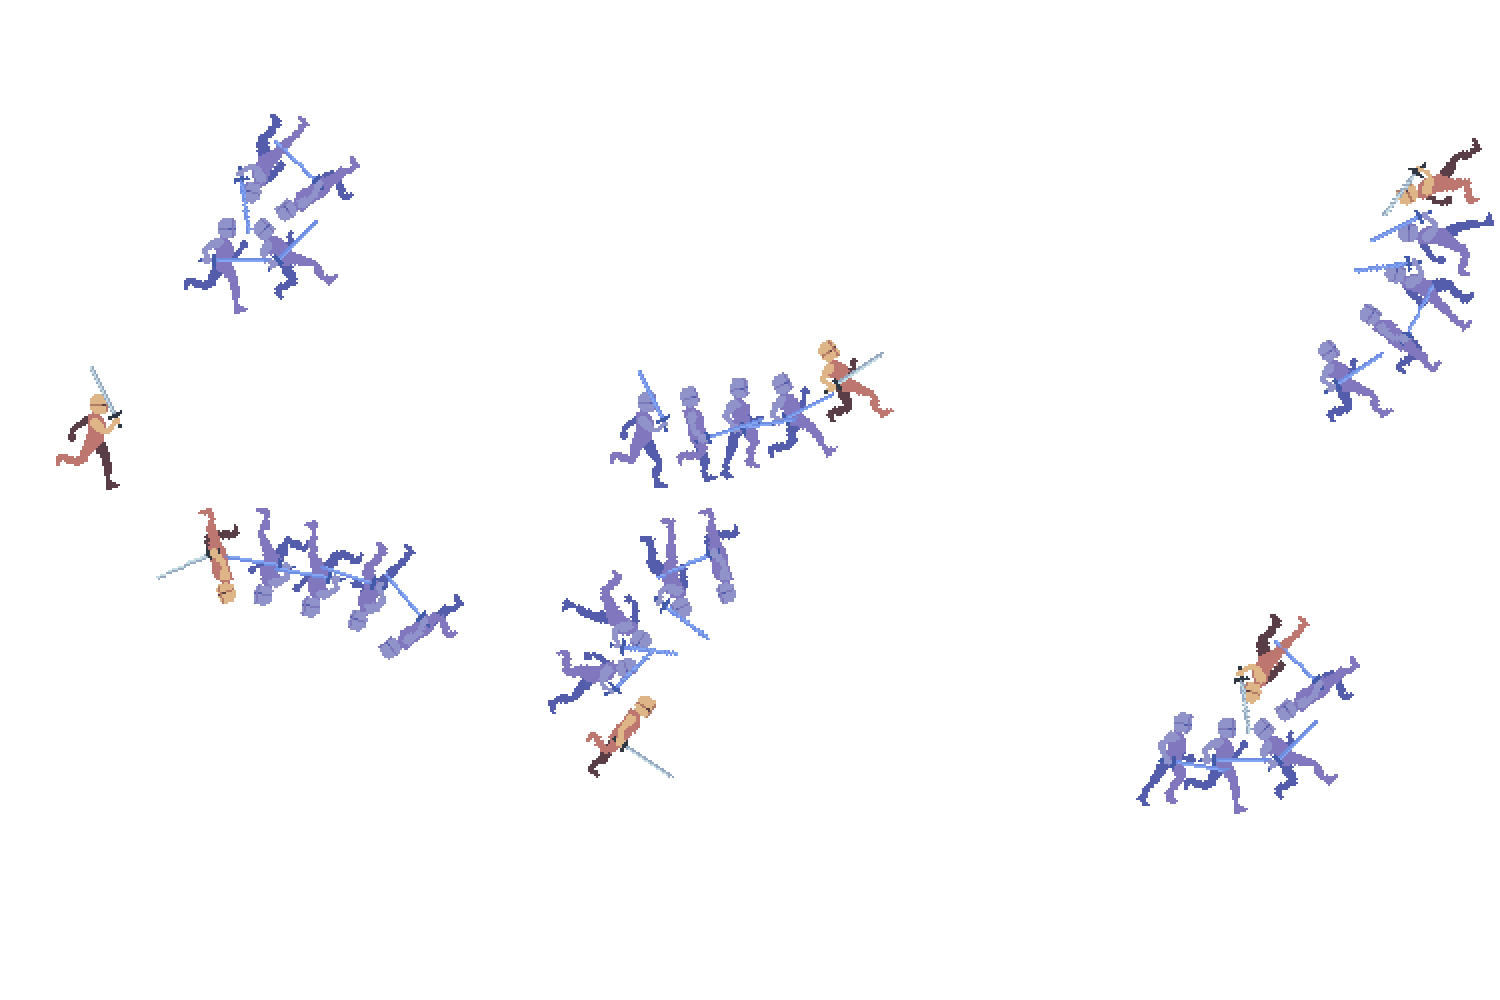
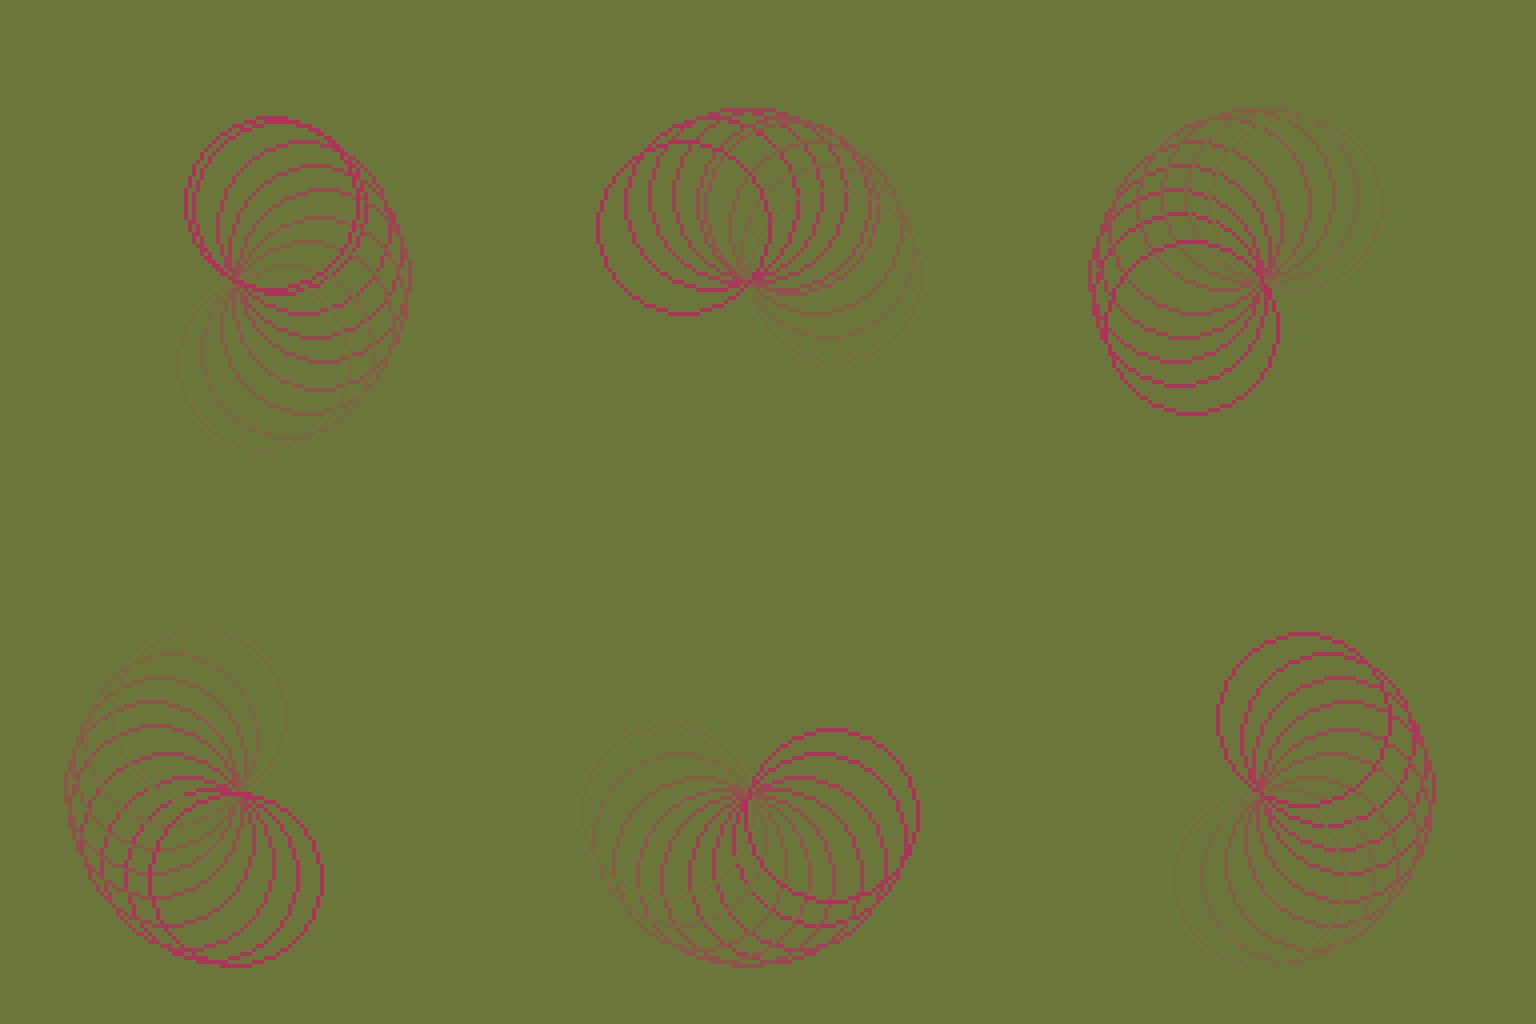
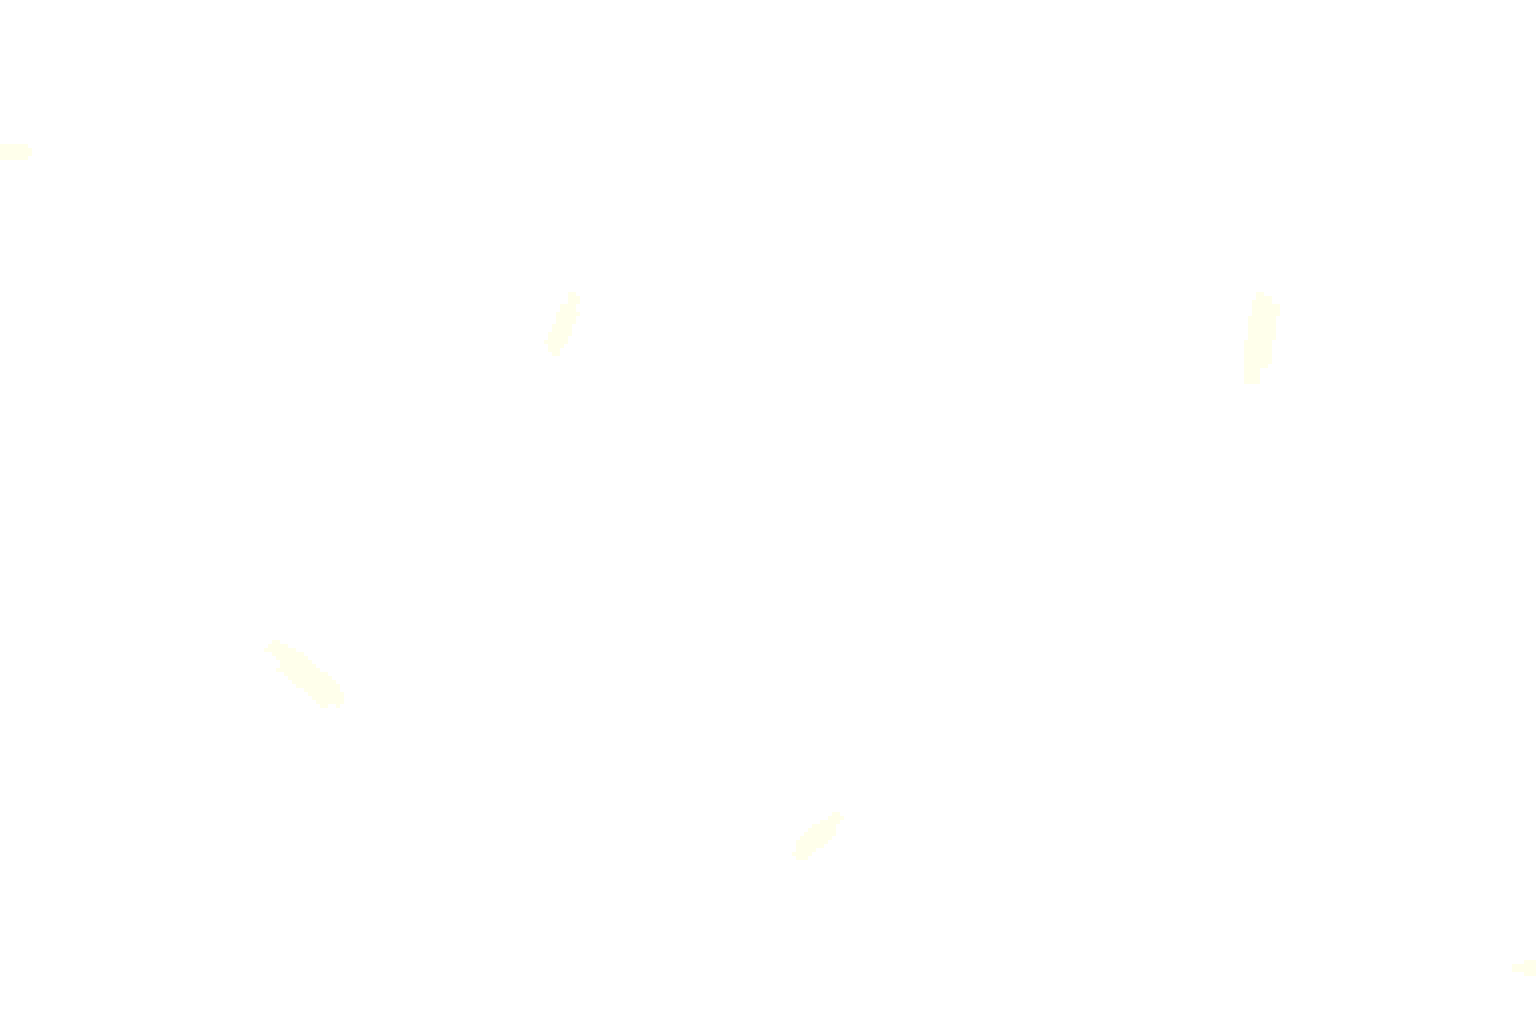
It also works with drawings (rotate ON)
Blue point (fixed pivot) at the base of a trunk:
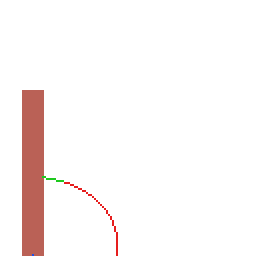
Result:
Two blue points (deform mode):
Result:
Scale effects:
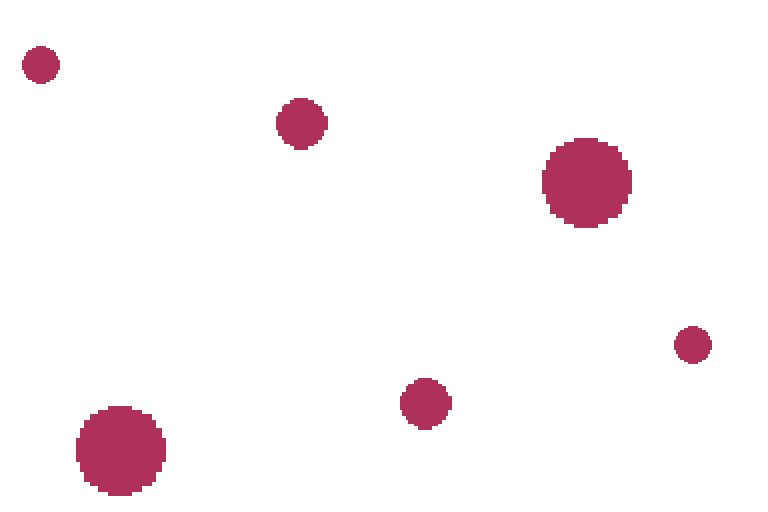
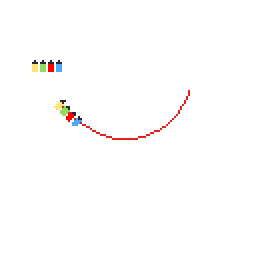
Exemples path distribute (no anim):
Initial configuration:
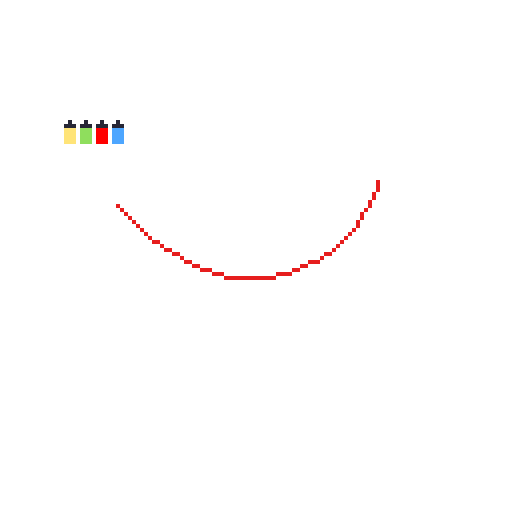
Results: Nothing check/stretch/tile/thickness 5.0
(The red line is hidden automatically, but I'm leaving it there to illustrate the example.)
Mesh Warp:
Route: The orange dots indicate the starting point, and the purple dots indicate the exact path. This is optional; they can be two separate points. In addition, the specific area of operation has been selected. This is also optional; it can apply to all active layers.
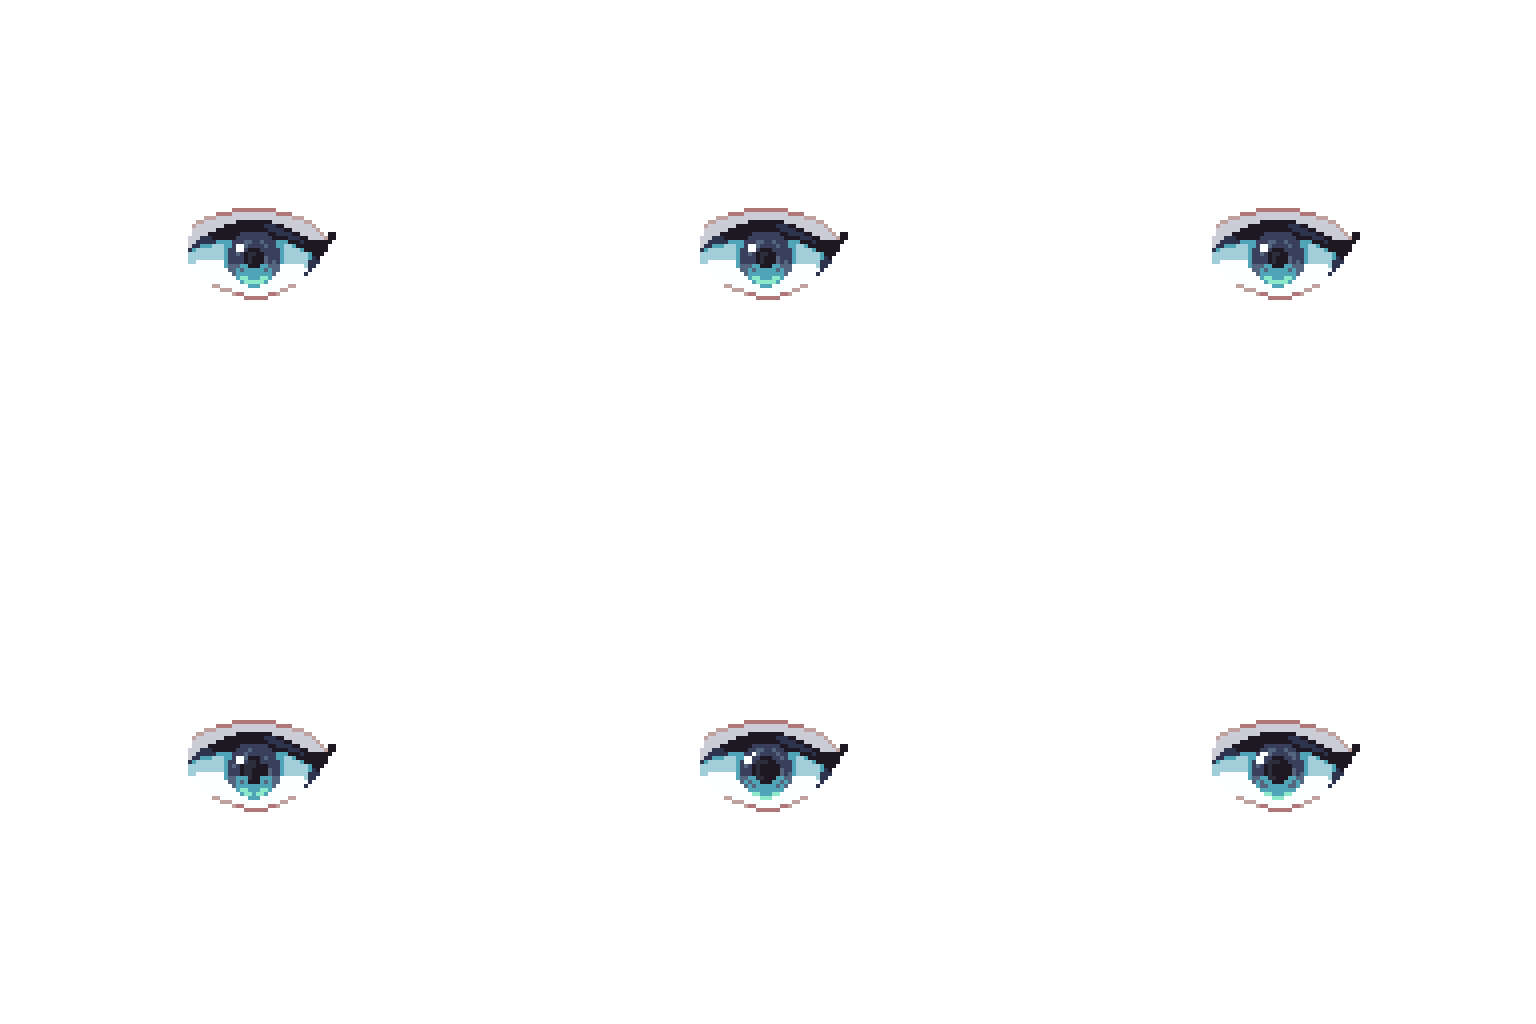
Result: (IMPORTANT: For this effect, the radius has been lowered to 20 and the strength to 50)
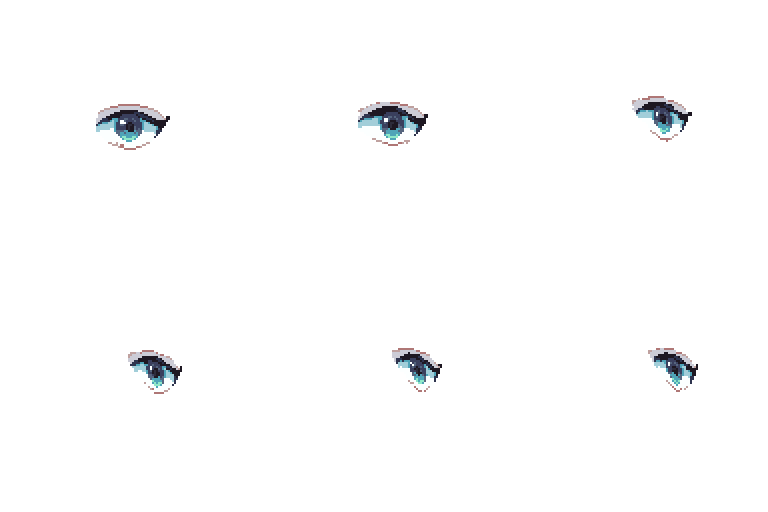
The example above is a subtle one, but the paths and points can be more free-form and fun:
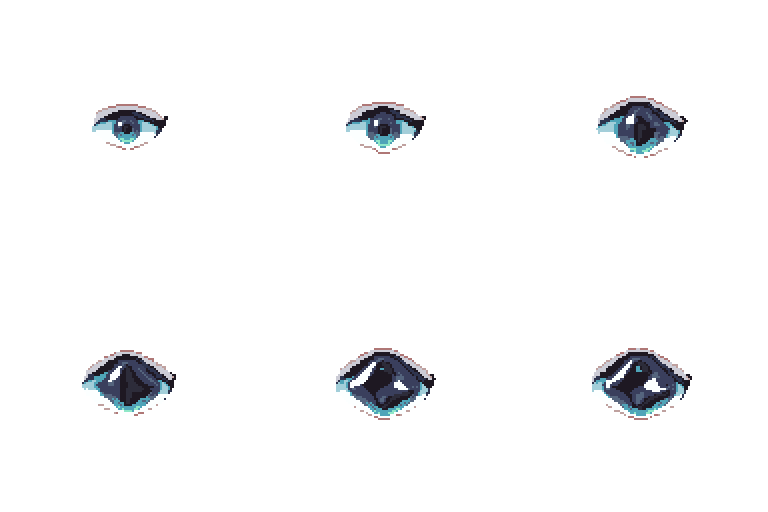
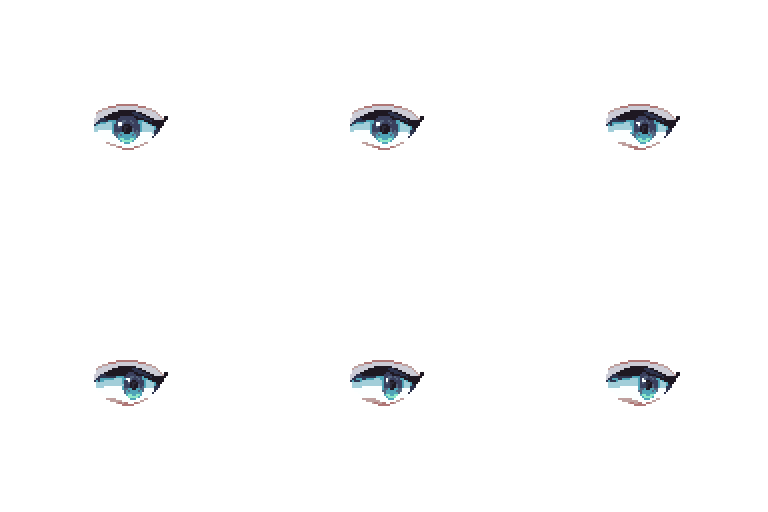
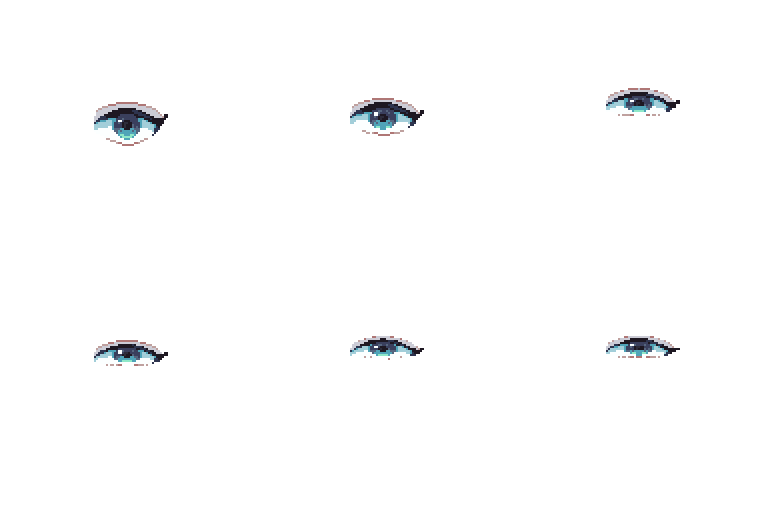
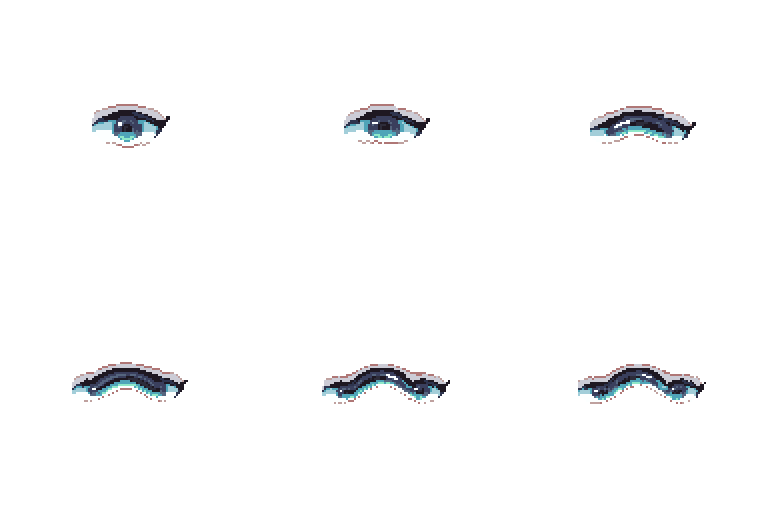
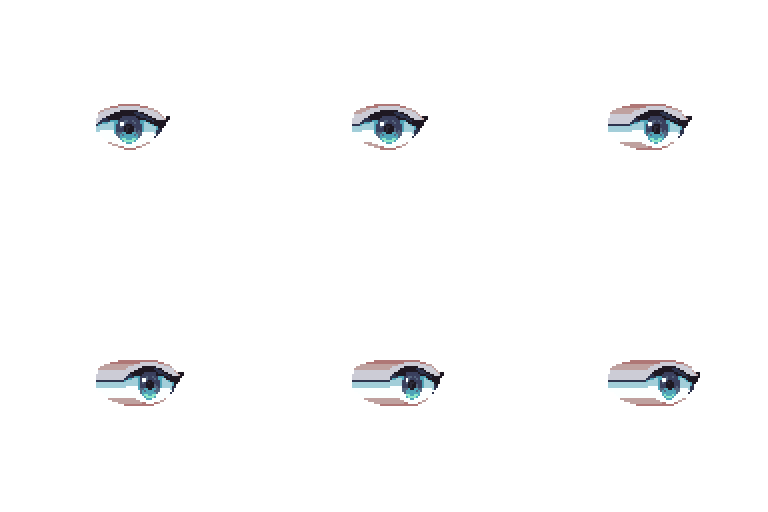
Work in active layers and it can be interesting for VFX
It also has some additional settings. Initial settings:
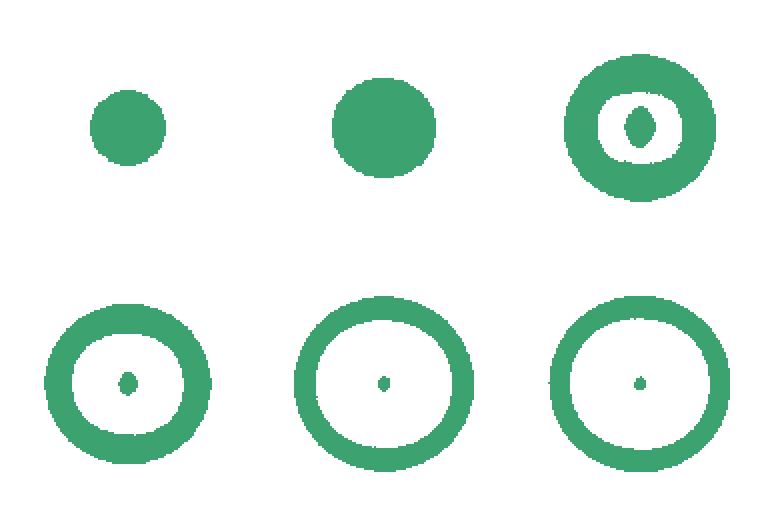
Results: None/Gaps/Reach/All:
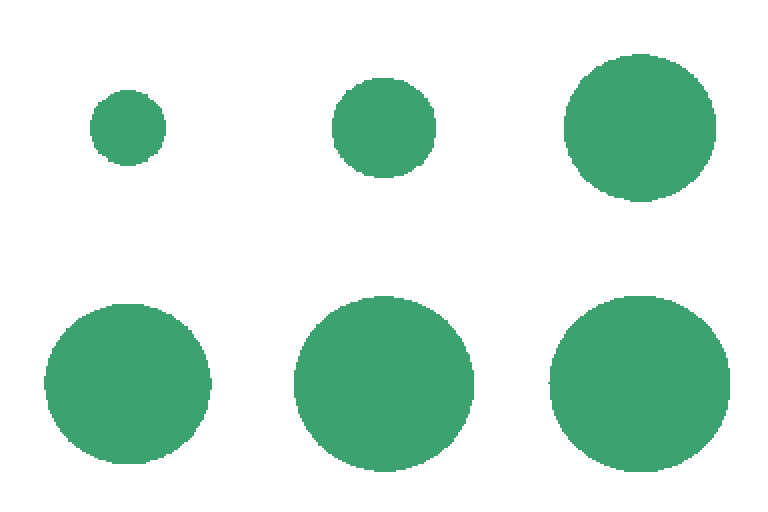
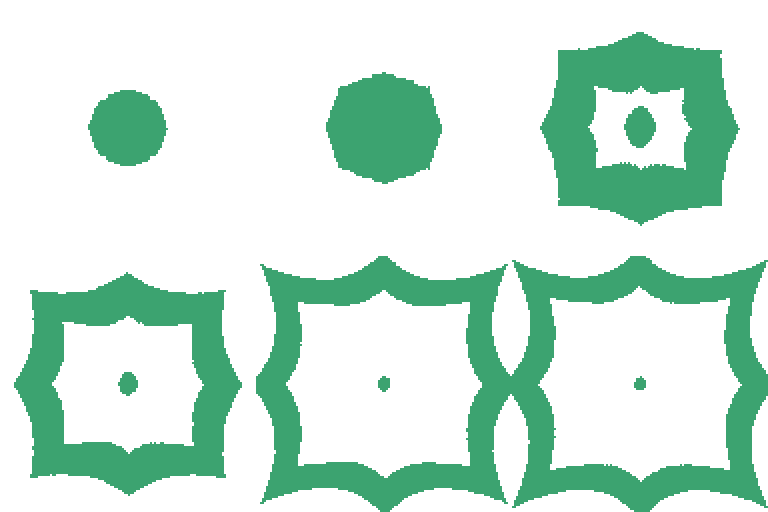
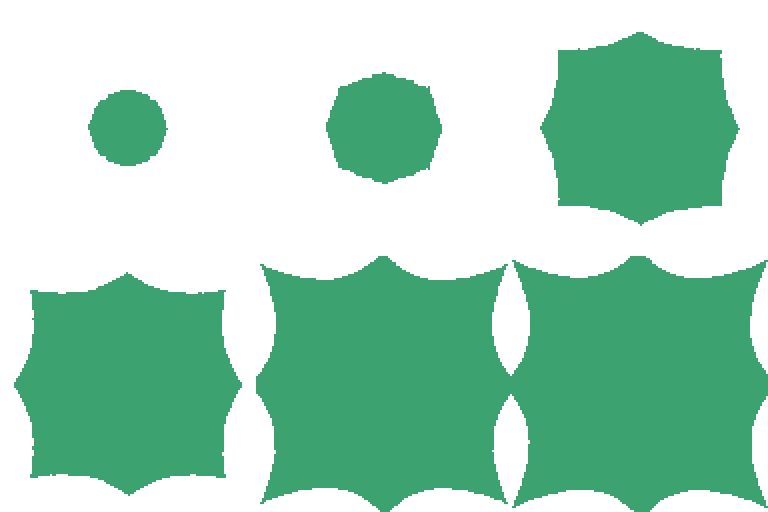
Radius and strength are also important:
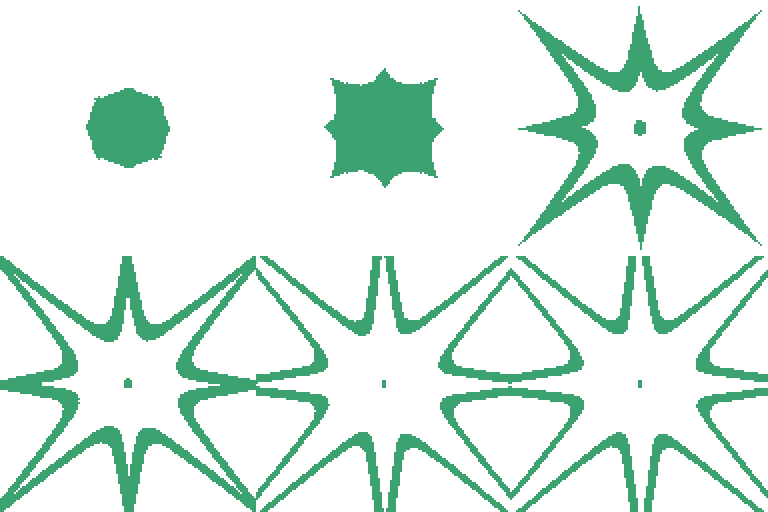
Pairing it can be a random happy accident (in random, obviously).
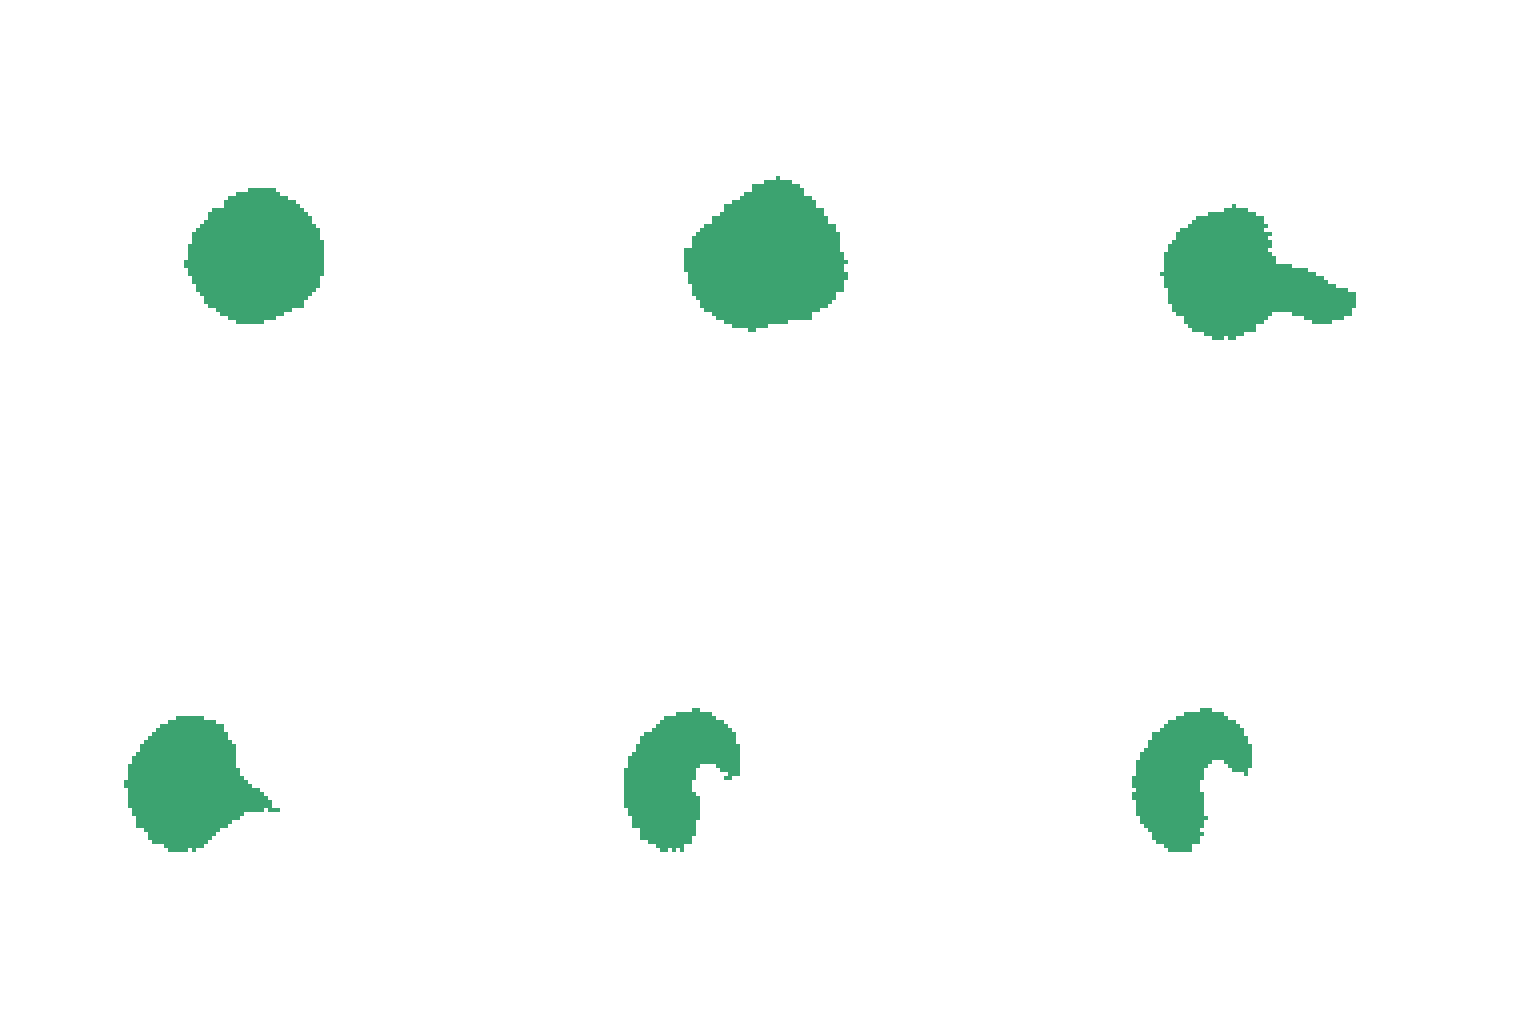
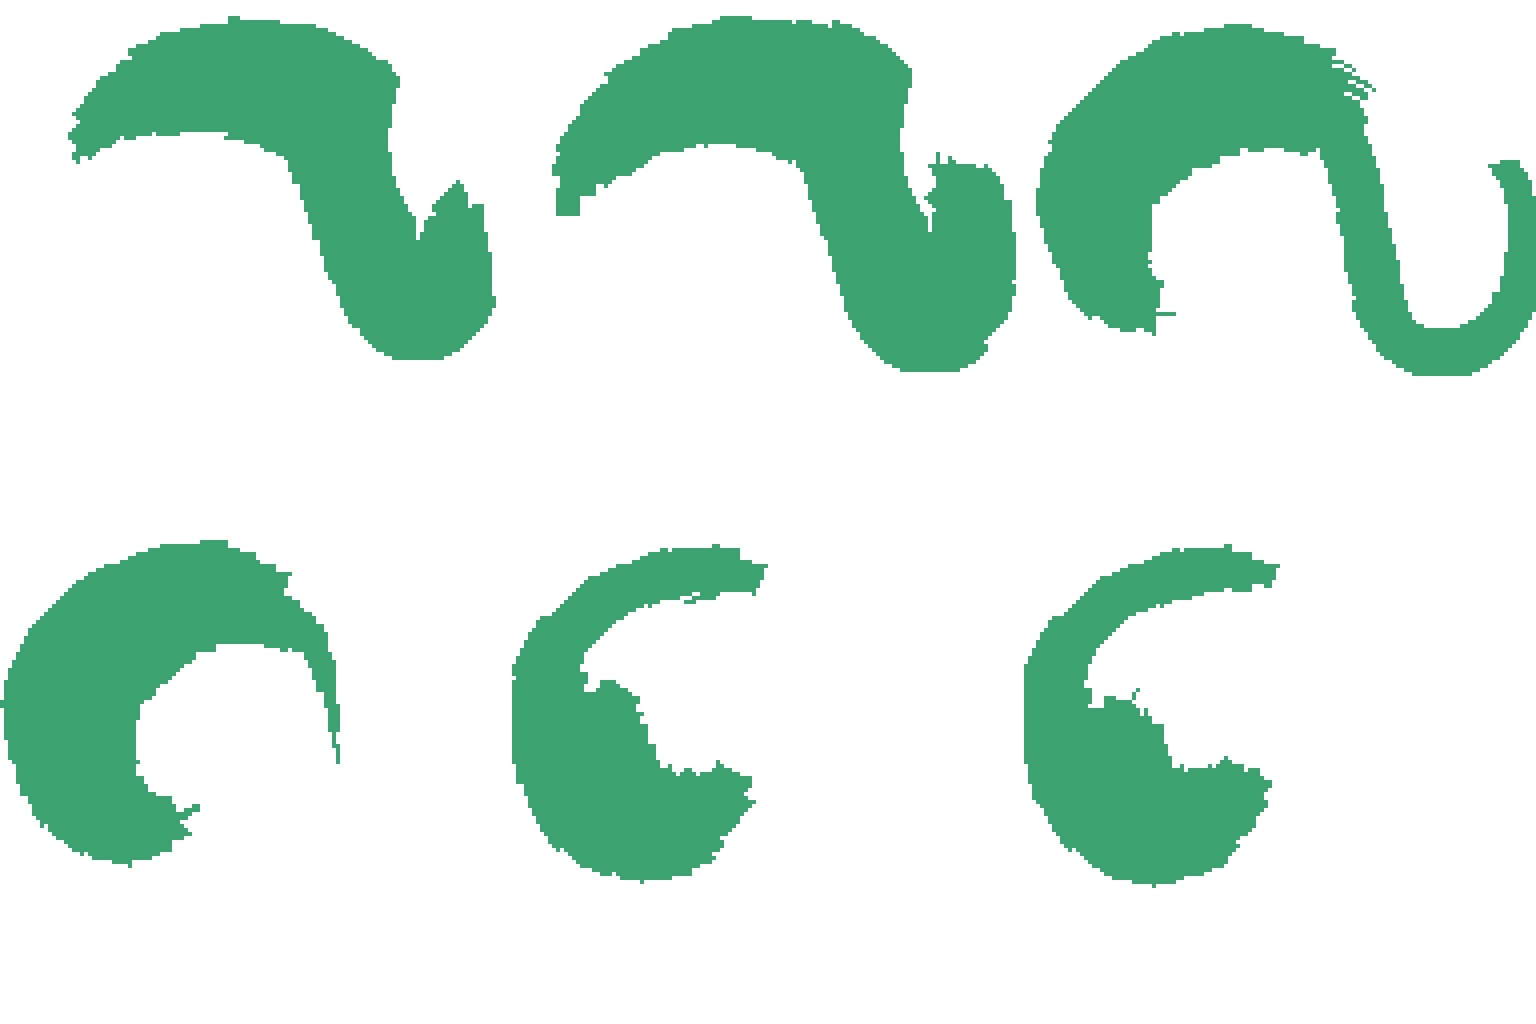
And you can animate it using a path, with the animation generated in Mesh Warp. This is the previous animation with a path, using the "Animate" and "Stretch" checkboxes: (A good start for a dragon? )
Requirements
Aseprite 1.3.x — RGB mode only.
💬 Feedback & Support
I love seeing how you use Heos Path in your projects. If you have questions, ideas, or just want to share what you've made, feel free to leave a comment or reach out directly. It's always great to see your work in action.

If you found this tool useful, taking a moment to leave a rating really helps. Thanks for the support. ❤️
Purchase
In order to download this tool you must purchase it at or above the minimum price of $4.99 USD. You will get access to the following files:
Leave a comment
Log in with itch.io to leave a comment.